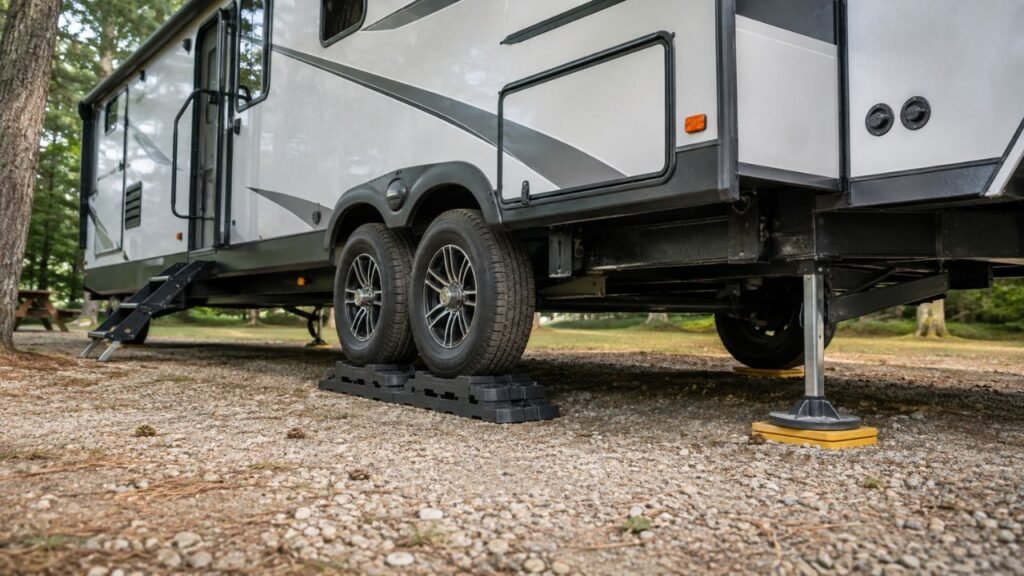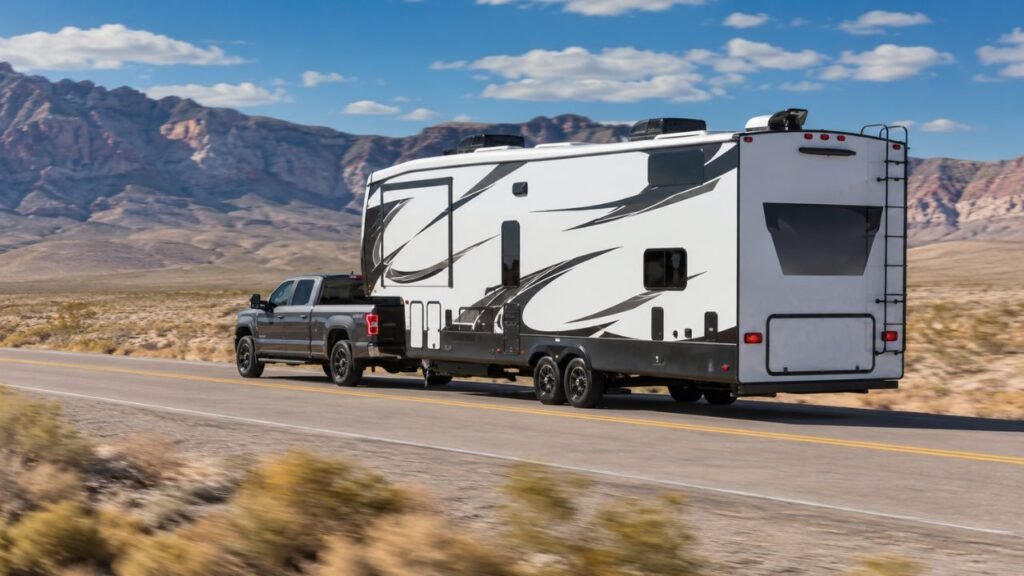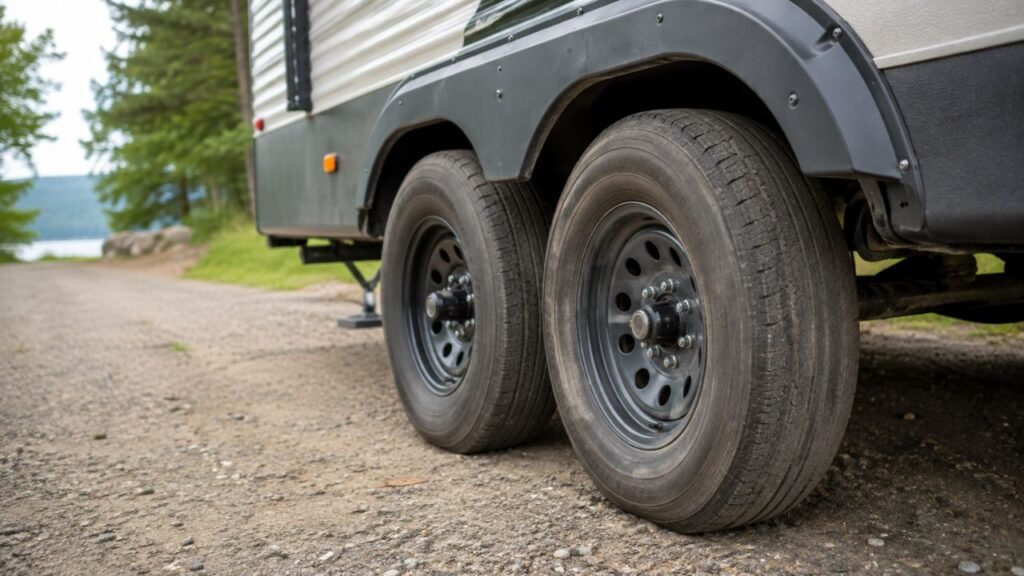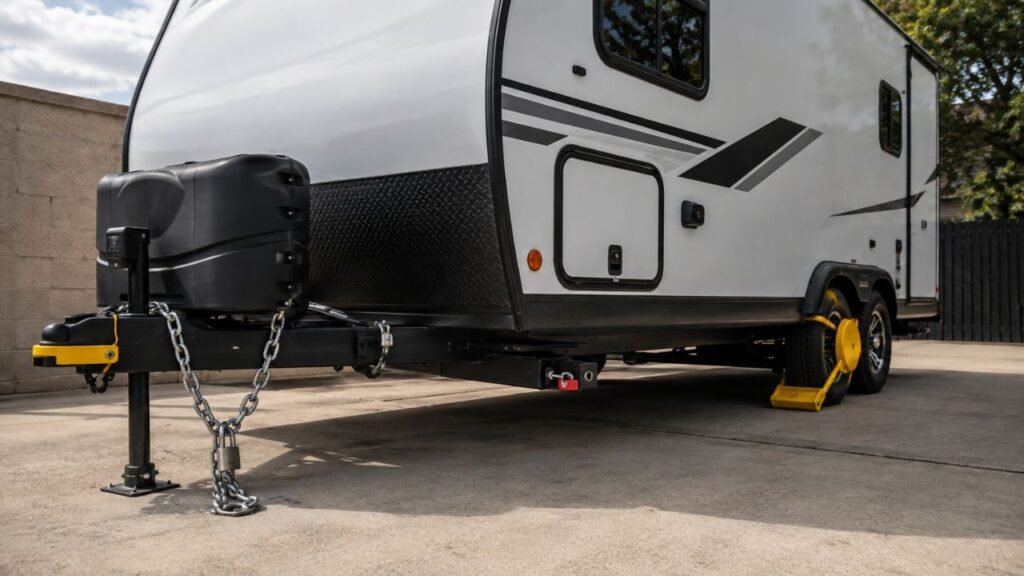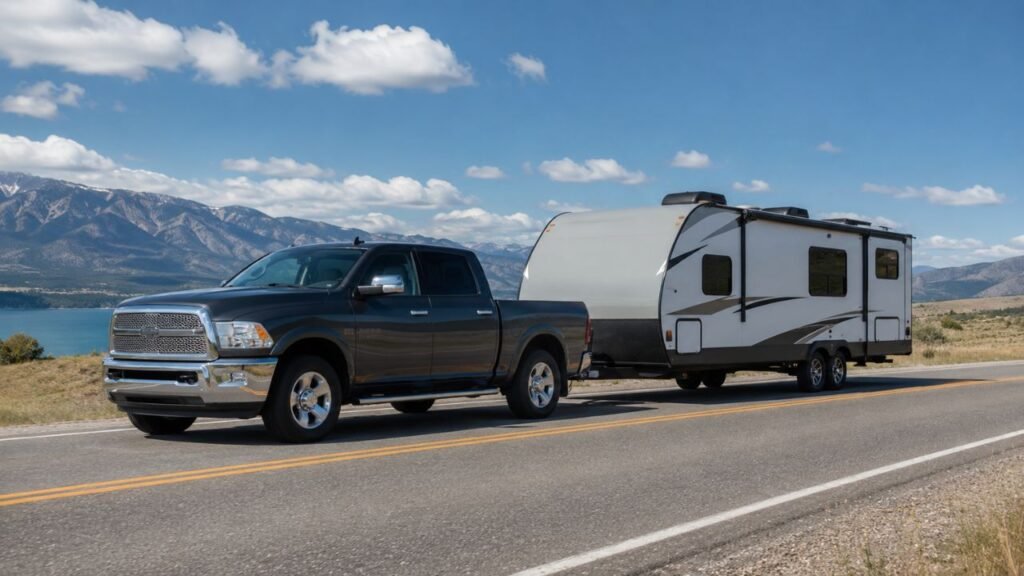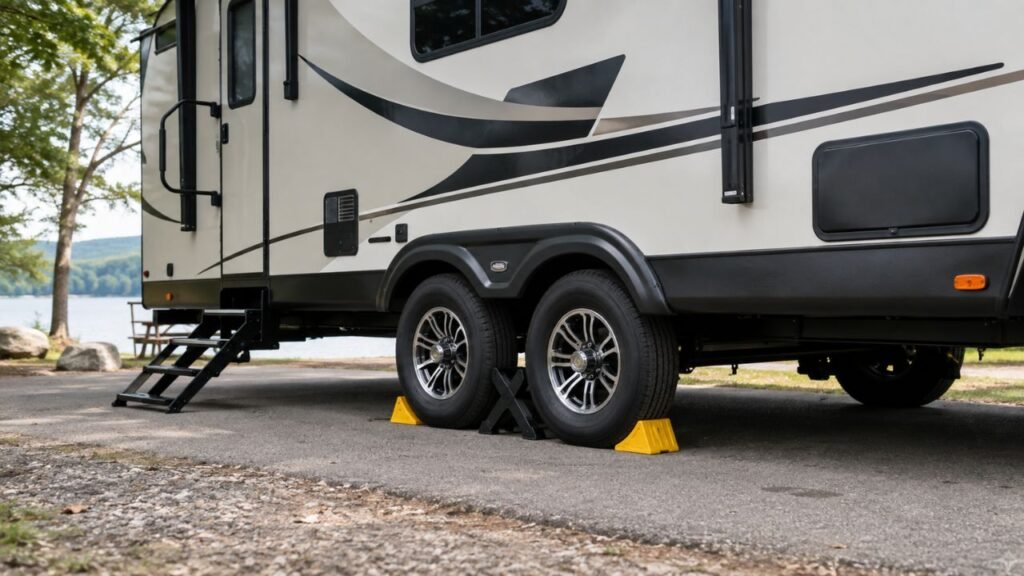
To chock a tandem axle trailer, place one wheel chock firmly in front of the front tire and another behind the rear tire. For better security, repeat this setup on both sides of the trailer. You can also add X-chocks between the tandem tires to reduce movement while parked.
I’ll show you exactly where every chock should go. We’ll also cover slopes, leveling blocks, X-chocks, soft ground, and common mistakes.
Key Takeaways
- Chock your trailer before disconnecting it from the tow vehicle.
- Place chocks directly against the tires without leaving gaps.
- Block both forward and backward movement whenever possible.
- Chocking both sides gives your tandem trailer better overall security.
- X-chocks reduce movement between tires but should supplement wheel chocks.
- Stabilizer jacks should never replace proper wheel chocks.
- Use extra care when parking on gravel, mud, or slopes.
- Recheck your chocks whenever the trailer moves during leveling.
- Remove every chock before attempting to tow the trailer.
How Do You Chock a Tandem Axle Trailer Properly?
Chocking a tandem axle trailer is fairly simple once you understand placement. The important part is securing the trailer before removing its tow vehicle.
1. Position the Trailer Where You Want It
Start by getting your trailer into its final parking position.
Try finding the flattest and firmest area available. You do not need perfectly level ground because leveling comes afterward.
Keep your tow vehicle attached while you prepare the trailer.
Apply the tow vehicle’s parking brake before leaving the driver’s seat. If your trailer has its own parking brake, use that appropriately too.
You do not want to disconnect first and secure everything afterward. At that point, the trailer has already lost an important restraint.
2. Inspect the Ground Around the Tires
Look at the surface before reaching for your wheel chocks.
Concrete usually gives rubber chocks plenty of grip. Firm asphalt also works well when the surface is dry.
Gravel requires more attention because individual stones can move underneath chocks. Grass and dirt may compress after the trailer sits overnight.
Mud presents an even bigger problem because the chock can sink.
Clear away loose stones, sticks, and other debris whenever possible. You want the chock’s bottom surface sitting firmly against stable ground.
3. Place a Chock in Front of the Front Tire
Take your first standard wheel chock and position it forward.
Push its angled face directly against the front tandem tire. There should be virtually no space between the tire and chock.
The flat bottom needs complete contact with the ground.
Do not casually toss the chock several inches ahead of the tire. The trailer would gain momentum before finally contacting the chock.
Instead, start with firm tire-to-chock contact.
4. Place Another Chock Behind the Rear Tire
Now move to the rear tire of that tandem set.
Place another chock immediately behind the rear tire. Again, push it firmly against the tread.
You have now trapped the tandem wheel group between two barriers.
The front chock resists forward rolling. The rear chock resists movement in the opposite direction.
This simple arrangement works much better than randomly chocking individual tires.
5. Repeat the Setup on the Other Side
I recommend doing the same thing on your trailer’s opposite side.
Place one chock ahead of the front tire. Then position another behind the rear tire.
Chocking both sides gives you additional security and stability.
It becomes especially useful when you’re unhitching, loading, camping, or parking overnight.
One side may hold the trailer under ideal conditions. However, I wouldn’t depend unnecessarily on the minimum when extra chocks are available.
6. Install X-Chocks if You Want Less Movement
Once your standard chocks are secured, you can install X-chocks.
An X-chock fits inside the space between your tandem tires. As you expand it, both ends press against the opposing tires.
This limits how much those tires can move relative to each other.
That makes X-chocks useful when your travel trailer rocks slightly. You may notice the improvement whenever someone walks around inside.
However, I wouldn’t treat X-chocks as replacements for standard wheel chocks.
Their main job is reducing movement between adjacent tires. Standard wedges provide the basic physical barrier against rolling.
7. Check Everything Before Unhitching
Before touching your coupler, inspect your complete chocking setup.
Check the following:
- Every standard chock touches its tire firmly.
- No large gaps remain between chocks and tires.
- Each chock sits flat against stable ground.
- Loose gravel is not supporting the chock.
- X-chocks are secure if you’re using them.
- Both trailer sides are secured when practical.
- Nothing has shifted during the setup process.
Once everything looks secure, you can begin unhitching carefully.
Where Should Wheel Chocks Go on a Tandem Axle Trailer?
Placement matters much more than simply owning several wheel chocks. Your goal is stopping the wheel group from moving in either direction.
Standard Tandem Axle Chock Placement
For a tandem axle trailer, think about the wheels as one group.
Your basic arrangement should look like this:
Front chock → Front tire → Tandem gap → Rear tire → Rear chock
The forward chock goes against the front of the front tire.
The rear chock goes against the back of the rear tire.
Repeat that arrangement on the other side when possible.
This setup prevents the entire tandem group from rolling forward or backward.
Should I Chock Both Sides of a Tandem Axle Trailer?
Yes, chocking both sides is the setup I prefer whenever practical.
It gives you another layer of protection if one chock shifts. It can also help the trailer feel more planted during camping.
Both-side chocking becomes particularly important on less-than-perfect campsites.
Use it when you’re dealing with slopes, gravel, wet ground, or extended parking.
Do I Need a Chock Between the Tandem Tires?
You don’t necessarily need an X-chock to prevent normal rolling.
However, an X-chock can noticeably reduce movement while you’re inside.
Tandem axle suspensions allow some movement between the two wheels. Standard wedges may stop rolling without completely eliminating that motion.
An X-chock tackles that remaining movement.
Think of standard chocks as your anti-roll equipment. Think of X-chocks as an additional stability tool.
Standard Wheel Chocks vs. X-Chocks
Standard wheel chocks and X-chocks aren’t really competitors. They perform different jobs, and using them together often produces better results.
| Chock Type | Placement | Main Purpose | Stops Rolling? | Reduces Rocking? | Best Use |
| Standard wedge chock | Outside wheel group | Blocks wheel rotation | Yes | Somewhat | Parking and unhitching |
| Rubber wheel chock | Outside wheel group | High-grip roll prevention | Yes | Somewhat | RVs and heavier trailers |
| Plastic wheel chock | Outside wheel group | Lightweight roll prevention | Yes | Somewhat | Light to moderate use |
| X-chock | Between tandem tires | Limits tire-to-tire movement | Not as primary restraint | Yes | Campsite stability |
| Expanding locking chock | Between tandem tires | Restricts tandem movement | Supplemental | Yes | Reducing trailer movement |
For most tandem axle trailers, I would start with quality wedge chocks. Add X-chocks afterward if trailer movement is still bothering you.
Can I Use Only X-Chocks on a Tandem Axle Trailer?
I wouldn’t use X-chocks as the trailer’s only wheel restraint.
An X-chock expands between two adjacent tires. That makes it excellent for reducing movement between those tires.
However, it does not work exactly like an exterior wedge.
A standard wheel chock creates a physical obstacle against tire rotation. This is the protection you want before disconnecting your trailer.
Suspension geometry can also change slightly during leveling or unhitching. That may change the spacing between tandem tires.
Use your exterior wheel chocks first.
Then install X-chocks if you want additional campsite stability.
That combination gives each device a job it handles well.
How Many Wheel Chocks Do I Need for a Tandem Axle Trailer?
There isn’t one universal number that works for every situation. Trailer weight, terrain, slope, and your parking situation all matter.
A practical setup looks like this:
- Use front-and-rear restraint against the tandem wheel group.
- Chock both trailer sides whenever practical.
- Add between-tire chocks when you want additional stability.
- Use more conservative restraint when parking on slopes.
- Never reduce protection simply because the stop seems temporary.
For many travel trailers, four exterior wedge chocks create a very solid setup. That means one ahead and one behind each tandem wheel group.
You can then add one X-chock between each side’s tandem tires.
Remember that having more chocks doesn’t fix bad placement.
Four loosely placed chocks can perform worse than properly seated ones.
How Do I Chock a Tandem Axle Trailer on a Slope?
A slope deserves more attention because gravity continuously pulls your trailer downhill. Secure everything before releasing the trailer from its tow vehicle.
Chocking on a Mild Slope
Keep the tow vehicle connected while positioning your wheel chocks.
Identify which direction the trailer would naturally move if released. Make sure the downhill side is firmly restrained.
Then add opposing chocks to control movement in both directions.
Push each chock firmly against its tire before unhitching.
Don’t assume a slight incline cannot move a heavy trailer. Once that trailer starts rolling, stopping it becomes extremely difficult.
Chocking on a Steeper Grade
Whenever possible, avoid unhitching on a steep slope entirely.
Sometimes campsites don’t give you perfect choices, though.
In those situations, use substantial wheel chocks suitable for your trailer.
Secure both sides rather than depending on one wheel group.
Check whether the chocks are sitting on loose gravel or dirt.
If the ground itself can slide, your chocks can slide with it.
Take your time before removing the tow vehicle connection.
Which Side of the Tire Gets Chocked on a Hill?
The downhill side deserves priority because gravity pulls toward it.
For a disconnected trailer, however, I prefer restraining both directions.
Trailer movement can occur while leveling, loading, or changing tongue height. A second chock prevents the wheel from moving the opposite way.
This approach also saves you from guessing what happens during setup.
Should I Chock the Trailer Before or After Unhitching?
Chock the trailer before you release it from your tow vehicle.
This is one of the most important habits you can develop.
I recommend following this order:
- Position the trailer where you want it.
- Apply your tow vehicle’s parking brake.
- Keep the trailer connected to the hitch.
- Install your standard wheel chocks.
- Confirm every chock is firmly seated.
- Begin releasing hitch tension carefully.
- Disconnect only after confirming trailer security.
Why does the order matter?
Your tow vehicle provides restraint while everything gets positioned. Disconnecting it first removes that restraint before the wheels are secured.
A trailer can begin rolling immediately on surprisingly small slopes.
You do not want to discover that while standing beside the coupler.
How Tight Should Wheel Chocks Be Against the Tires?
Your standard wheel chocks should sit firmly against the tire tread.
You don’t need to hammer them underneath the wheel.
However, you also shouldn’t leave noticeable space between them.
Push each chock forward until its angled face contacts the tire.
The chock should also sit flat against the parking surface.
If you can easily rock the chock with your hand, reposition it.
Avoid aggressively driving the trailer onto ordinary chocks unless their manufacturer specifically recommends that method.
After leveling, inspect your chocks again.
Trailer leveling can slightly reposition tires and create a small gap.
Why Can a Tandem Axle Trailer Still Move After Chocking?
A properly chocked trailer can still have some movement inside. That doesn’t automatically mean your wheel chocks aren’t working.
Tandem Suspension Movement
Your two axles don’t behave like one completely rigid assembly.
The suspension allows each axle to react to changing loads.
As someone walks around inside, the suspension can move slightly.
Your exterior chocks may be holding perfectly while this happens.
Tire Sidewall Flex
Trailer tires themselves also flex under load.
Rubber sidewalls aren’t solid blocks.
A tire can compress slightly without actually rolling over the ground.
That small amount of movement sometimes feels surprisingly noticeable inside.
Poorly Seated Wheel Chocks
Now check whether your chocks actually touch the tire.
A small gap lets the tire move before meeting resistance.
Loose gravel can create the same problem.
Push the chock firmly against the tread and ensure stable ground contact.
Stabilizer Jack Flex
Stabilizer jacks can also contribute to what you’re feeling.
They reduce body movement but don’t make the trailer completely rigid.
The frame, tires, suspension, and jacks all have some flexibility.
That is why proper chocking and stabilizing work together.
Soft Ground
Soft ground changes everything underneath your trailer.
A wheel chock can slowly settle into soil overnight.
It may also move sideways on loose gravel.
Check your setup again after heavy rain or significant settling.
Do Wheel Chocks Stop Trailer Rocking?
Wheel chocks reduce some trailer movement, but they won’t eliminate everything.
It’s easier if you give each piece of equipment one job.
Standard wheel chocks primarily prevent the wheels from rolling.
X-chocks reduce movement between two tandem tires.
Stabilizer jacks reduce movement through the trailer’s frame.
Leveling blocks raise wheels to correct side-to-side level.
Jack pads spread jack loads across soft ground.
A stable trailer often uses several of these systems together.
Don’t expect one tool to perform every job.
If your trailer still wiggles slightly despite being safely chocked, additional stabilization may be what you’re missing.
What Size Wheel Chocks Should I Use?
Choose chocks based on your trailer’s tires, weight, and parking conditions. A tiny lightweight wedge isn’t automatically suitable for every tandem axle trailer.
Look for these features:
- Enough height to contact the tire effectively.
- Sufficient width for a stable base.
- Strong material that resists deformation.
- Good grip against your usual parking surfaces.
- A design suitable for your trailer’s weight.
- Deep tread or texture where additional grip helps.
- Adequate manufacturer ratings for your intended application.
I avoid recommending one universal chock dimension.
Tandem axle utility trailers and large travel trailers can differ significantly.
Instead, choose a wheel chock specifically intended for your vehicle class.
Always follow the chock manufacturer’s sizing and load guidance.
Rubber vs. Plastic vs. Metal Wheel Chocks
Each material has advantages, so the best option depends on your trailer. Here’s how the common choices compare.
| Material | Main Advantage | Main Limitation | Suitable Surface | Typical Use |
| Rubber | Heavy with good grip | Heavier to carry | Pavement and concrete | RVs and heavier trailers |
| Plastic | Lightweight and affordable | May crack or slide easier | Firm, level ground | General camping use |
| Metal | Strong and durable | Grip depends on design | Rough or industrial surfaces | Heavy-duty trailers |
Rubber is usually my favorite general-purpose option for RV camping.
The extra weight can actually help keep the chock planted.
Plastic works well when storage weight matters, but inspect it regularly.
Metal designs can be excellent for specialized or heavy-duty applications.
Whatever material you choose, proper sizing remains more important.
How Do I Chock a Tandem Axle Trailer on Gravel or Soft Ground?
Soft surfaces require extra preparation because the ground can move underneath you.
Start by removing loose gravel from the intended chock position.
You don’t need to excavate the campsite.
You’re simply creating the firmest practical surface beneath the chock.
Push the chock tightly into position.
Check whether it rocks when you press it by hand.
On dirt or grass, watch for sinking after the trailer settles.
A wider, sturdy chock can sometimes perform better because it spreads pressure.
Be especially cautious following rain.
Ground that felt solid yesterday can become soft overnight.
If your trailer has been parked for several days, inspect everything again.
Can Wheel Chocks Be Used With Leveling Blocks?
Yes, wheel chocks and leveling blocks are commonly used together.
They simply perform different jobs.
Leveling blocks raise the low side of your trailer. Chocks prevent the wheels from moving after positioning.
When using both, get the trailer onto its leveling blocks first.
Keep the tow vehicle controlling the trailer during this process.
Once your final wheel position is established, install your chocks.
Make sure the chock has proper support.
Don’t balance it against an unstable edge or loosely stacked block.
Some leveling systems include compatible chocking components.
When using those systems, follow their intended arrangement.
After leveling is complete, recheck every tire and chock.
Can I Chock Only One Tire on a Tandem Axle Trailer?
One correctly placed chock is certainly better than having none.
However, I wouldn’t call that my preferred tandem axle setup.
One chock prevents movement primarily in one direction.
A second opposing chock gives you protection against reverse movement.
Chocking the other side adds another layer of security.
When you’re unhitching, camping, loading, or storing the trailer, that added effort takes very little time.
I would rather place a few additional chocks than wonder whether one is enough.
Should Both Axles Be Chocked?
You don’t necessarily need separate wedges surrounding every individual tire.
With tandem wheels, you can secure the complete wheel group externally.
Place one chock ahead of the front tire.
Place another behind the rear tire.
That arrangement prevents the entire tandem set from rolling through either end.
Repeat it on the other side for additional security.
There are situations where additional individual chocks may make sense.
Examples include heavy loading, maintenance work, steep grades, or commercial applications.
Use equipment and procedures appropriate for those specific circumstances.
Common Tandem Axle Chocking Mistakes
Wheel chocks are incredibly simple, which makes mistakes easy to overlook.
Avoid these common problems:
- Disconnecting the trailer before installing wheel chocks.
- Relying entirely on an X-chock for roll prevention.
- Leaving several inches between chocks and tires.
- Using tiny chocks with large trailer tires.
- Placing chocks directly onto loose stones.
- Chocking only one direction during extended parking.
- Using badly cracked or deformed wheel chocks.
- Assuming stabilizer jacks will prevent wheel movement.
- Forgetting to inspect chocks after leveling.
- Ignoring ground changes after heavy rainfall.
- Removing chocks before reconnecting the tow vehicle.
- Forgetting to remove chocks before departure.
Most of these problems take only seconds to prevent.
Slow down during arrival and departure.
That little extra attention can prevent a much bigger problem.
How to Remove Wheel Chocks Safely
Removing wheel chocks safely is basically your setup procedure in reverse.
Don’t start pulling chocks while the trailer remains uncontrolled.
If the trailer was disconnected, reconnect it to the tow vehicle first whenever appropriate.
Secure the coupler and confirm the towing connection.
Retract your stabilizing equipment according to your normal departure procedure.
Remove X-chocks before attempting to move the trailer.
Then remove your exterior wheel chocks once the trailer is safely restrained.
Some chocks can become tightly loaded against the tire.
If one won’t come out easily, don’t fight it aggressively.
Slightly relieving tire pressure against the chock may make removal easier.
Never put yourself downhill from an unsecured trailer while doing this.
Finally, count your chocks.
Leaving one underneath a tire can damage equipment when you pull away.
Quick Tandem Axle Chocking Checklist
A routine checklist makes trailer setup easier and more consistent. Run through these items whenever you arrive or prepare to leave.
Before Unhitching
- Park the trailer in its final position.
- Apply the tow vehicle’s parking brake.
- Inspect the ground around each tire.
- Place a chock ahead of each front tandem tire.
- Place another behind each rear tandem tire.
- Push every chock firmly against the tread.
- Check that each chock sits flat.
- Install X-chocks if you plan to use them.
- Confirm nothing moves unexpectedly.
- Unhitch only after completing these checks.
Before Leaving
- Reconnect the trailer correctly.
- Secure the coupler and hitch components.
- Attach safety chains as required.
- Connect your electrical cable and breakaway system.
- Retract stabilizers and jacks.
- Remove any X-chocks.
- Remove all exterior wheel chocks.
- Store the chocks securely.
- Inspect both sides of the trailer.
- Complete one final walk-around before moving.
That last walk-around catches more mistakes than you might expect.
Final Words
Chocking a tandem axle trailer doesn’t need to become complicated.
Start with the job that matters most: preventing unwanted rolling.
Place one standard chock against the front of the front tire. Put another behind the rear tire of that tandem group.
Repeat the setup on the opposite side whenever practical.
If you still notice trailer movement while camping, add X-chocks between the tandem tires. They can help reduce suspension-related movement and make the trailer feel steadier.
Just remember that X-chocks and standard wheel chocks serve different purposes.
Pay attention to your parking surface as well.
A perfectly positioned chock can’t perform properly when loose gravel slides underneath it.
Most importantly, make wheel chocking part of your arrival routine.
Do it before unhitching instead of treating it as an afterthought.
That simple habit makes setting up your tandem axle trailer safer and easier.
Related FAQs
Do I Need Four Wheel Chocks for a Tandem Axle Trailer?
Four exterior wheel chocks make a practical setup because you can secure the front and rear of both tandem wheel groups. Your exact requirements can vary with trailer size, terrain, equipment, and manufacturer guidance.
Are X-Chocks Enough to Keep a Trailer From Rolling?
X-chocks should not normally be your only anti-roll protection. They mainly reduce movement between neighboring tandem tires, while standard wedge chocks provide a physical barrier against wheel rotation.
Where Do You Put Chocks on Dual Axle Trailers?
Place one standard wheel chock directly ahead of the front tire and another directly behind the rear tire. Repeat that arrangement on the opposite trailer side for better overall restraint.
Do You Chock the Front or Back Wheels of a Trailer?
For a tandem axle trailer, I recommend securing both directions. Place a chock ahead of the front tire and another behind the rear tire so the entire wheel group is contained.
Can I Chock a Trailer While It Is Still Hitched?
Yes, and that is normally when you should install your wheel chocks. Keeping the tow vehicle connected provides additional restraint while you position and secure the trailer before unhitching.
Should I Chock Both Sides of My Travel Trailer?
Chocking both sides provides better redundancy and stability, especially when the trailer will be disconnected. It is particularly useful on slopes, gravel campsites, and during longer parking periods.
Can a Trailer Roll Over Wheel Chocks?
It can happen when chocks are undersized, improperly placed, damaged, or sitting on slippery ground. Always use appropriately sized chocks and position them firmly against stable surfaces.
Do I Need Wheel Chocks on Level Ground?
I still recommend using wheel chocks on apparently level ground before unhitching. A campsite can have a slight grade that isn’t immediately visible, and trailer movement can also occur during setup.
Should I Chock a Trailer Before Leveling It?
Side-to-side leveling usually occurs while positioning the trailer with the tow vehicle attached. Once the wheels reach their final position, securely chock them before unhitching and completing the remaining leveling process.
Can Stabilizer Jacks Replace Wheel Chocks?
No. Stabilizer jacks primarily reduce trailer body movement and aren’t intended to replace wheel restraint. Proper wheel chocks should control rolling before you rely on stabilizers for additional comfort.
Can I Use Bricks or Wood Instead of Wheel Chocks?
Purpose-built wheel chocks are the better choice because their shape, material, and surface are designed for tire restraint. Bricks can crack, while random wood blocks may slide or provide poor tire contact.
Should I Remove X-Chocks Before Raising the Trailer?
Follow your X-chock manufacturer’s instructions, especially when making significant height adjustments. Because tandem tire spacing may change with suspension position, removing or loosening them before major adjustments can prevent unnecessary stress.
What Is the Best Type of Wheel Chock for a Tandem Axle Trailer?
A properly sized, durable wheel chock with strong surface grip is usually best. Rubber chocks work particularly well for many travel trailers, while the correct choice still depends on trailer weight, tire size, and parking surface.

Scott Miller shares real-world RV road trip insights built from years of traveling open highways and backroads. He covers route planning, campground choices, and travel gear with a practical mindset. His content is written for RVers who value reliability over trends.