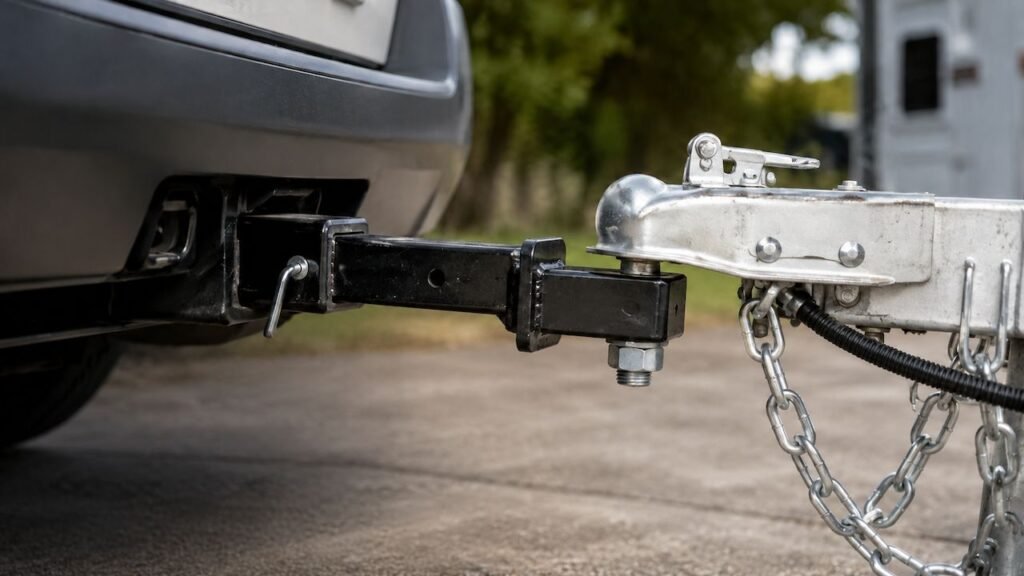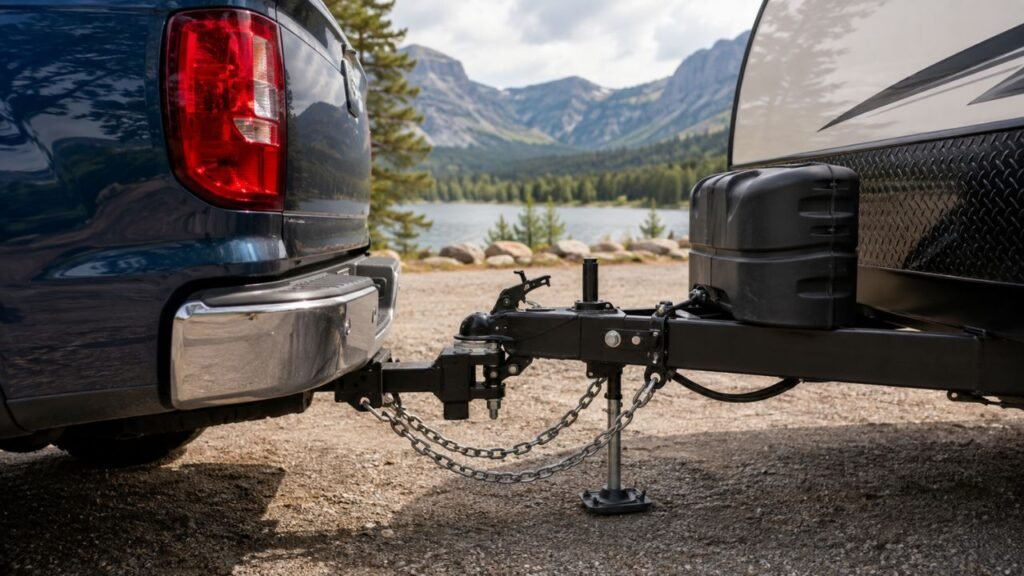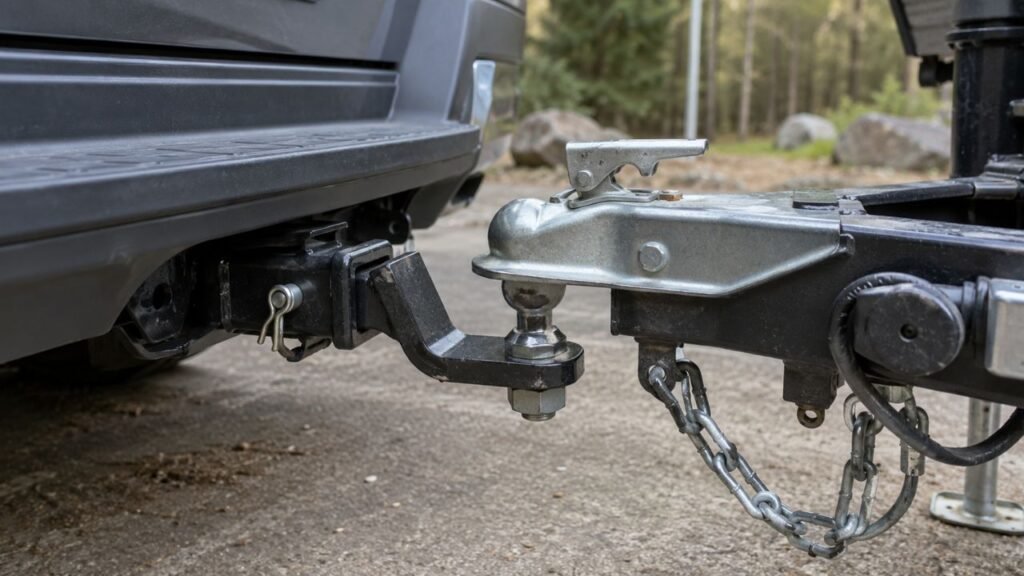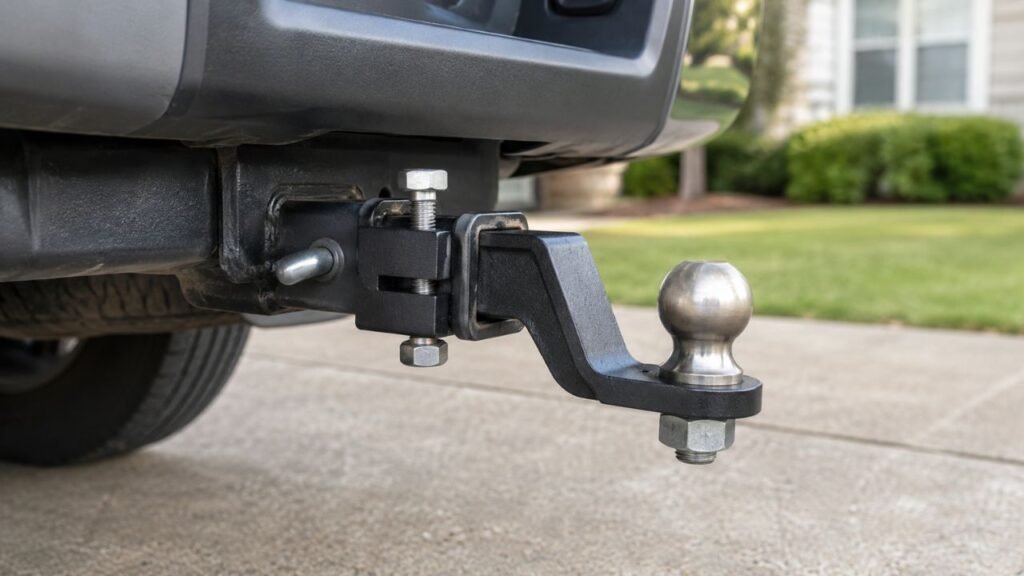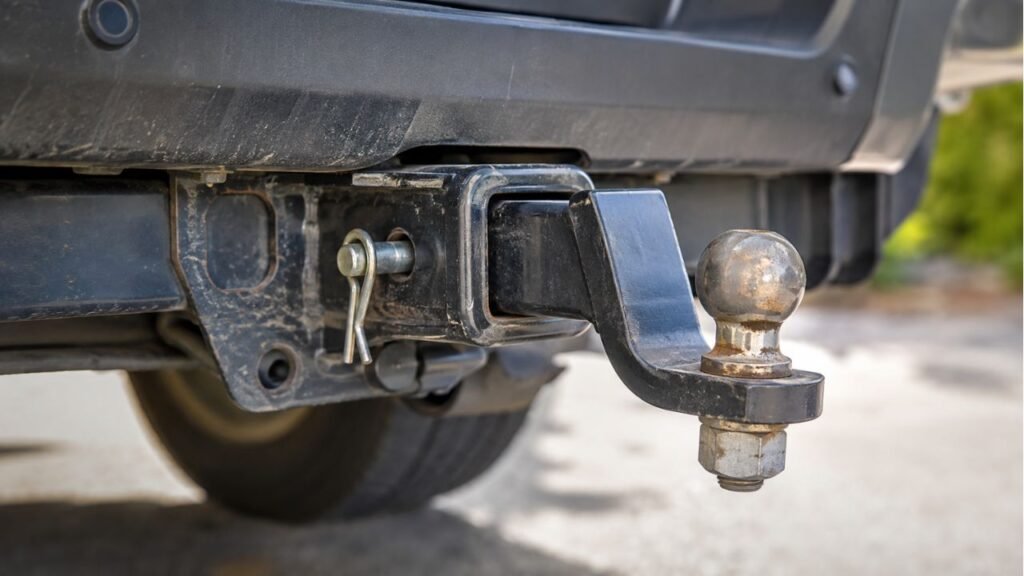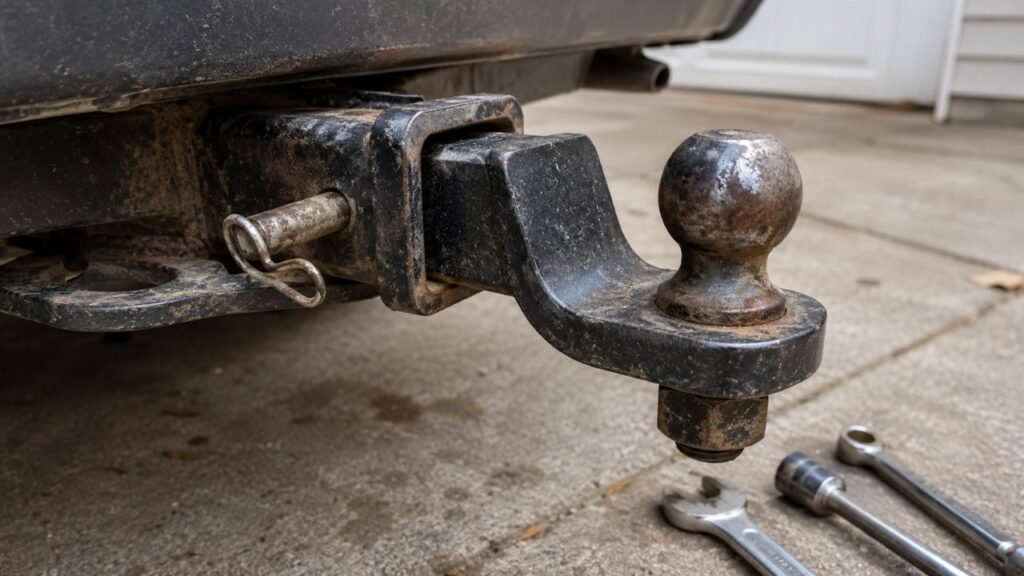
Your hitch pin is probably hard to remove because pressure, rust, dirt, or misaligned receiver holes are trapping it. A locking pin may also stick when moisture or debris jams its internal cylinder.
This guide will help you find the exact cause. I will also walk you through safe removal steps and prevention tips.
Key Takeaways
- Remove pressure from the hitch before pulling the pin.
- Rust and road debris can seize a pin inside the receiver.
- A pin that rotates but will not slide is often binding.
- Locking pins may fail because of dirty or corroded cylinders.
- Heavy hammering can damage both the pin and receiver.
- Replace any pin that appears bent, cracked, or deeply corroded.
- Get professional help when cutting or drilling becomes necessary.
Why Is My Hitch Pin So Hard to Remove?
A hitch pin can become trapped for several different reasons. Identifying the cause first helps you avoid unnecessary force or receiver damage.
Pressure Is Binding the Pin
Pressure is one of the most common causes of a stuck pin.
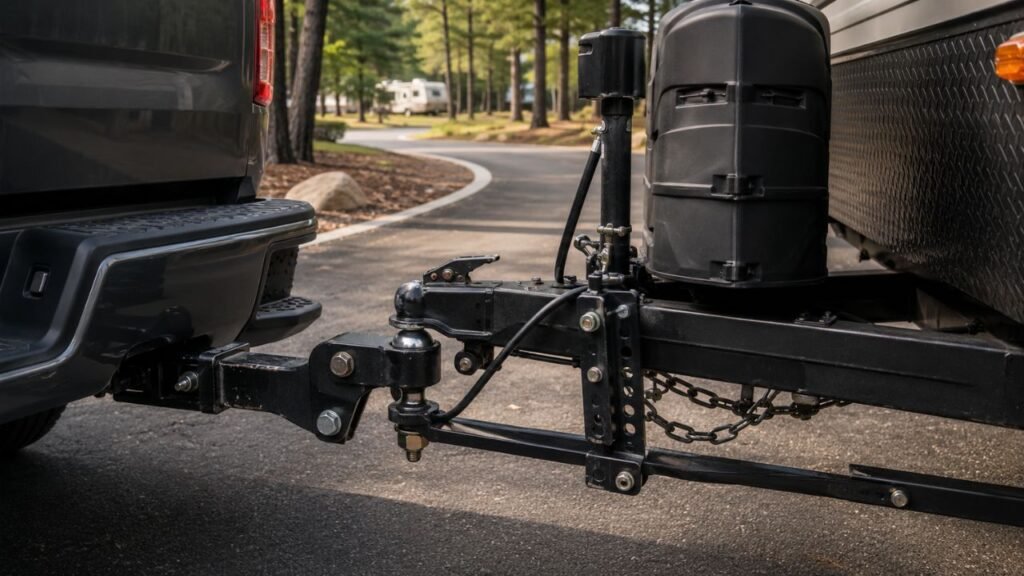
Your ball mount, bike rack, cargo carrier, or other accessory can shift inside the receiver. Its weight may press the shank against one side of the hitch pin.
The pin then becomes squeezed against the receiver holes. Pulling harder usually does not solve this kind of binding.
You need to take pressure off the pin first. Slightly lifting or repositioning the accessory may allow the holes to align again.
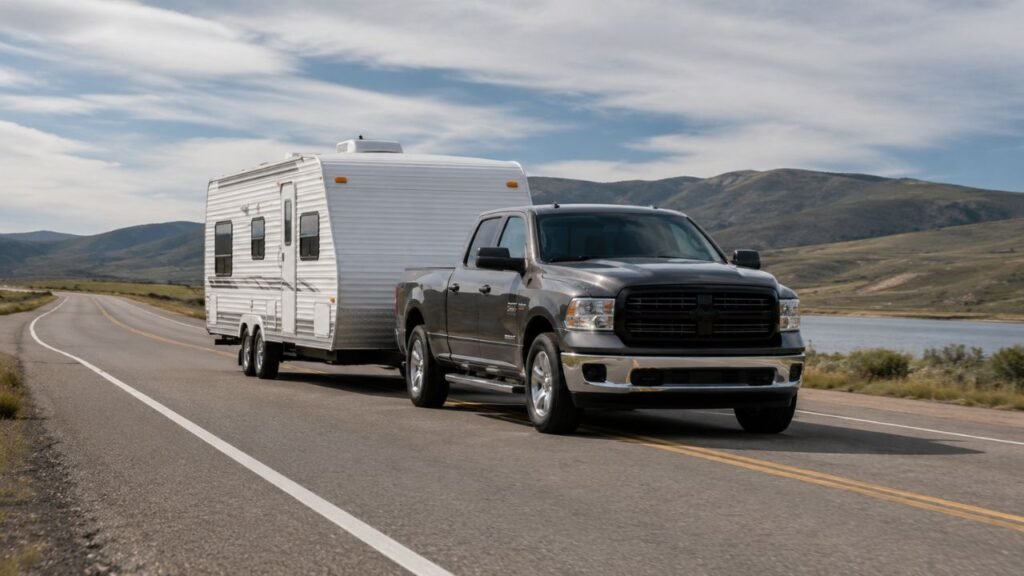
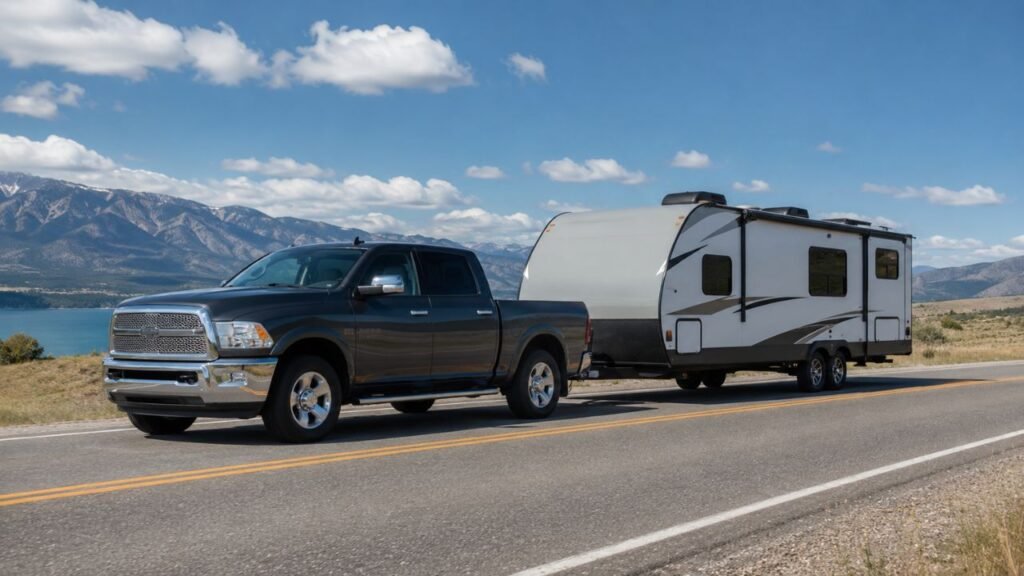
A trailer can also create pressure around the hitch connection. However, the pin does not directly support all the trailer’s tongue weight.
The ball mount transfers that force into the receiver tube. Movement within the connection can still push the shank firmly against the pin.
Rust Has Formed Around the Pin
Hitch pins live in a harsh location behind your vehicle.
They regularly face rain, mud, road spray, humidity, and winter salt. These conditions gradually damage protective coatings and expose the metal underneath.
Rust can develop between the pin and receiver holes. As corrosion expands, it creates a rough surface that grips both parts together.
A lightly rusted pin may only feel stiff. Severe corrosion can make the pin appear completely fused inside the receiver.
This problem is especially common when the ball mount stays installed year-round.
Dirt and Road Debris Have Built Up
Not every stuck pin is rusted.
Sand, dust, dried mud, and tiny metal particles can collect around the pin. Old grease may mix with this debris and form a sticky paste.
That buildup increases friction whenever you pull the pin. It may also stop the pin from rotating freely.
Vehicles used near beaches, farms, construction sites, or muddy campgrounds face more contamination. Regular cleaning becomes especially important in those environments.
The Receiver Holes Are Misaligned
The pin passes through several separate holes.
It goes through one receiver wall, the accessory shank, and the opposite receiver wall. All those holes must remain aligned for smooth removal.
A small movement can shift the shank inside the receiver. The pin may then sit tightly against the edge of one hole.
This often happens when a hitch accessory hangs downward. It can also occur when the vehicle is parked on uneven ground.
A pin that rotates but refuses to slide often indicates misalignment. Gentle accessory movement may release the trapped section.
The Hitch Pin Is Bent
A hitch pin should remain straight throughout its service life.
However, severe hitch movement, overloading, impacts, or damaged receiver components can bend it. Even a small bend may prevent the pin from passing through the holes.
You may notice that one end moves outward while the other remains trapped. The pin may also rotate unevenly or stop after turning slightly.
Do not try to straighten and reuse a bent hitch pin. Bending changes the metal and may reduce its strength.
The Locking Mechanism Is Jammed
A locking hitch pin can become stuck in two separate ways.
The metal pin may bind inside the receiver. The lock cylinder may also fail to release from the pin.
Moisture can enter the lock and corrode the internal parts. Dust, salt, and old lubricant can also prevent the tumblers from moving.
Sometimes the key enters but will not turn. In other cases, the locking head turns without releasing.
Pressure against the lock head can make the problem worse. Try supporting the hitch accessory before blaming the lock itself.
Stuck Hitch Pin Diagnosis Table
The way your pin behaves can reveal the likely problem. Use this table before applying more force.
| What You Notice | Most Likely Cause | First Step to Try | When to Stop |
| Pin rotates but will not slide | Pressure or misaligned holes | Lift and reposition the hitch accessory | Stop if the receiver begins moving |
| Pin will not rotate or move | Rust or packed debris | Clean the area and apply penetrant | Stop if severe metal loss is visible |
| Key enters but will not turn | Dirty or corroded cylinder | Clean and lubricate the keyway | Stop if the key begins bending |
| One end moves but remains trapped | Bent pin or shifted holes | Relieve pressure and check alignment | Stop if the pin looks curved |
| Fresh metal flakes appear | Wear or receiver deformation | Inspect the pin and receiver holes | Stop if holes look enlarged |
| Pin stuck after heavy towing | Binding, impact, or deformation | Unload the connection before inspection | Stop if overloading may have occurred |
| Locking head turns without releasing | Internal lock failure or side pressure | Support the accessory and try again | Stop if the lock body separates |
| Pin moves only after hard impacts | Severe corrosion or bending | Avoid further hammering | Arrange professional removal |
How to Remove a Hitch Pin That Is Stuck
Start with the least aggressive method available. Most pins release once you remove pressure and improve alignment.
Park on Firm, Level Ground
Move the vehicle onto stable and level ground when possible.
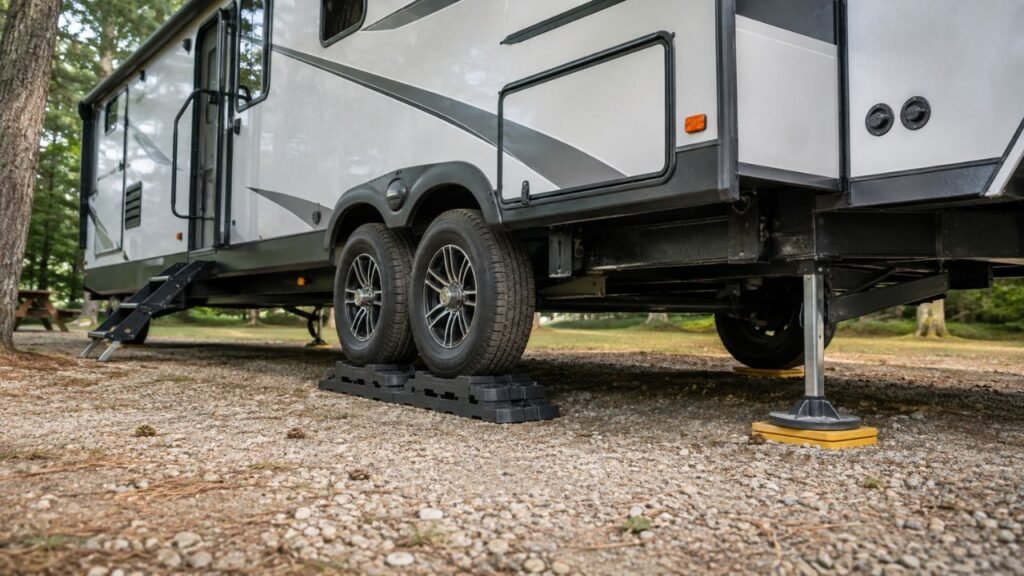
Apply the parking brake and place the transmission in park. Use wheel chocks when working around a connected trailer.
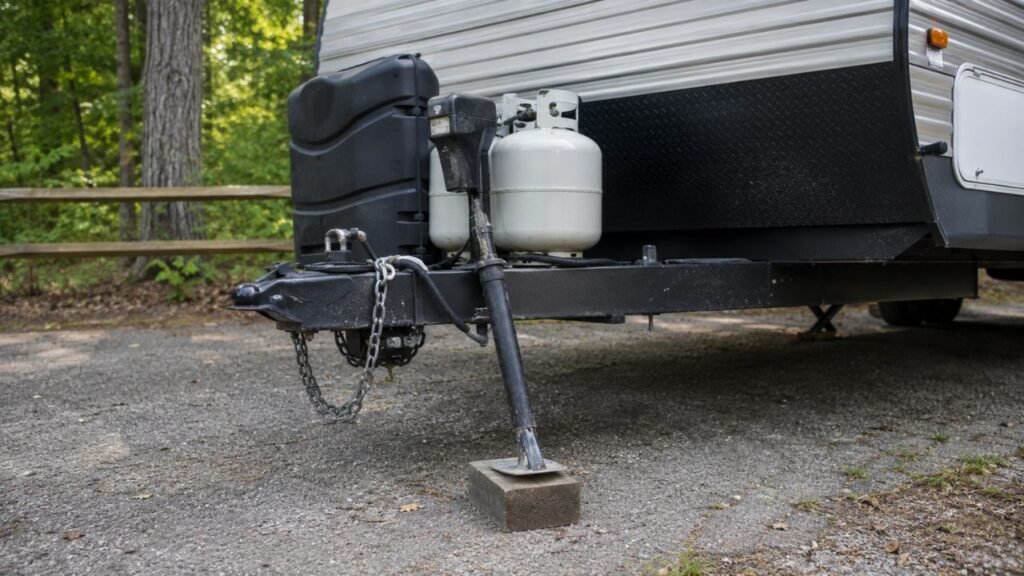
Make sure the trailer cannot roll or shift unexpectedly. Never work underneath an unsupported trailer tongue or hitch assembly.
Good positioning reduces movement while you handle the receiver. It also makes small alignment changes easier to control.
Remove Weight From the Hitch Accessory
Unload any cargo carrier before working on its hitch pin.
Remove bicycles from a bike rack when practical. Heavy items create leverage that presses the shank against the pin.
Support the accessory with a jack stand or stable block if needed. Do not rely on your hands to hold heavy equipment in position.
If a trailer remains connected, support it correctly before removing hitch hardware. Follow the trailer and hitch manufacturer’s instructions.
Once the load is supported, try rotating the pin. Easier movement suggests that pressure caused the problem.
Clean Both Ends of the Pin
Use a stiff brush to remove loose dirt and rust flakes.
Clean around both receiver holes and the exposed pin ends. Removing surface debris helps penetrating fluid reach the trapped areas.
A small pick can help loosen packed dirt around the opening. Avoid pushing sharp tools deeply between load-bearing metal surfaces.
Wipe away loosened contamination before adding lubricant. Otherwise, the debris may move farther into the receiver.
Apply a Penetrating Fluid
Apply a suitable penetrating fluid around both ends of the pin.
Try to reach the narrow gaps between the pin and receiver holes. Allow the fluid enough time to move into the corrosion.
Light rust may loosen within several minutes. More stubborn corrosion may require repeated applications and longer soaking.
A water-displacing spray can help with moisture or light contamination. A dedicated penetrant usually works better on heavy rust.
Do not expect penetrating fluid to correct a bent pin. It only reduces friction and helps loosen corrosion.
Reposition the Ball Mount or Accessory
While pulling gently on the pin, move the accessory slightly.
Try lifting it upward before moving it downward. Small side-to-side movements may also help align the holes.
Do not use sudden, uncontrolled movements. Heavy accessories can shift quickly once the pin becomes free.
Keep your fingers away from gaps between the shank and receiver. Those spaces can pinch your hand when the accessory moves.
You may need another person to support the accessory. One person can move it while the other pulls carefully.
Rotate the Pin While Pulling
A straight pin may rotate even when pressure prevents removal.
Turn the pin slowly while maintaining gentle outward pressure. Rotation can help the pin pass over small rust spots or misaligned edges.
Do not use a long extension for excessive leverage. Too much twisting can damage a locking head or retaining hole.
If the pin becomes easier to rotate at one accessory position, hold that position. The receiver holes are probably closer to proper alignment there.
Use Controlled Tapping
Light tapping can help break a minor rust bond.
Use controlled strikes against a suitable non-damaging surface or tool. Protect the pin end when you plan to reuse the pin.
Avoid striking a threaded section, lock cylinder, or key. Damage in those areas can make removal harder.
Do not hit the pin so hard that its end flattens. A mushroomed end may no longer fit through the receiver hole.
Stop when the receiver begins flexing or moving. The goal is releasing the pin, not deforming surrounding hardware.
Reapply Penetrant and Repeat
A badly rusted pin may not release immediately.
Apply more penetrant after each gentle movement cycle. Rotation and tapping can create small openings that improve fluid penetration.
Give the product time to work before trying again. Repeated gentle attempts are safer than one extremely forceful attempt.
If progress stops completely, inspect the pin again. A bend or damaged receiver hole may be preventing removal.
What Should I Do If My Locking Hitch Pin Is Stuck?
A locking hitch pin needs extra care because two components may fail. Check both the receiver alignment and the locking mechanism.
Remove Side Pressure From the Lock
Support the hitch accessory before turning the key.
Pressure from the shank can pull the pin sideways. That force may place tension on the locking head.
Push the lock head inward gently while turning the key. You can also adjust the accessory slightly to reduce tension.
Do not force the key when resistance remains high. A broken key creates a second problem inside the cylinder.
Inspect the Key
Look for bending, cracks, worn edges, or damaged teeth.
A worn key may enter the lock without moving every tumbler. A bent key can also bind against the inside of the cylinder.
Try a spare key when one is available. Do not use pliers to force a weak or damaged key.
Keep your replacement key code in a secure location. That can save you from destructive removal later.
Clean the Keyway
Use compressed air carefully to remove loose dirt from the keyway.
Keep the nozzle a safe distance from the opening. High pressure may push contamination deeper into the lock.
You can also wipe the entrance with a clean cloth. Avoid inserting oily, dirty tools into the cylinder.
Insert and remove the key several times after cleaning. This can help release minor debris around the tumblers.
Use a Lock-Safe Lubricant
Choose a lubricant made for lock cylinders and outdoor use.
Apply a small amount directly into the keyway. Insert the key and work it gently without applying excessive torque.
Some thick oils collect dust and eventually become sticky. Use the lock manufacturer’s recommended product whenever possible.
After the cylinder releases, clean the exterior lock body. Protecting it now can prevent another roadside problem.
Deal With a Frozen Lock Carefully
Cold weather can freeze trapped moisture inside the cylinder.
Warm the key gradually before inserting it. A commercial lock de-icer can also help release frozen internal parts.
Never use an open flame around the hitch. Heat can damage paint, wiring, plastic, and nearby vehicle components.
Extremely hot water is also a poor solution. It may refreeze later and introduce more moisture.
Use Manufacturer Support
Check whether the lock manufacturer offers replacement keys or warranty service.
Many locking pins include a key code. The company may create a replacement without removing the pin destructively.
Manufacturer support may also explain the correct release procedure. Some locks have specific positions that users easily overlook.
This option can preserve both the lock and receiver. It is often worth trying before contacting a repair shop.
Contact a Locksmith
A locksmith may release a failed cylinder without receiver damage.
This is especially helpful when the key breaks or internal parts collapse. A locksmith can also confirm whether the lock itself needs replacement.
Choose someone experienced with automotive or trailer locks. Explain the available working space before arranging service.
Can Tongue Weight Make a Hitch Pin Difficult to Remove?
Tongue weight can contribute to binding, although the hitch pin does not directly carry all that weight. The ball mount and receiver surfaces transfer most towing forces through their metal contact areas.
However, the shank still moves within the receiver’s normal clearance. Trailer position, road angle, braking forces, and hitch play can press the shank against the pin.
That pressure can make the pin difficult to rotate or pull. Supporting the trailer correctly may release the bind and improve hole alignment.
Never remove a ball mount while the trailer’s coupler remains loaded on the ball. Raise and support the trailer tongue according to its manufacturer’s instructions.
A stuck pin after towing does not always mean the pin is damaged. Still, inspect it carefully once removed.
How Can I Tell Whether the Hitch Pin Is Bent?
A bent pin may look normal while trapped inside the receiver. Watch for these warning signs during removal.
- The pin rotates unevenly or stops partway.
- One end moves while the other remains trapped.
- The retaining clip no longer aligns properly.
- Fresh scrape marks appear along one side.
- The pin binds after every towing trip.
- Receiver holes appear stretched or uneven.
- Heavy clunking occurs during braking or acceleration.
- Removal became difficult after an impact.
- The pin appears curved after removal.
- Its diameter looks reduced in one area.
Place the removed pin on a flat surface. A bent pin may rock or show visible gaps while rolling.
Do not hammer it straight and place it back into service. Replace it with the correct size and load-rated hitch pin.
Inspect the receiver holes before towing again. A damaged receiver may bend the replacement pin as well.
When Should You Stop Trying to Remove the Pin Yourself?
Some conditions require professional tools and inspection. Stop before a difficult pin becomes an expensive receiver repair.
- The pin is visibly bent or partially sheared.
- Deep rust has reduced the pin’s thickness.
- The receiver holes appear stretched or cracked.
- The receiver tube moves during removal attempts.
- The key is bending inside the lock.
- The lock cylinder has broken internally.
- Important wiring or body panels block access.
- Fuel-system components sit near the work area.
- The hitch was recently overloaded.
- The vehicle experienced a rear impact.
- Removal would require grinding or drilling.
- Heavy force has produced no movement.
A hitch shop or mechanic can handle receiver-related problems. A locksmith may be better for a failed locking cylinder.
A fabricator may be needed when metal is badly deformed. However, hitch repairs must preserve the receiver’s structural strength.
Is It Safe to Cut Out a Stuck Hitch Pin?
Cutting should be the last removal option, not the first. A cutting tool can slip and damage the receiver tube within seconds.
Sparks may also reach wiring, plastic trim, paint, grease, or other flammable materials. Restricted working space makes precise tool control even harder.
A hardened hitch pin may resist ordinary blades and cutting wheels. Continued cutting can overheat surrounding metal and damage protective coatings.
Drilling carries similar risks. A wandering drill bit may enlarge the receiver hole or weaken its edge.
Professional removal is the safer choice when destructive work becomes necessary. Repairing a damaged receiver can cost far more than the service call.
You should also confirm that you own the lock and equipment. A locksmith or repair shop may request proof before removing security hardware.
Should You Reuse a Hitch Pin After It Comes Out?
Removing the pin is only part of the job. Inspect every surface before deciding whether it remains safe.
- Check whether the pin remains completely straight.
- Look for deep scratches or flat worn areas.
- Inspect for cracks around the retaining hole.
- Check for rust pitting across the pin.
- Look for reduced thickness near receiver walls.
- Test the locking mechanism several times.
- Inspect the clip or retaining device.
- Check both receiver holes for distortion.
- Confirm the pin matches your receiver size.
- Verify its rating suits your towing setup.
Minor surface discoloration may clean away without affecting strength. Deep corrosion, bending, cracks, or major wear require replacement.
Hitch pins are relatively inexpensive compared with towing damage. Replace questionable hardware instead of taking an unnecessary risk.
How to Prevent a Hitch Pin From Getting Stuck Again
A few simple habits can prevent most stuck-pin problems. Regular inspection also helps you catch damage before your next trip.
Remove the Ball Mount When It Is Not Needed
Do not leave the ball mount installed for months unnecessarily.
Removing it reduces exposure to rain, road salt, and packed debris. It also gives you regular opportunities to inspect the receiver.
Store the ball mount in a dry location. Clean it before placing it near other equipment.
Removing the mount may also prevent accidental shin injuries. An unused ball mount can extend far beyond the bumper.
Clean the Receiver Regularly
Clean the receiver after muddy, wet, or salted trips.
Use a brush to remove loose debris from the tube. Wipe around the hitch pin holes and inspect their edges.
Pay extra attention after winter driving. Road salt can remain trapped inside the receiver long after roads become dry.
Beach driving also requires extra care. Sand and saltwater can quickly affect exposed towing hardware.
Protect the Pin From Corrosion
Use an appropriate corrosion protector on exposed hitch pin surfaces.
A thin protective layer can reduce direct moisture contact. Avoid applying excessive sticky grease that collects dirt and sand.
Follow the hitch pin manufacturer’s maintenance recommendations. Some coatings or locking mechanisms need specific products.
Clean the old product before applying a fresh layer. Trapping grit underneath lubricant can increase wear.
Maintain Locking Hitch Pins
Operate your locking pin regularly, even during storage.
Insert the key and confirm smooth locking and unlocking. This keeps the internal parts moving and reveals problems early.
Clean the keyway before adding lock-safe lubricant. Protect the cylinder with its weather cap when provided.
Store a spare key somewhere secure and accessible. Do not keep every key on the same keyring.
Check the Pin Before Every Trip
Make hitch pin inspection part of your towing routine.
Confirm the pin passes fully through both receiver walls. Make sure the retaining clip or locking head is securely attached.
Look for fresh rust, bending, cracks, or unusual movement. Check that the accessory shank remains properly positioned.
Pull firmly on the pin after installation. It should not slide out when the retainer is installed.
Use the Correct Hitch Pin
Receiver hitches commonly use different pin diameters and lengths.
A pin that is too small may create unwanted movement. One that is too short may not engage the retainer correctly.
A pin that is too long can leave unnecessary exposed space. It may also allow some accessories to shift more than expected.
Match the pin to your receiver and accessory requirements. Check its manufacturer rating before towing heavy loads.
Address Excessive Hitch Movement
A repeatedly stuck pin may indicate excessive receiver movement.
Listen for strong clunks during acceleration and braking. Inspect the ball mount, receiver openings, pin holes, and attached accessories.
An approved anti-rattle device may reduce movement for certain hitch accessories. However, it should not hide worn or damaged hardware.
Repeated pin damage deserves professional inspection. Replacing pins without correcting the cause will not solve the problem.
Common Mistakes That Make a Stuck Pin Worse
Small mistakes can turn a minor bind into permanent damage. Avoid these actions while working around the receiver.
- Pulling while the accessory remains heavily loaded.
- Hammering directly on a locking cylinder.
- Flattening or mushrooming the pin end.
- Using extreme leverage against the receiver wall.
- Forcing a bent key inside the lock.
- Applying uncontrolled heat near the vehicle.
- Spraying thick grease into a dirty cylinder.
- Working beneath an unsupported trailer tongue.
- Reusing a visibly bent hitch pin.
- Ignoring enlarged receiver holes.
- Towing immediately after severe binding.
- Assuming lubricant fixes every problem.
Patience is usually more effective than force. Stop and reassess whenever your removal method starts damaging another component.
Final Verdict
A hitch pin normally becomes hard to remove because it is under pressure, misaligned, rusted, dirty, or physically damaged. Begin by stabilizing the vehicle, supporting the accessory, and removing pressure from the receiver.
Next, clean both ends and apply a suitable penetrating fluid. Rotate the pin while gently repositioning the ball mount or accessory.
Avoid heavy impacts, uncontrolled heat, and aggressive prying. These methods can damage the receiver before freeing the pin.
Replace any pin that is bent, cracked, deeply rusted, or heavily worn. You should also inspect the receiver whenever its holes look enlarged or uneven.
A difficult pin is often easy to correct when caught early. Regular cleaning and removal can prevent it from becoming permanently seized.
Related FAQs
Here are short answers to common questions about stuck hitch pins.
Why Does My Hitch Pin Spin but Not Come Out?
A spinning pin is often free from severe rust but still trapped by pressure. Lift or reposition the hitch accessory while pulling the pin gently.
Can I Use WD-40 on a Stuck Hitch Pin?
It can help displace moisture and loosen light contamination. However, a dedicated penetrating fluid may work better on severe rust.
How Long Should Penetrating Oil Sit on a Hitch Pin?
Light corrosion may loosen after several minutes. Heavier rust may require repeated applications and a longer soaking period before movement begins.
Why Is My Hitch Pin Stuck After Towing?
Braking, acceleration, road impacts, and hitch play can push the shank against the pin. Supporting and repositioning the accessory may release that pressure.
Can Too Much Weight Bend a Hitch Pin?
Overloading, severe hitch movement, impacts, or damaged receiver components can bend a hitch pin. Replace the pin and inspect the entire connection.
Should I Grease My Hitch Pin?
A light corrosion-protection product can help prevent sticking. Avoid excessive sticky grease because it may collect grit and increase wear.
Can I Drive With a Bent Hitch Pin?
No. A visibly bent hitch pin should not be trusted for towing. Replace it and inspect the receiver before using the hitch again.
Why Will My Locking Hitch Pin Key Not Turn?
The cylinder may contain dirt, moisture, corrosion, or ice. Side pressure against the locking head can also prevent the key from turning.
How Often Should I Remove and Inspect My Hitch Pin?
Inspect it before every towing trip and remove it periodically. Check it more often after rain, road salt, mud, or long outdoor storage.
Can a Stuck Hitch Pin Damage the Receiver?
Yes. Corrosion, bent hardware, aggressive hammering, and repeated movement can enlarge or deform the receiver holes.
Why Is My Hitch Pin Harder to Remove on a Slope?
Parking on a slope can shift the hitch accessory inside the receiver. That movement may press the shank against one side of the pin.
Can an Anti-Rattle Device Make the Pin Hard to Remove?
Yes. An anti-rattle device can keep tension on the hitch shank. Loosen or remove that tension before trying to pull the pin.
Should a Hitch Pin Move Freely?
A clean, correctly sized pin should slide through aligned holes without excessive force. Slight resistance can occur when the accessory shifts inside the receiver.
Can I Leave My Hitch Pin Installed All Year?
You can, but long-term exposure increases corrosion and seizure risks. Removing, cleaning, and inspecting the pin regularly is a better practice.
What Should I Do After Removing a Rusted Hitch Pin?
Clean the receiver holes, inspect them for damage, and replace questionable hardware. Apply suitable corrosion protection before installing the new pin.

Scott Miller shares real-world RV road trip insights built from years of traveling open highways and backroads. He covers route planning, campground choices, and travel gear with a practical mindset. His content is written for RVers who value reliability over trends.