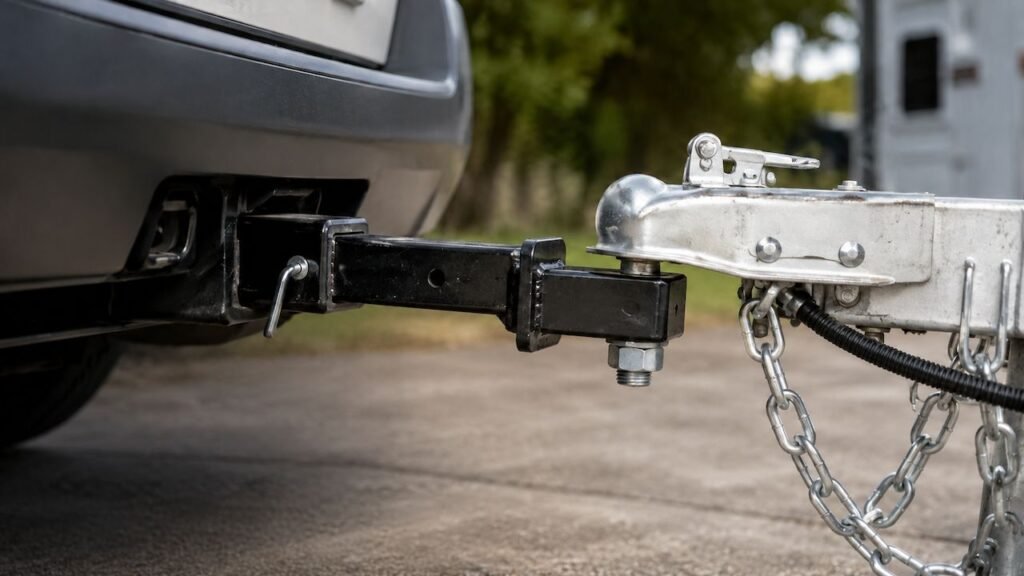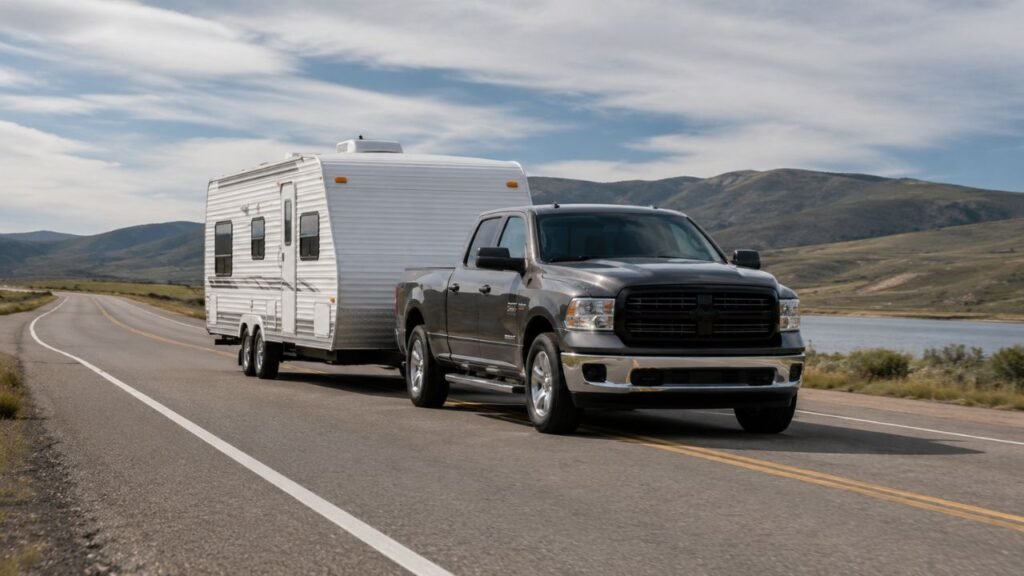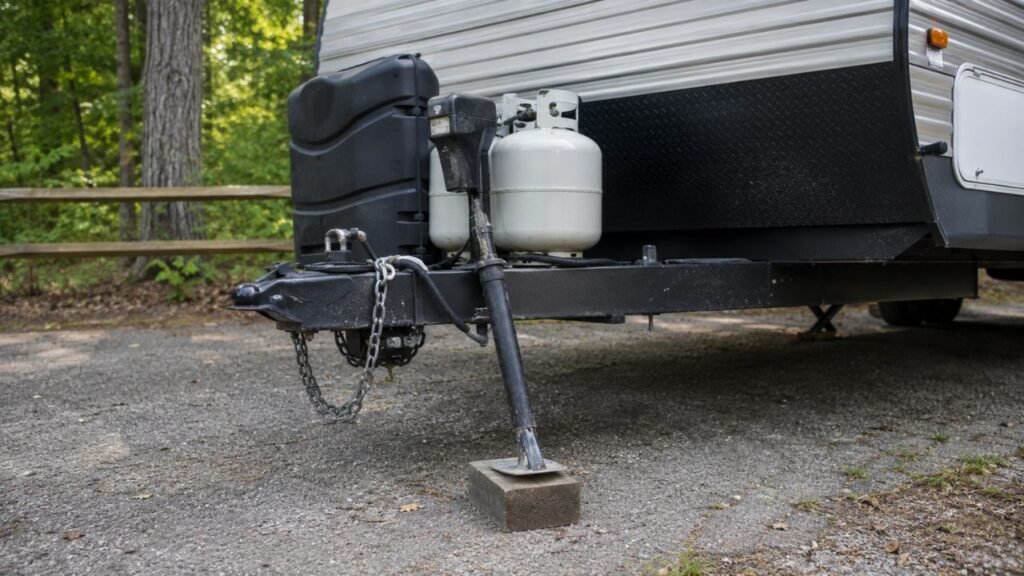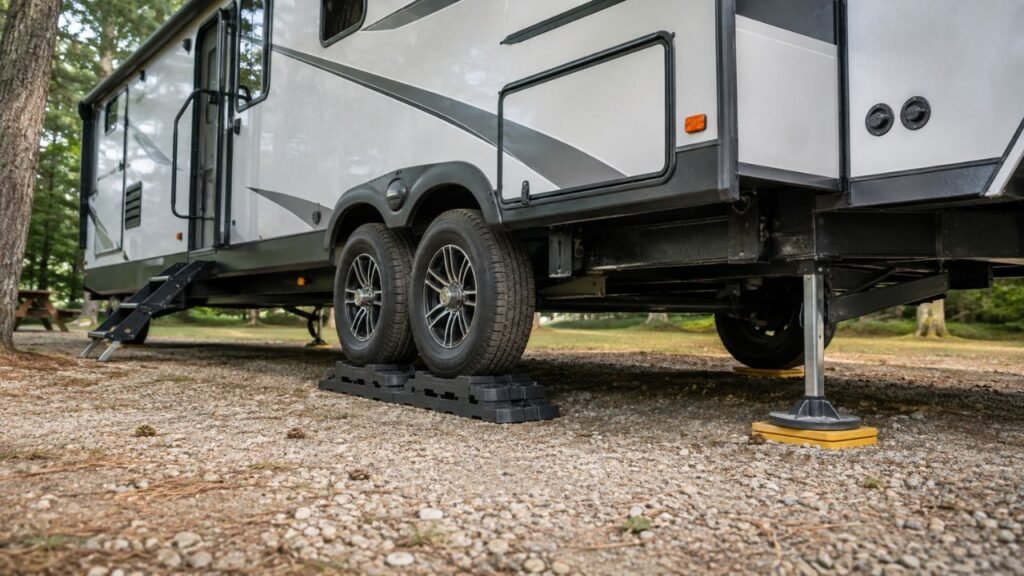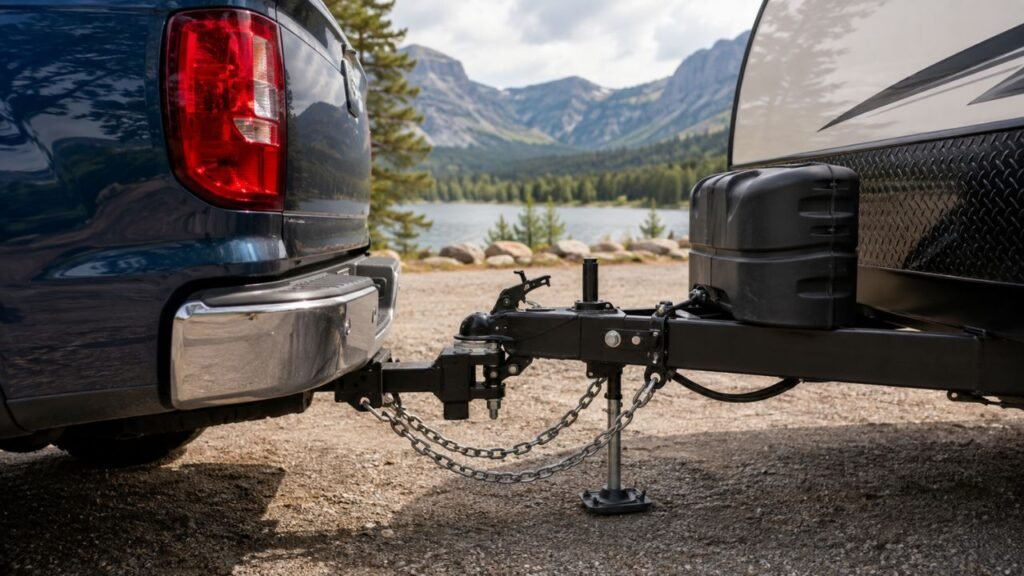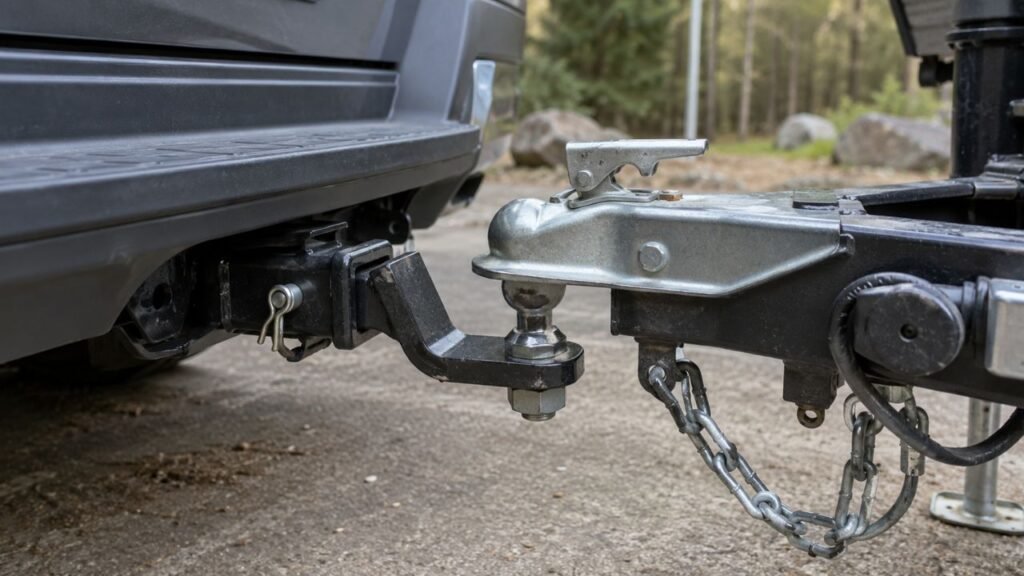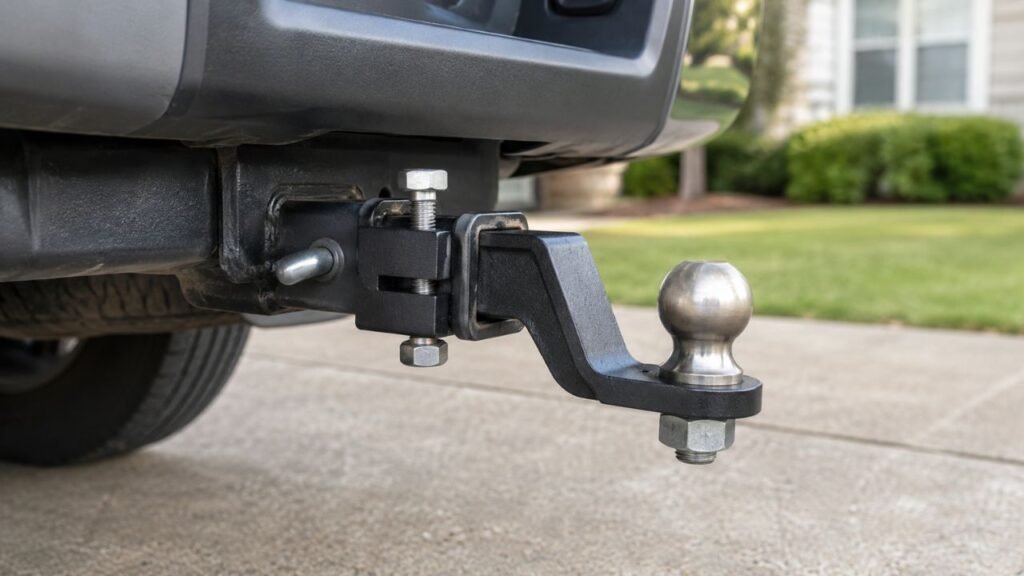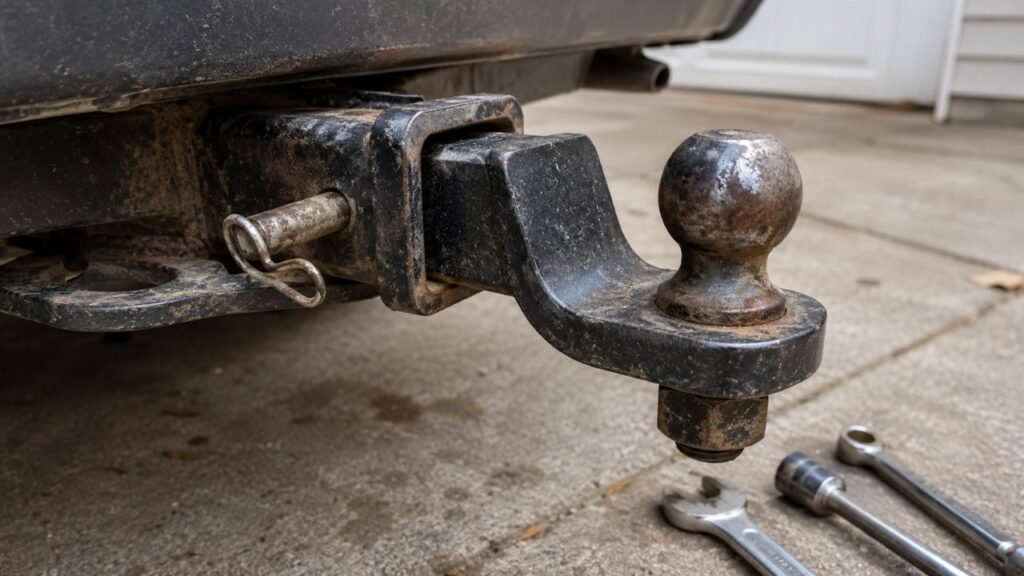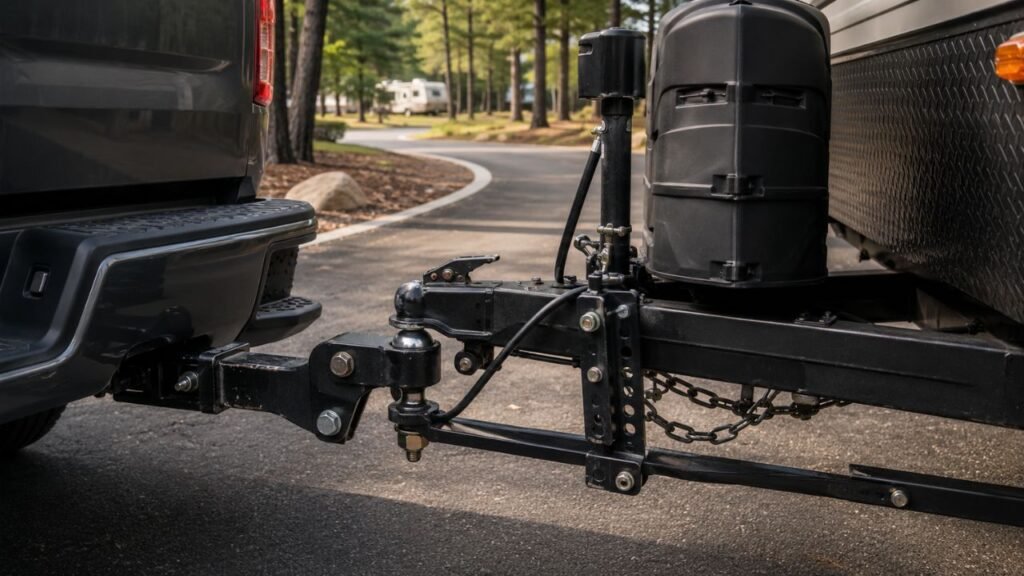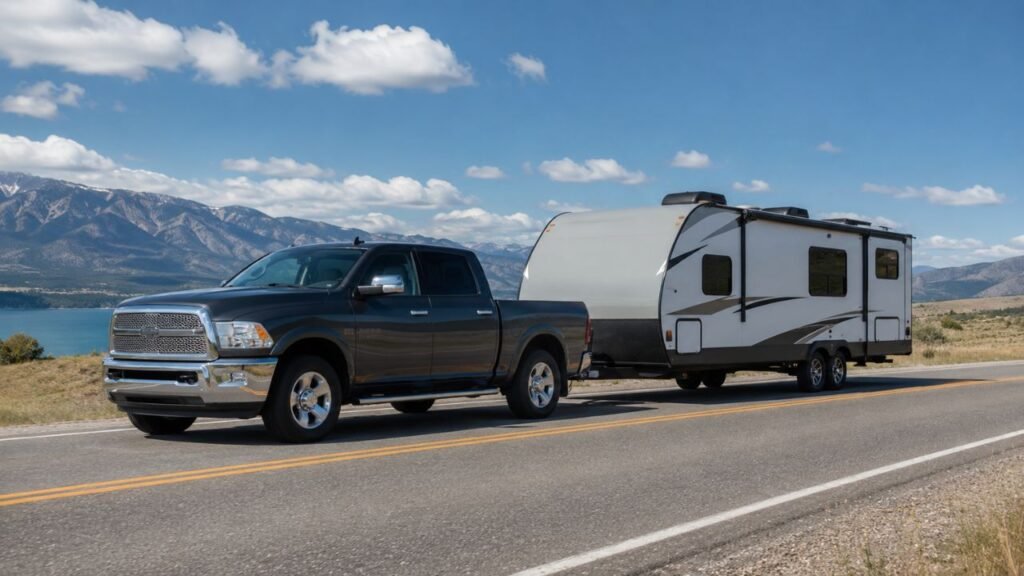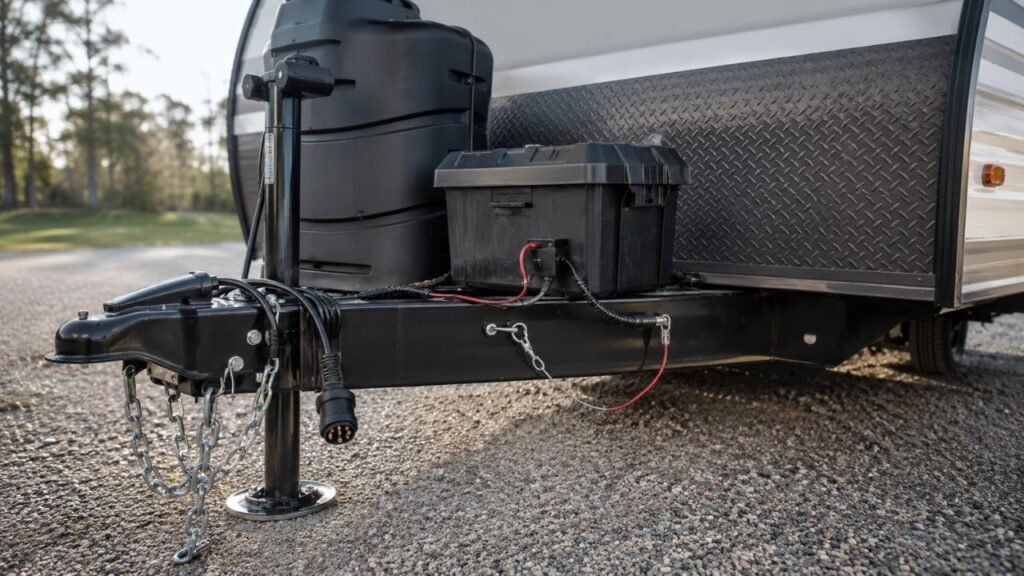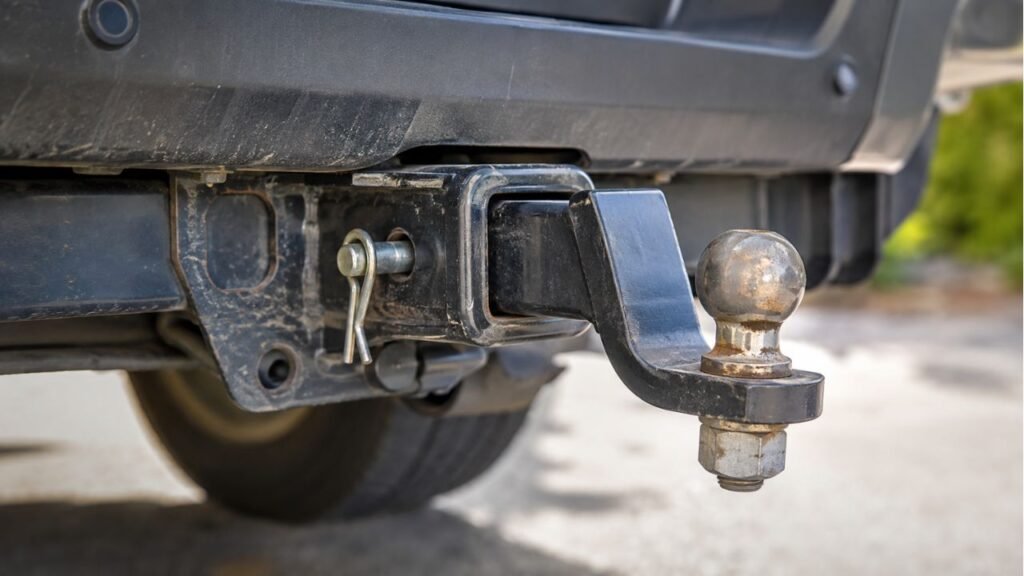
Yes, persistent hitch rattle can gradually damage a receiver. Repeated metal-on-metal movement may wear the receiver tube, hitch shank, pin, and pin holes. However, a small amount of unloaded movement is often normal.
In this guide, I’ll help you separate harmless movement from damaging rattle. You’ll also learn how to inspect the receiver, reduce movement, and recognize when replacement may be necessary.
Key Takeaways
- Minor movement inside a hitch receiver is usually normal.
- Loud clunking may indicate excessive forward-and-back movement.
- Repeated impacts can enlarge or elongate hitch pin holes.
- The ball mount may wear before the receiver becomes damaged.
- Anti-rattle devices reduce movement but cannot repair structural damage.
- Cracks, deformation, or loose mounting points require professional inspection.
- Never exceed the lowest-rated part of your towing setup.
Can Hitch Rattle Really Damage a Receiver?
A light hitch rattle does not normally destroy a healthy receiver. Most receivers need slight clearance so accessories can slide inside easily.
The concern begins when the movement becomes forceful and repetitive. Each acceleration, stop, pothole, or road joint may shift the shank. That movement can make the shank strike the receiver walls repeatedly.
Over time, those impacts may remove small amounts of metal. They can also place repeated pressure against the hitch pin holes.
Think of the difference this way. A slight unloaded wiggle is generally expected. A loud bang during every stop deserves closer attention.
The noise itself does not damage the receiver. The movement creating that noise causes the wear.
You should pay particular attention to forward-and-back movement. That direction often forces the hitch pin against the hole edges.
Side-to-side movement can also create noise. However, heavy push-and-pull clunking is usually more concerning.
How Hitch Rattle Can Wear the Receiver
Excessive movement can affect several parts of your hitch connection. The receiver opening is only one possible wear point.
Elongated Hitch Pin Holes
The hitch pin prevents the shank from sliding out. During acceleration and braking, the pin may absorb repeated impact loads.
If the shank moves excessively, it pushes against the pin. The pin then presses against the receiver hole edges.
Over time, the originally round holes may become oval-shaped. You may also notice sharp burrs or uneven edges.
Elongated holes create even more space for movement. That increased movement can make the original rattle progressively worse.
This does not mean every slightly imperfect hole is dangerous. However, visible stretching should not be ignored.
Wear Inside the Receiver Tube
The shank may rub against the receiver’s upper, lower, and side walls. Some light surface polishing is common with regular use.
Deeper scratches, grooves, or uneven metal loss are more concerning. These marks suggest repeated movement has continued for some time.
You may notice bright polished areas where paint disappeared. You might also find rust flakes or raised metal burrs.
A dirty receiver can make this wear harder to see. Remove the accessory and clean the tube before inspecting it.
Ball Mount and Accessory Shank Wear
The receiver is not always the worn component. Sometimes the removable ball mount develops most of the wear.
Bike racks, cargo carriers, and reducer sleeves can also wear. Their shanks may become rounded or uneven near contact points.
Inspect both sides before blaming the vehicle-mounted receiver. A worn accessory may fit loosely inside an undamaged receiver.
Testing another properly sized accessory can provide useful information. However, it should match the receiver and application correctly.
Hitch Pin and Clip Wear
A hitch pin can become grooved, bent, or badly corroded. An undersized pin may also allow unnecessary movement.
Replacing a damaged pin is usually simple and affordable. Still, a new pin cannot repair enlarged receiver holes.
The retaining clip should also fit securely. A loose or damaged clip could allow the pin to shift outward.
Use the pin size required by the receiver manufacturer. Never replace it with an improvised bolt or undersized pin.
Cracked Welds or Loose Mounting Hardware
Ordinary receiver rattle does not usually crack a healthy hitch immediately. Structural problems generally involve additional stress or existing weakness.
Possible contributing factors include overloading, corrosion, impacts, or improper installation. Loose mounting bolts can also create movement beneath the vehicle.
Look closely around welds, mounting plates, and frame connections. Stop using the hitch if you discover visible cracks.
A receiver moving separately from the vehicle frame needs immediate inspection. An anti-rattle clamp cannot correct that type of problem.
Normal Hitch Play vs Potentially Damaging Rattle
Some receiver clearance is necessary for installation and removal. The table below can help you judge what your hitch is doing.
| Condition | What You May Notice | Likely Meaning | Recommended Action |
| Slight movement when unloaded | Light tapping or a small wiggle | Usually normal manufacturing clearance | Inspect periodically |
| Movement settles under tongue weight | Connection feels tighter after loading | Often normal when everything fits correctly | Confirm hardware and ratings |
| Loud clunk during stopping | Strong forward-and-back shifting | Excessive clearance or worn components | Inspect before continued towing |
| Ball mount sits noticeably crooked | Uneven gap around the shank | Possible receiver or shank wear | Remove and inspect both parts |
| Hitch pin moves inside the holes | Visible shifting near pin openings | Possible pin or hole wear | Check the pin and receiver |
| Pin holes appear oval | Uneven or stretched openings | Progressive receiver wear | Arrange professional inspection |
| Receiver opening looks distorted | Tube is no longer square | Possible structural deformation | Do not continue towing |
| Cracks or loose mounting points | Receiver moves beneath the vehicle | Serious structural problem | Stop using the hitch immediately |
There is no universal measurement for acceptable hitch movement. Receiver dimensions, coatings, and manufacturing tolerances vary.
Your hitch manufacturer may provide specific inspection instructions. Follow those instructions whenever they are available.
Signs Hitch Rattle May Already Be Causing Damage
Sound alone cannot confirm receiver damage. Physical changes provide stronger evidence that wear is developing.
Watch for these common warning signs:
- The hitch rattle becomes louder over time.
- Clunking happens during every stop or acceleration.
- The pin moves visibly inside the receiver holes.
- The pin holes appear oval instead of round.
- The receiver opening looks stretched or uneven.
- The ball mount leans noticeably inside the tube.
- Deep grooves appear on the accessory shank.
- Sharp metal burrs form around the receiver opening.
- Rust flakes fall from inside the receiver.
- The hitch pin becomes bent or heavily grooved.
- The pin becomes unusually difficult to remove.
- A correctly installed tightener cannot control movement.
- Receiver mounting bolts repeatedly become loose.
- Cracks appear near mounting plates or welds.
- The receiver moves separately from the vehicle frame.
Minor paint wear does not always mean serious damage. Paint naturally rubs away where steel components contact each other.
Deep scoring, distortion, or cracking is different. Those conditions deserve prompt professional attention.
Does Hitch Rattle Make Towing Dangerous?
A small unloaded rattle does not automatically make towing unsafe. It also does not mean the trailer will suddenly disconnect.
However, excessive movement should still be taken seriously. Repeated impacts can increase wear throughout the connection.
A loose ball mount may create stronger shock loads during braking. Those impacts can affect the hitch pin and receiver holes.
Excessive movement can also make the setup feel less controlled. This is especially noticeable with heavy cargo carriers or bike racks.
Still, receiver rattle is not usually the main cause of trailer sway. Sway more commonly involves loading, tongue weight, tires, suspension, speed, or wind.
Do not depend on an anti-rattle device for structural safety. It cannot increase your receiver’s towing or tongue-weight rating.
It also cannot make an overloaded accessory safe. Every part must remain within its stated capacity.
What Causes Excessive Hitch Rattle?
Receiver clearance is only one possible cause of unwanted noise. Check the entire connection before choosing a solution.
Normal Manufacturing Clearance
A hitch shank cannot fit inside the receiver without any clearance. It needs enough space for easy insertion and removal.
Paint thickness, dirt, and light corrosion also affect the fit. Therefore, two correctly sized parts may still move slightly.
This small gap often creates a light rattle when unloaded. It does not automatically indicate damage.
Worn Receiver or Ball Mount
Years of use may gradually remove material from contact surfaces. The gap between the shank and receiver can then increase.
Heavy accessories may accelerate this process. Rough roads can also increase repeated movement and impact.
Inspect the ball mount first because it is easier to replace. Look for rounded corners, grooves, or uneven metal loss.
Incorrectly Sized Components
A mismatched component can create excessive movement immediately. Always confirm the receiver and accessory shank sizes.
Common problems include:
- A shank that does not match the receiver size
- A loose or damaged reducer sleeve
- Multiple stacked receiver adapters
- An incorrectly fitted hitch extension
- An accessory with unusual manufacturing tolerances
- The wrong hitch pin diameter
Adapters may be useful for certain applications. However, every additional connection can introduce more movement.
They may also reduce the available capacity. Follow the manufacturer’s rating and installation instructions carefully.
Heavy Hitch-Mounted Accessories
Bike racks and cargo carriers place weight behind the receiver. That distance creates leverage on the hitch connection.
The farther the weight sits from the receiver, the greater the leverage. Movement may become more noticeable over dips and bumps.
A cargo carrier can stay within its own rating yet overload the receiver. You must check the vehicle and hitch limits too.
Remember that dynamic road forces can exceed parked weight. A heavy carrier bouncing over potholes creates repeated shock loading.
Loose Hitch Ball or Coupler
Receiver rattle is different from coupler or hitch-ball movement. Several loose components can create similar sounds.
Check whether the hitch ball is properly secured to the ball mount. Its nut must meet the manufacturer’s torque requirement.
Make sure the trailer coupler matches the hitch-ball size. The coupler must latch securely without excessive looseness.
A worn coupler can clunk during acceleration and braking. An anti-rattle receiver clamp will not correct coupler wear.
Rough Roads and Aggressive Driving
Potholes, expansion joints, and gravel roads increase hitch movement. They can make an existing loose fit sound much worse.
Sudden braking pushes the trailer or accessory connection forward. Rapid acceleration pulls the connection in the opposite direction.
Slowing down on rough roads reduces repeated impact. It also helps protect the trailer, cargo, and towing vehicle.
Rust, Dirt, and Damaged Coatings
Rust does not always make a receiver looser immediately. Sometimes corrosion initially makes the fit tighter.
However, advanced corrosion can remove steel and weaken surfaces. Flaking rust may also hide pitting or cracking.
Dirt mixed with grease can create an abrasive paste. That mixture may increase wear between the shank and receiver.
Clean the receiver periodically and address surface rust early. Do not simply cover heavy corrosion with fresh paint.
How to Inspect a Rattling Hitch Receiver
Park on solid, level ground before starting your inspection. Disconnect the trailer or remove the accessory whenever practical.
1. Remove the Ball Mount or Accessory
Pull the hitch pin and slide the accessory outward. Do not force heavily rusted components without identifying the problem.
A stuck shank may require professional removal. Excessive hammering could damage the receiver or vehicle.
2. Clean the Receiver and Shank
Remove loose dirt, rust flakes, and old debris. A clean surface makes wear patterns easier to recognize.
Use suitable cleaning products for the hitch material. Avoid hiding damage beneath thick coatings or grease.
3. Inspect the Accessory Shank
Look along every side of the removable shank. Check for deep scoring, bending, cracks, or rounded edges.
Pay attention around the pin hole. That area often shows evidence of repeated forward-and-back movement.
4. Inspect the Receiver Opening
The opening should remain reasonably square and even. Look for stretched edges or obvious deformation.
Minor paint loss near the opening is common. Folded metal, cracking, or severe distortion is not normal.
5. Examine Both Pin Holes
Check both sides of the receiver carefully. The holes should not appear badly stretched or cracked.
Look for burrs that may cut or catch the pin. Compare the hole shape from several viewing angles.
6. Check the Hitch Pin
Roll the pin on a flat surface when possible. A bent pin may wobble as it rolls.
Replace pins with deep grooves or severe corrosion. Use only the correct diameter and approved type.
7. Inspect Mounting Bolts and Welds
Check where the receiver attaches to the vehicle. Look for missing hardware, rust movement marks, or loose bolts.
Do not tighten mounting hardware using a guessed torque value. Use the hitch or vehicle manufacturer’s specifications.
8. Reinstall the Accessory
Insert the clean accessory and install the correct pin. Move the accessory gently in several directions.
Check upward, downward, side-to-side, and forward movement. Strong front-to-back clunking deserves closer attention.
9. Compare Another Compatible Shank
A second correctly sized accessory can help identify the worn part. If only one shank rattles, that shank may be worn.
If every compatible accessory fits loosely, inspect the receiver more closely. This comparison is helpful but not definitive.
10. Get Professional Help When Needed
A hitch installer or qualified mechanic can inspect uncertain damage. Structural repairs should not be based on guesswork.
Seek help when you notice cracks, deformation, or enlarged holes. The cost of inspection is small compared with towing failure.
Can an Anti-Rattle Device Prevent Receiver Damage?
Anti-rattle devices can reduce unnecessary movement in a sound connection. However, the device must suit your receiver and application.
Clamp-Style Hitch Tighteners
A clamp-style tightener usually uses a plate and U-bolt. It pulls or presses the shank against the receiver wall.
These devices are commonly used with:
- Bike racks
- Cargo carriers
- Hitch steps
- Light receiver accessories
- Compatible towing setups
Check clearance around the safety chains and wiring socket. The clamp must not interfere with other essential components.
Tighten it according to the product instructions. Excessive force is not always better.
Threaded Anti-Rattle Hitch Pins
A threaded pin pulls the accessory shank toward one receiver wall. This can significantly reduce movement.
However, the accessory must support that pin design. Many systems require an internal nut block or threaded insert.
Do not force a threaded pin through an incompatible shank. Incorrect use may damage the threads or accessory.
Wedge-Style or Internal Tighteners
Internal systems use wedges or expanding parts inside the shank. They press against the receiver walls after tightening.
These systems can create a clean exterior appearance. Their suitability depends on the hitch and accessory design.
Inspect internal tighteners periodically. Dirt, rust, and loose hardware may affect their operation.
Built-In Anti-Wobble Systems
Some bike racks and carriers include built-in stabilizing mechanisms. These systems are designed around that specific accessory.
Follow the product’s tightening procedure carefully. The mechanism should control movement without hiding serious wear.
What Anti-Rattle Devices Cannot Fix
An anti-rattle device should never be used to conceal structural damage. It cannot safely correct these problems:
- Cracked receiver tubes
- Cracked or separated welds
- Severely elongated pin holes
- Bent ball mounts
- Loose receiver mounting hardware
- Incorrect receiver or shank sizes
- Severe corrosion and metal loss
- Overloaded cargo carriers
- Worn trailer couplers
- Loose hitch-ball hardware
- Vehicle frame damage
Treat the device as a stabilizer, not a repair. Inspect the connection before installing one.
Safe Fixes vs Temporary Hitch-Rattle Fixes
Several quick fixes may quiet the noise temporarily. However, not every quiet connection is a safe connection.
| Method | Long-Term Solution? | Important Limitation |
| Compatible hitch tightener | Often | Must match the hitch and intended use |
| Compatible threaded anti-rattle pin | Often | Requires a suitable accessory design |
| Replacing a worn hitch pin | Yes | Does not repair elongated receiver holes |
| Replacing a worn ball mount | Yes | Receiver condition must also be checked |
| Manufacturer-approved reducer sleeve | Sometimes | May add another movement point |
| Electrical tape around the shank | No | Quickly wears and may trap moisture |
| Cardboard or wooden wedges | No | Can compress, shift, or fall out |
| Loose homemade metal shims | No | May move or affect pin engagement |
| Over-tightening an anti-rattle bolt | No | Can damage threads or components |
| Welding the ball mount in place | No | Alters the hitch and prevents servicing |
Electrical tape may make the fit quieter briefly. It does not provide dependable load control.
Cardboard, rubber scraps, and wood can compress unexpectedly. They may also trap water against the steel.
Homemade metal shims can slide toward the hitch pin. They could interfere with proper pin placement.
Use a product designed for your receiver and accessory. A proper solution should remain inspectable and secure.
Should You Grease the Ball Mount Inside the Receiver?
Greasing the hitch ball is different from greasing the receiver shank. These surfaces have different jobs and maintenance needs.
Hitch-ball grease can reduce friction between the ball and coupler. Use it only when appropriate for your hitch system.
Grease inside the receiver does not remove mechanical clearance. Therefore, it cannot truly stop damaging movement.
It may make sliding easier and offer some corrosion protection. However, thick grease also collects dust and road grit.
That mixture can become abrasive over time. It may also make inspection unpleasant and difficult.
A light protective coating may be suitable in some environments. Follow the hitch manufacturer’s maintenance instructions.
Do not treat lubrication as an anti-rattle repair. Movement should be controlled through proper fit and compatible equipment.
When Does a Rattling Receiver Need Repair or Replacement?
Not every noisy receiver needs replacement. The decision depends on the damage type, location, and receiver design.
Arrange professional inspection when:
- Hitch pin holes are visibly elongated.
- The receiver opening is severely distorted.
- The receiver tube appears bent or twisted.
- Cracks appear near welds or mounting points.
- Mounting bolts repeatedly work loose.
- Heavy corrosion has caused deep pitting.
- Metal flakes away from structural areas.
- The receiver moves independently from the vehicle.
- Every correctly sized shank fits excessively loose.
- The hitch has suffered a major collision.
- The hitch was used beyond its rating.
- The vehicle frame shows damage nearby.
Do not drill larger pin holes without proper approval. Enlarging the holes removes additional material from the receiver.
Welding washers over damaged holes is not automatically safe. That modification may alter how loads travel through the hitch.
Adding random weld material can create heat-affected areas. It may also void the hitch rating or warranty.
A damaged bolt-on receiver is often best replaced completely. Replacement provides a known structure with a stated rating.
Integrated or custom receivers require specialized evaluation. Use a professional familiar with towing structures and vehicle frames.
How to Prevent Hitch Rattle From Becoming Damage
Early maintenance is easier than repairing a worn receiver. A few simple habits can reduce unnecessary movement.
- Use the correct receiver and shank sizes.
- Avoid unnecessary adapters and extensions.
- Install a compatible anti-rattle device when appropriate.
- Stay below the receiver’s tongue-weight limit.
- Stay below the vehicle’s towing limits.
- Check the accessory manufacturer’s load rating.
- Consider leverage from long racks and carriers.
- Inspect the pin before every towing trip.
- Replace bent or deeply grooved hitch pins.
- Check the ball mount for uneven wear.
- Keep the receiver reasonably clean.
- Remove unused accessories when practical.
- Address surface rust before it becomes severe.
- Slow down over potholes and rough roads.
- Secure cargo so it cannot shift.
- Recheck receiver mounting hardware periodically.
- Investigate any sudden change in hitch noise.
Always follow the lowest rating in the full setup. That could be the vehicle, receiver, ball mount, ball, pin, or accessory.
A Quick Hitch-Rattle Inspection Checklist
Use this checklist before towing or carrying a heavy accessory:
- Receiver opening remains reasonably square.
- Pin holes remain round and uncracked.
- No severe rust or metal flaking appears.
- Hitch pin remains straight and correctly sized.
- Retaining clip locks securely.
- Ball mount is not bent or deeply worn.
- Accessory shank matches the receiver size.
- Receiver mounting bolts appear secure.
- Welds show no visible cracks.
- Anti-rattle device fits the intended application.
- Hitch ball remains properly secured.
- Coupler matches the hitch-ball size.
- Cargo remains within every applicable rating.
- No severe clunk occurs during normal stops.
- Safety chains and wiring remain unobstructed.
A checklist cannot replace professional inspection. However, it helps you notice changes before they become severe.
Final Verdict
Yes, hitch rattle can damage the receiver when movement becomes excessive. Repeated impacts may wear the receiver walls, pin, shank, and pin holes.
That does not mean every small wiggle is dangerous. Slight clearance is normally required between correctly sized components.
The warning signs are worsening noise, strong clunking, oval holes, and deformation. Cracks or loose mounting points require immediate attention.
Start by removing and cleaning the ball mount. Inspect the shank, pin, receiver opening, and mounting points carefully.
A compatible anti-rattle device can reduce movement in a healthy receiver. It cannot restore missing metal or repair structural damage.
When anything looks stretched, cracked, or badly corroded, stop guessing. Have the receiver inspected before towing again.
Related FAQs
This section answers common questions about hitch movement, receiver wear, and anti-rattle devices.
Is a Little Movement in a Hitch Receiver Normal?
Yes, a small amount of movement is usually normal because the shank needs clearance for installation and removal. Loud clunking or increasing forward-and-back movement should be inspected.
Can an Anti-Rattle Clamp Damage a Receiver?
A compatible clamp used correctly should not normally damage a sound receiver. Incorrect installation, excessive tightening, or use on an already damaged hitch may create additional problems.
Can Elongated Hitch Pin Holes Be Repaired?
Repair depends on the receiver design and damage severity. A qualified professional should inspect the hitch before drilling, welding, or adding material around the holes.
Does Hitch Rattle Cause Trailer Sway?
Minor receiver rattle is rarely the main cause of sway. However, excessive looseness can worsen the towing feel and should be corrected alongside loading, tire, suspension, and hitch issues.
Will a Heavier Hitch Pin Stop the Rattle?
A heavier pin cannot remove the gap between the shank and receiver. It only helps when the original pin is bent, worn, undersized, or unsuitable.
Should I Tow With a Rattling Ball Mount?
Light movement may be normal, but loud clunking requires inspection. Do not tow with cracks, severe rust, distorted holes, loose mounts, or damaged hardware.
Can a Bike Rack Damage a Hitch Receiver?
A heavy or long bike rack can place considerable leverage on the receiver. Stay within all ratings and use a compatible stabilizer to reduce unnecessary movement.
Why Did My Hitch Start Rattling Suddenly?
A sudden rattle may come from a loose tightener, worn pin, shifted reducer sleeve, new corrosion, accessory damage, or developing wear inside the receiver.
Does Grease Stop Hitch Rattle?
Grease may reduce friction, but it cannot remove receiver clearance. A compatible tightener or replacement of worn components provides a more effective solution.
How Often Should I Inspect My Hitch Receiver?
Perform a quick check before towing or carrying heavy accessories. Complete a closer inspection periodically and after collisions, overloading, severe potholes, or sudden changes in noise.
Can I Use Electrical Tape to Stop Hitch Rattle?
Electrical tape may reduce noise temporarily, but it wears quickly and traps moisture. It should not replace a properly designed anti-rattle device.
Does an Anti-Rattle Device Increase Hitch Capacity?
No, an anti-rattle device does not increase towing or tongue-weight capacity. The vehicle, receiver, accessory, and all hardware must remain within their original ratings.
Should I Replace the Ball Mount or the Receiver First?
Inspect both components before replacing anything. A worn ball mount is easier to replace, but severe receiver wear requires professional evaluation.
Can Rust Make a Hitch Receiver Rattle?
Yes, advanced rust may remove metal and increase clearance. Rust flakes and pitting can also create an uneven fit between the receiver and shank.
Is Forward-and-Back Hitch Movement Worse Than Side Movement?
Strong forward-and-back movement is often more concerning because it repeatedly loads the hitch pin and pin holes during acceleration and braking.

Scott Miller shares real-world RV road trip insights built from years of traveling open highways and backroads. He covers route planning, campground choices, and travel gear with a practical mindset. His content is written for RVers who value reliability over trends.