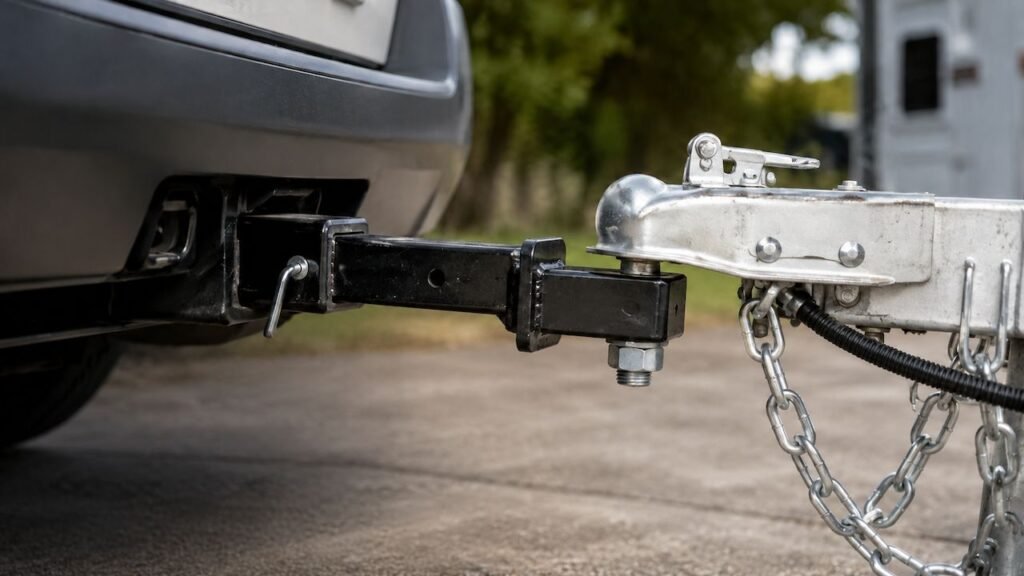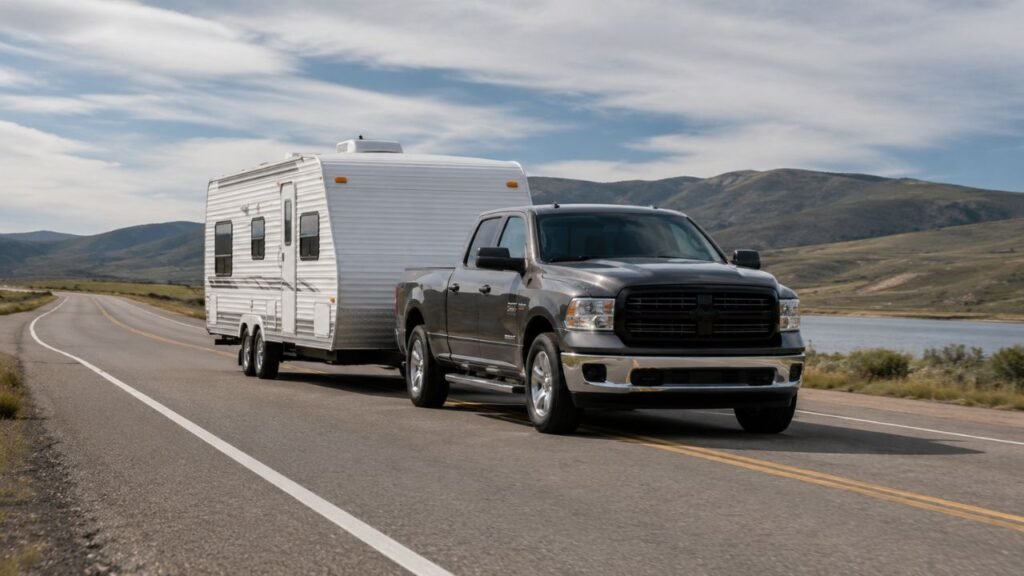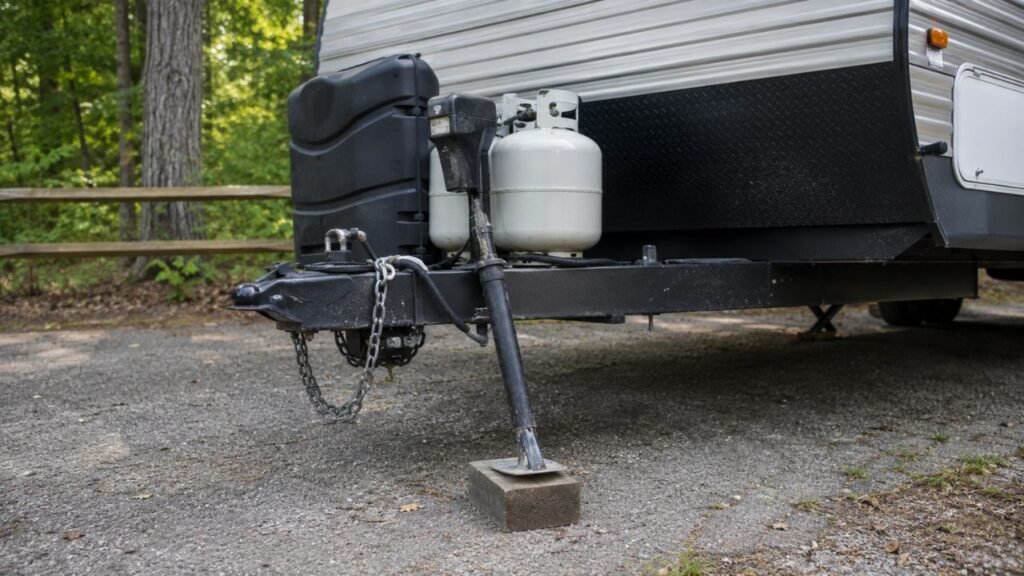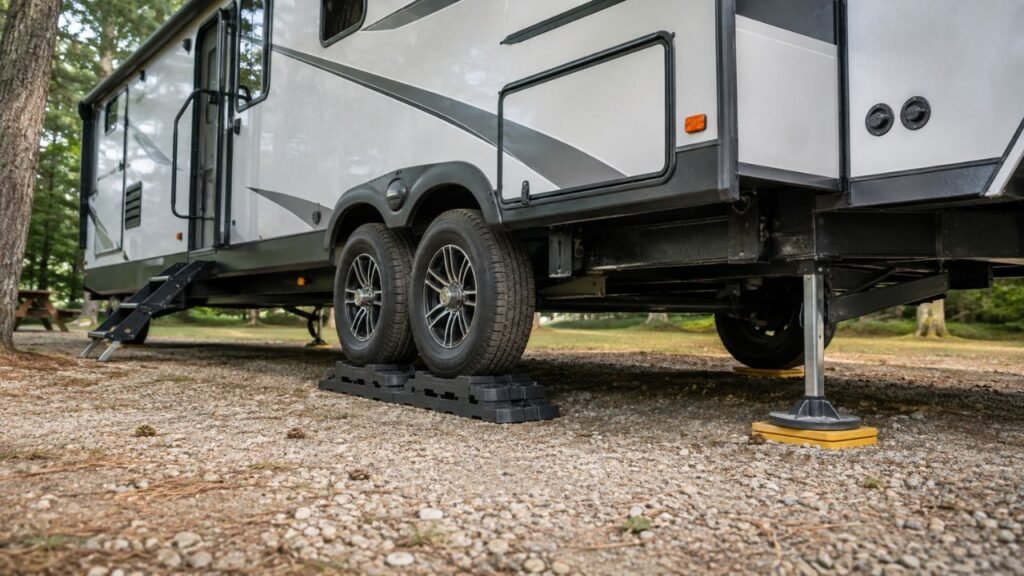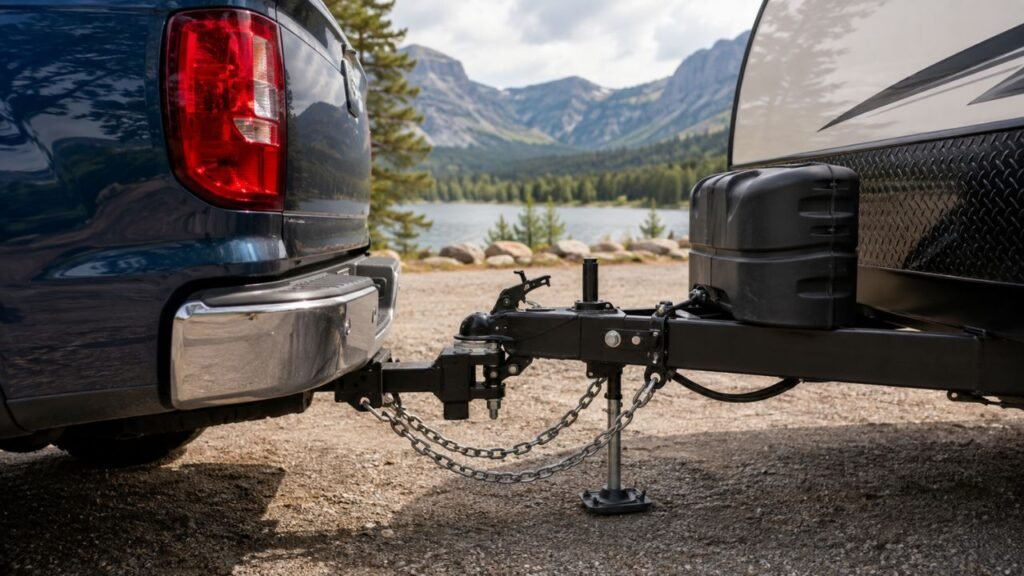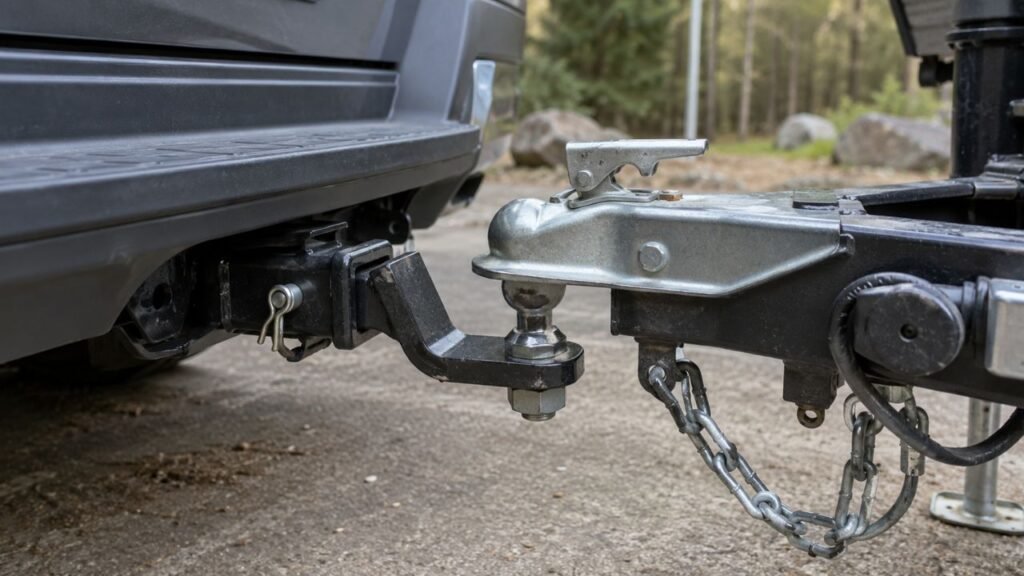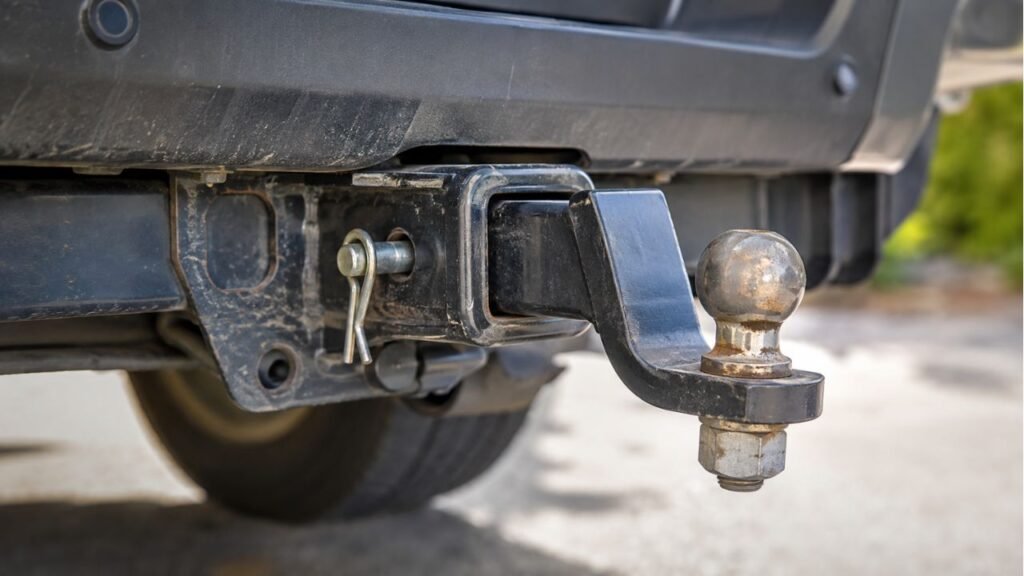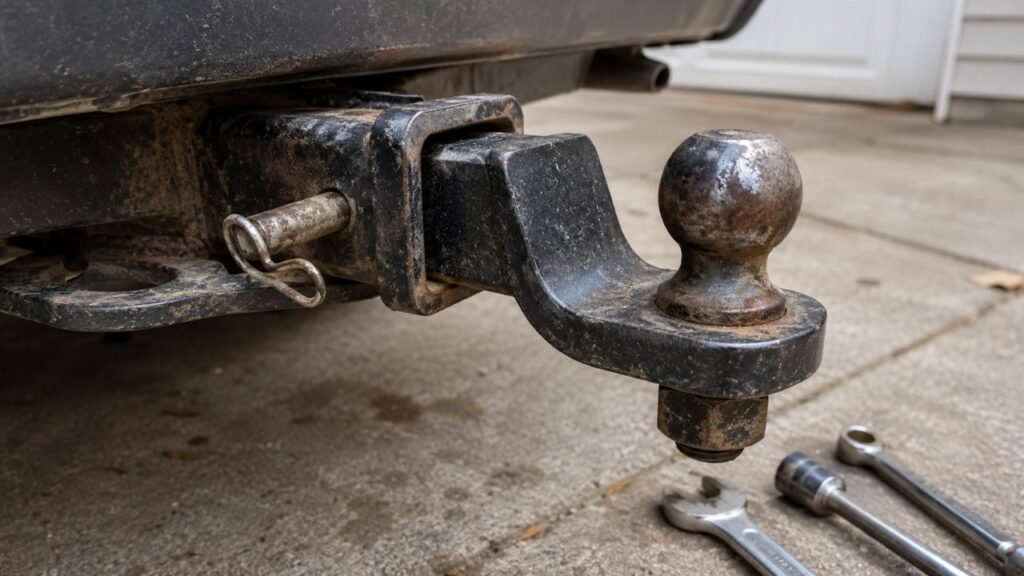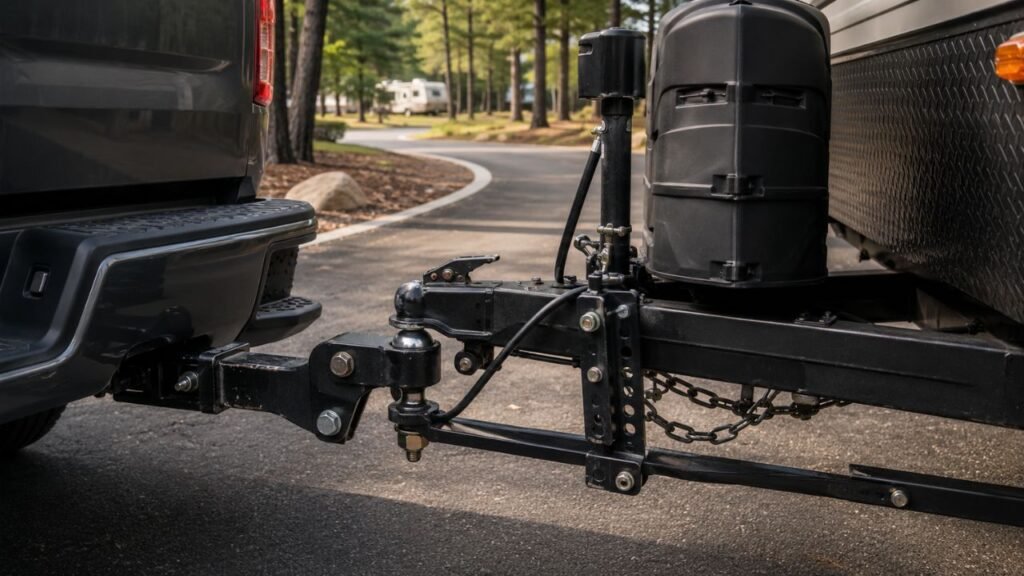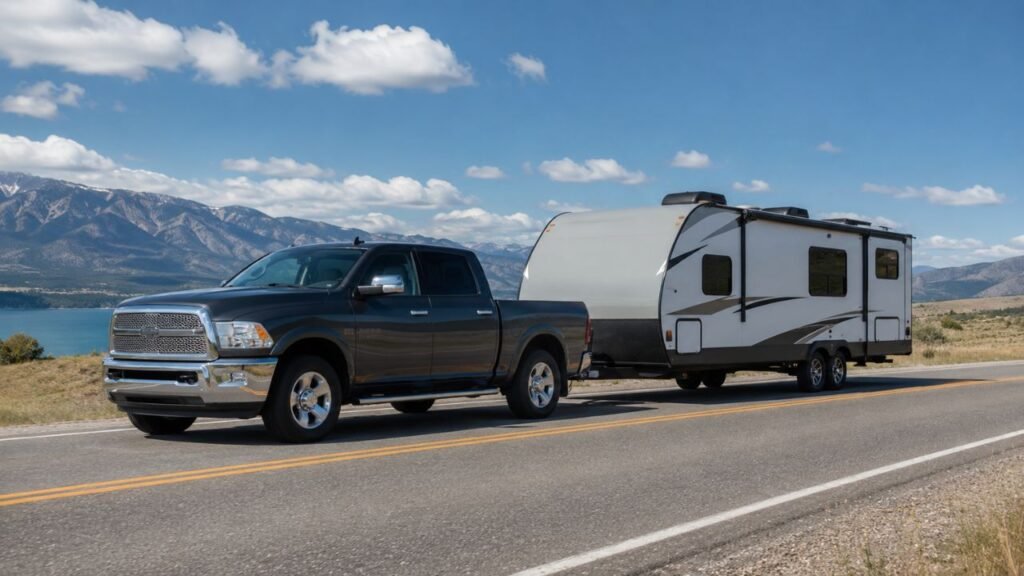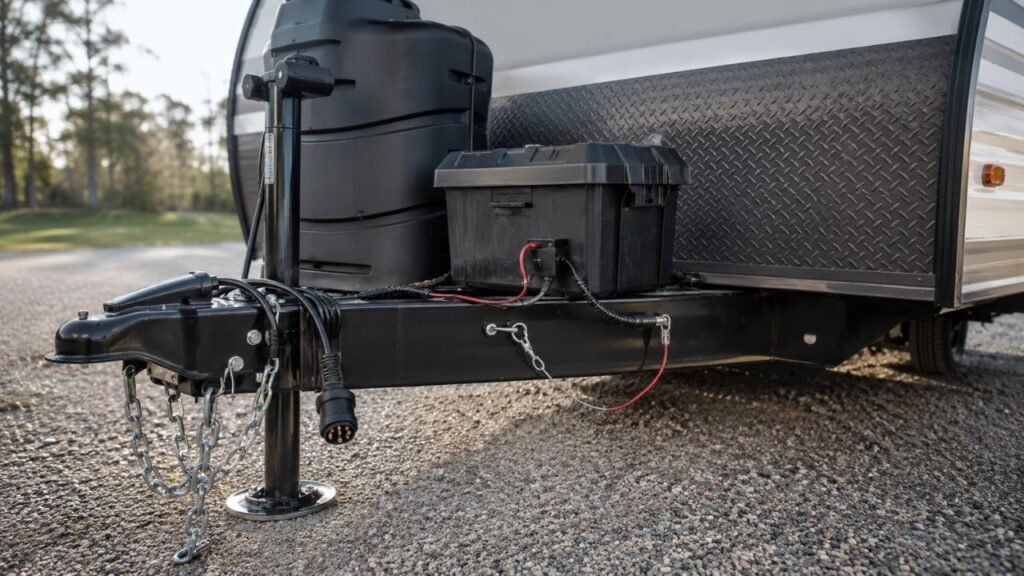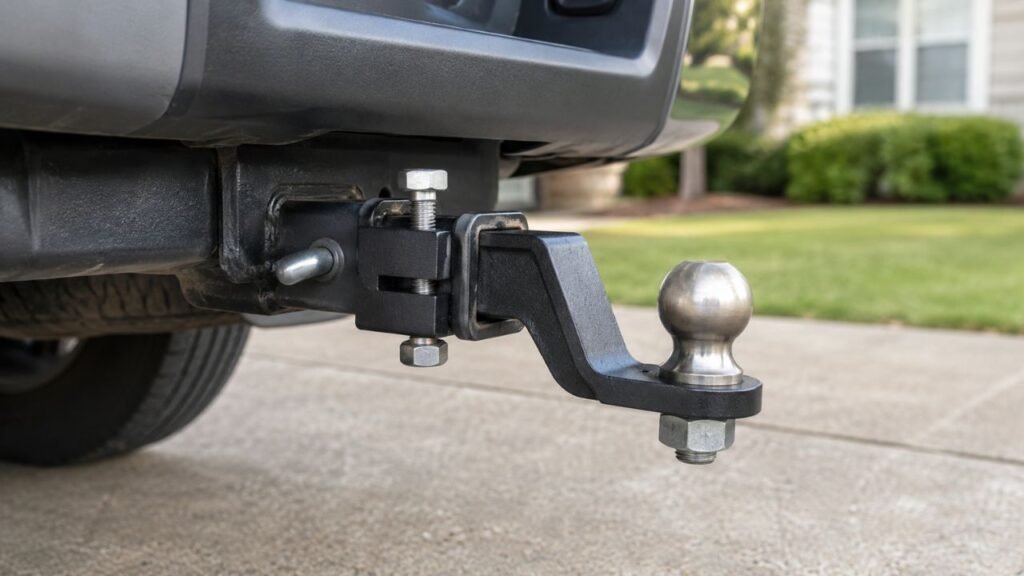
To stop a loose ball mount, install a properly sized hitch tightener or towing-rated anti-rattle pin. If the hitch ball itself moves on the mount, stop towing and tighten its nut to the manufacturer’s exact torque specification.
The right repair depends on where the movement starts. I’ll help you identify the loose connection, choose a suitable fix, install it correctly, and recognize damage that needs professional attention.
Key Takeaways
- A small amount of unloaded ball mount movement can be normal.
- Repeated clunking or forward-and-back movement needs closer inspection.
- Hitch tighteners usually provide the simplest receiver-rattle solution.
- Threaded anti-rattle pins must be compatible and approved for towing.
- A loose hitch ball requires immediate attention before towing again.
- Use the hitch ball manufacturer’s exact torque specification.
- Tape and homemade shims are not reliable permanent repairs.
- Anti-rattle devices cannot repair stretched or cracked receiver holes.
- Inspect every connection before blaming the ball mount itself.
Is the Ball Mount Loose or Is the Hitch Ball Loose?
Before tightening anything, find the exact point where movement occurs. The phrase “loose ball mount” can describe several completely different hitch problems.
| Movement Location | What You May Notice | Likely Cause | Best Starting Action |
| Ball mount inside receiver | Side-to-side or vertical rattling | Normal clearance or excessive receiver play | Inspect, then install a hitch tightener |
| Ball mount moving forward and backward | Clunk when accelerating or braking | Receiver clearance, worn pin, or elongated holes | Inspect the pin and holes carefully |
| Hitch ball moving on the platform | Ball turns, rocks, or shifts | Loose nut or damaged mounting hardware | Stop towing and tighten or replace it |
| Coupler moving around the ball | Clunk at the trailer connection | Wrong ball size, poor adjustment, or wear | Inspect ball size and coupler fit |
| Entire receiver moving | Movement near the vehicle frame | Loose bolts, damaged welds, or receiver failure | Arrange professional inspection |
| Adapter moving inside another adapter | Multiple rattles or delayed clunks | Stacked tolerances between components | Remove unnecessary adapters if possible |
A simple hands-on check usually helps. Disconnect the trailer, secure the vehicle, and move each component separately. Watch the receiver, ball mount, hitch ball, pin, and coupler.
Do not assume every noise comes from receiver clearance. A loose hitch ball or coupler can create similar sounds but needs a different repair.
How Much Ball Mount Movement Is Normal?
A ball mount cannot fit inside a receiver like a press-fit component. It needs enough clearance to slide in, line up with the pin holes, and come out again.
Because of that clearance, you may feel slight vertical or side-to-side movement when the trailer is disconnected. You may also hear a light rattle when driving over rough pavement with an unloaded ball mount.
Tongue weight often presses the ball mount against one receiver surface. This can reduce some unloaded rattling after the trailer is connected.
However, tongue weight does not repair wear. It simply changes how the parts contact each other.
Movement becomes more concerning when the mount slams forward during braking. A hard clunk during acceleration can also indicate excessive clearance or worn parts.
Inspect the connection when:
- Movement has become noticeably worse.
- The ball mount bangs instead of lightly rattling.
- The hitch pin looks bent or heavily worn.
- The pin holes appear stretched or oval.
- The receiver opening looks spread or distorted.
- The ball mount can twist excessively.
- You see cracks, deep rust, or damaged welds.
- The hitch ball moves independently from the mount.
Normal clearance should not be confused with damaged hardware. When you are uncertain, have the hitch inspected before towing a heavy trailer.
Why Does a Ball Mount Become Loose?
Some ball mount movement exists from the beginning. Other looseness develops gradually through wear, incorrect parts, corrosion, or installation mistakes.
Clearance Between the Shank and Receiver
The ball mount shank must be slightly smaller than the receiver’s inner opening. Without this clearance, paint, rust, road dirt, and manufacturing variation could make insertion difficult.
This small size difference allows the mount to move inside the receiver. The movement may become audible on potholes, expansion joints, or gravel roads.
A hitch tightener does not remove the clearance permanently. Instead, it pulls or presses the mount against one receiver surface.
Incorrect Ball Mount or Receiver Size
Receiver sizes may look similar when viewed casually. However, a ball mount must match the receiver opening correctly.
Common receiver sizes include:
- 1.25-inch receivers
- 2-inch receivers
- 2.5-inch receivers
- 3-inch heavy-duty receivers
Do not place an undersized shank directly into a larger receiver. A properly designed reducer sleeve or adapter is required.
Even with an adapter, you now have two connections that can move. The adapter can move inside the receiver, while the ball mount moves inside the adapter.
This stacked clearance often creates more rattling than a direct-fit mount.
Worn Hitch Pin or Elongated Pin Holes
Every acceleration and braking event transfers force through the hitch connection. When excessive play exists, the mount can repeatedly strike the hitch pin.
Over time, this impact may wear the pin or stretch the pin holes. Round holes can gradually become oval or elongated.
An anti-rattle device may reduce the noise temporarily. However, it cannot replace missing metal or restore the original hole shape.
A bent pin, cracked hole, or severely elongated opening needs proper repair. Depending on the damage, replacement of the ball mount or receiver may be necessary.
Rust, Scale, and Receiver Damage
Surface rust can make the receiver opening rough and uneven. Flaking rust may also prevent the shank from sitting squarely inside the tube.
Sometimes corrosion makes the mount feel tight during insertion but loose after movement breaks away the rust scale.
Clean loose dirt and surface corrosion carefully. Do not grind away significant metal just to improve the fit.
Deep pitting, thinning steel, or spreading corrosion requires professional assessment. A clean-looking connection is not automatically a structurally safe connection.
Loose Hitch Ball Hardware
The hitch ball attaches to the ball mount platform using a threaded shank, washer arrangement, and nut. That connection must remain properly tightened.
The ball may loosen when:
- It was never tightened to the correct torque.
- The wrong washer or nut was installed.
- The mounting hole is too large.
- The shank length does not suit the platform.
- The threads are damaged or contaminated.
- The mounting platform is bent.
- The hardware was reused after damage.
- The ball has rotated during repeated use.
A loose ball is more serious than ordinary receiver rattle. The trailer coupler depends on that ball remaining firmly attached.
Worn or Poorly Adjusted Trailer Coupler
The movement may actually come from the coupler rather than the receiver. This is easy to misdiagnose because the noise travels through the complete hitch assembly.
First, confirm that the hitch ball size matches the coupler marking. A coupler designed for a 2-inch ball must not be connected to a smaller ball.
Then inspect the latch, adjustment mechanism, socket, and locking parts. The coupler should close securely without excessive movement.
Do not overtighten an adjustable coupler until it binds. The coupler must still rotate and articulate normally while remaining securely latched.
Loose Receiver Mounting Hardware
Sometimes the ball mount is not the loose component at all. The receiver itself may move where it attaches to the vehicle.
Loose bolts, damaged mounting points, cracked welds, or corrosion can allow the complete receiver assembly to shift.
An anti-rattle clamp cannot correct this problem. The receiver and vehicle mounting points need immediate inspection.
What Is the Best Way to Stop a Loose Ball Mount?
The best solution depends on the movement direction, receiver design, ball mount style, and how frequently you remove the mount.
Install a Hitch Tightener Clamp
A hitch tightener usually uses a U-bolt, metal plate, and two nuts. It captures the receiver and pulls the ball mount firmly toward one surface.
For many standard ball mounts, this is the easiest solution. It does not normally require drilling, welding, or permanent modification.
A hitch tightener can help:
- Reduce vertical ball mount movement.
- Limit side-to-side wobble.
- Stop light metal-on-metal rattling.
- Reduce clunking from normal receiver clearance.
- Stabilize some hitch-mounted accessories.
Before purchasing one, check the receiver size and available installation space. Some bumpers, spare tires, exhaust pipes, chain loops, and wiring brackets limit clamp placement.
The plate and U-bolt must sit squarely. Neither part should interfere with the hitch pin, retaining clip, safety chains, electrical connector, or trailer movement.
Tighten both nuts gradually and evenly. Do not keep tightening until the plate bends or threads become damaged.
A tightener should control normal clearance. It should not be used to hide severe wear or structural damage.
Use a Threaded Anti-Rattle Hitch Pin
A threaded anti-rattle pin replaces the standard hitch pin. It pulls the ball mount toward one receiver wall as the threaded mechanism tightens.
Some designs use an internal threaded block inside a hollow shank. Others work only with ball mounts built for a specific pin system.
Compatibility is extremely important. A random threaded pin may physically fit the hole but still be unsuitable for towing.
Before using one, confirm:
- It is approved for trailer towing.
- It matches the receiver size.
- It suits your ball mount construction.
- Its rated capacity meets your towing requirements.
- The internal block or insert is correctly positioned.
- The locking or retaining system is fully installed.
Anti-rattle pins can provide a cleaner installation than external clamps. They are also convenient when the ball mount must be removed regularly.
However, they may not control vertical movement as effectively as every clamp design. Performance depends on the exact system and movement direction.
Use a Ball Mount With a Built-In Anti-Rattle System
Some ball mounts include wedges, expanding sections, tightening bolts, or internal mechanisms. These parts secure the shank directly inside the receiver.
An integrated system can be useful when you tow frequently. It may also provide a neater setup with fewer external parts.
This option usually costs more than a basic clamp. However, it can simplify repeated installation and removal.
Confirm that the complete ball mount has sufficient capacity. Adjustable parts, pins, hitch balls, and receiver components must all meet the towing requirement.
Replace Worn or Incorrect Parts
No anti-rattle product can make damaged parts new again. Replacement may be the safest and most dependable solution.
Consider replacing the affected component when:
- The shank is bent.
- Pin holes are stretched.
- The hitch pin is deeply grooved.
- Cracks appear near the hole.
- The receiver opening is distorted.
- The mount uses the wrong size.
- An adapter creates excessive movement.
- Rust has significantly weakened the steel.
- The ball platform is bent or cracked.
A quieter hitch is helpful, but structural condition matters more than noise.
Hitch Tightener vs. Anti-Rattle Pin: Which Should You Use?
Both devices can reduce receiver movement, but they work differently. Your ball mount design and towing routine should guide the decision.
| Feature | Hitch Tightener Clamp | Anti-Rattle Hitch Pin |
| Installation method | Fits around the receiver and shank | Replaces the standard hitch pin |
| Compatibility | Works with many solid and hollow shanks | Often needs a compatible hollow shank or insert |
| Vertical movement control | Usually very effective | Depends on the design |
| Side-to-side control | Usually effective | Pulls the mount toward one wall |
| Removal | Requires loosening two nuts | Often quicker to remove |
| Space required | Needs clearance around the receiver | Needs access near the pin hole |
| Theft resistance | Usually requires a separate lock | Some versions include locking features |
| Maintenance | Nuts and exposed threads need checking | Threads and locking parts need checking |
| Best use | Affordable, general rattle control | Frequent removal with compatible equipment |
For a simple, standard ball mount, I would usually start with a properly sized hitch tightener. It works with many configurations and controls movement effectively.
A towing-rated anti-rattle pin makes sense when compatibility is confirmed. It can be easier to remove and creates a less bulky installation.
You do not need the most complicated device available. You need one that fits correctly, carries the required rating, and remains secure.
How to Install a Hitch Tightener on a Ball Mount
Hitch tightener designs vary slightly. Always follow the instructions supplied with your specific product.
- Park on firm, level ground: Set the parking brake and disconnect the trailer before working.
- Remove and inspect the ball mount: Check the shank, pin hole, platform, welds, and hitch ball hardware.
- Inspect the receiver opening: Look for cracks, spreading, heavy corrosion, or elongated pin holes.
- Clean loose debris: Remove dirt and loose rust that could prevent proper contact.
- Insert the ball mount fully: Align the ball mount and receiver pin holes correctly.
- Install the hitch pin: Use the correct pin, clip, or locking mechanism before adding the clamp.
- Position the tightener: Place the U-bolt and plate exactly as the manufacturer directs.
- Check surrounding clearance: Make sure the device does not obstruct chains, wiring, exhaust parts, or the bumper.
- Tighten both nuts gradually: Alternate between the nuts so the plate remains straight.
- Check the movement: Move the ball mount by hand and confirm the excessive play is controlled.
- Reconnect the trailer carefully: Verify that nothing contacts the coupler, jack, chains, or wiring during turns.
- Recheck after the first trip: New hardware may settle slightly after the first towing cycle.
Do not use a power impact tool unless the tightener manufacturer allows it. Excessive force can strip threads, distort the plate, or damage the device.
The goal is a secure connection, not maximum possible nut tightness.
How to Install an Anti-Rattle Hitch Pin
A threaded pin must be installed according to its specific design. The following steps describe a common internal-block system.
- Verify towing approval: Confirm that the pin is intended for towing trailers, not accessories only.
- Check all size requirements: Match the pin, receiver, ball mount hole, and internal block.
- Inspect the ball mount shank: Confirm that it can accept the threaded insert or internal mechanism.
- Place the threaded block correctly: Align its threaded opening with the ball mount pin hole.
- Insert the ball mount: Slide it completely into the receiver.
- Align the holes: The receiver, ball mount, and threaded block must line up.
- Insert the threaded pin: Start it by hand to avoid cross-threading.
- Tighten the pin correctly: Follow the product’s specified tightening procedure.
- Install the lock or retainer: Do not tow without the required secondary retaining component.
- Test the ball mount: Confirm that excessive movement has been reduced.
- Check steering clearance: Make sure no part interferes during trailer articulation.
- Inspect it before every trip: Check the pin, threads, lock, and ball mount connection.
Never assume that a threaded bicycle-rack pin can tow a trailer. Accessory pins and towing pins may have different strength ratings and designs.
How Do You Tighten a Loose Hitch Ball?
A loose hitch ball is not simply an annoying rattle. The trailer should remain disconnected until the ball is secured correctly.
Confirm the Correct Hitch Ball and Hardware
Start by checking every part of the hitch ball installation.
Confirm:
- The hitch ball diameter matches the coupler.
- The ball’s towing capacity meets your needs.
- The shank diameter matches the platform hole.
- The shank length suits the platform thickness.
- The washer arrangement matches the instructions.
- The correct nut is installed.
- The threads are clean and undamaged.
- The mounting platform remains flat.
The hitch ball’s stamped or marked size should match the coupler’s marked size. Never judge compatibility by appearance alone.
A ball with the wrong shank size may move even when the nut feels tight. The platform hole must also remain round and undamaged.
Find the Exact Torque Specification
Hitch ball torque requirements vary widely. The correct value depends on the ball design, shank diameter, threads, hardware, and manufacturer.
Do not rely on one general torque number found online. Use the specification supplied with your exact hitch ball.
The information may appear:
- On the original packaging.
- In the installation instructions.
- On the manufacturer’s product information.
- In documentation supplied with the ball mount.
- Through the manufacturer’s technical support.
If the specification cannot be confirmed, consider replacing the ball with a documented, correctly rated model.
Secure the Ball Mount Safely
The ball mount must remain firmly supported while the nut is tightened. Otherwise, the mount may rotate or slip under the required force.
A properly sized, secure vise may work for some ball mounts. Use protective jaws where necessary and avoid crushing or distorting the shank.
Do not rely on an unstable bench, your foot, or another person holding the mount. Hitch ball nuts can require considerable tightening force.
Some people insert the ball mount sideways or upside down in the vehicle receiver. I would not treat that as a universal method.
Using the receiver as a work-holding tool can load the hitch unexpectedly. Follow the ball mount or hitch manufacturer’s guidance instead.
When the required tools are unavailable, a trailer or hitch shop can tighten the ball correctly.
Tighten the Ball Nut With the Correct Tools
Many hitch balls require a large socket, strong breaker bar, and high-capacity torque wrench. A small household wrench may not provide controlled tightening.
Hold the hitch ball securely if the design allows it to rotate. Then tighten the nut following the manufacturer’s instructions.
Do not estimate torque by:
- Jumping on the wrench.
- Striking the wrench with a hammer.
- Using an unknown-length pipe extension.
- Tightening until the washer simply looks flat.
- Using maximum impact-wrench force.
- Guessing based on another hitch ball.
These methods do not confirm proper torque. They may leave the ball loose or damage the threads.
Replace Damaged Hitch Ball Hardware
Do not keep retightening damaged hardware. Replacement is often the safer choice.
Replace or professionally inspect the parts when:
- Threads are flattened, stretched, or crossed.
- The nut no longer turns smoothly.
- The washer is cracked or badly distorted.
- The platform hole is enlarged.
- The ball shank is bent.
- Severe corrosion affects the threads.
- The ball loosens again after proper installation.
- The ball or mount has been overloaded.
- The mounting platform is bent or cracked.
Use replacement hardware approved for the specific hitch ball. A similar-looking nut from a hardware store may not have the correct strength or thread specification.
Can You Use Tape or a Homemade Shim?
Tape wrapped around a ball mount can reduce rattling temporarily. Rubber, wood, foam, and scrap metal are also sometimes used as makeshift shims.
These methods may seem effective during a short test. However, movement, heat, water, road debris, and tongue weight can quickly change the fit.
Tape may tear, bunch up, or trap moisture. Rubber can compress and move. Wood can split or fall out.
A loose metal shim may work its way free and become road debris. It may also prevent the ball mount from seating correctly.
For those reasons, I would not use a loose homemade shim as a permanent towing repair. A purpose-built tightener or compatible anti-rattle pin is more dependable.
Avoid welding strips or additional metal onto the shank. Welding can change the fit, strength, heat-affected area, and warranty status.
Structural hitch modifications should only be performed with proper engineering guidance and manufacturer approval.
Why Is My Ball Mount Still Loose After Installing a Tightener?
A tightener can control normal clearance, but it cannot solve every hitch problem. Continued movement usually means another connection needs attention.
Possible causes include:
- The tightener is installed in the wrong orientation.
- The plate does not sit flat.
- The nuts were tightened unevenly.
- The device is the wrong receiver size.
- The U-bolt contacts an obstruction.
- The ball mount shank is too short.
- The receiver opening is spread or distorted.
- The pin or pin holes are worn.
- The mount moves inside a reducer sleeve.
- The reducer sleeve moves inside the receiver.
- The coupler is loose on the hitch ball.
- The hitch ball nut is loose.
- The receiver itself moves on the vehicle.
- The clamp loosened after initial use.
- Rust or debris prevents proper contact.
- The noise comes from safety chains or wiring.
- A surge-brake actuator is moving normally.
Remove the trailer and test each connection separately. Ask someone to move the mount while you watch the receiver and mounting points.
Do not place your hands near a loaded or moving hitch connection. Perform the inspection only after safely supporting and disconnecting the trailer.
Does a Hitch Tightener Make Towing Safer?
A properly installed tightener can reduce unwanted ball mount movement. It may also reduce repeated impact between the mount, pin, and receiver.
This can make the towing connection feel quieter and more controlled. However, a tightener does not increase any towing rating.
It does not raise the capacity of:
- The tow vehicle.
- The receiver.
- The ball mount.
- The hitch ball.
- The hitch pin.
- The trailer coupler.
- The trailer frame.
- The tires or axles.
A tight connection can still be overloaded. Always follow the lowest-rated component in the complete towing system.
A tightener also cannot correct poor tongue weight, trailer sway, worn brakes, loose coupler parts, or incorrect ball height.
Think of it as a clearance-control device. Do not treat it as a structural upgrade.
Can You Tow With a Loose Ball Mount?
A slight unloaded wiggle inside the receiver may be normal. Severe movement or loose structural hardware is different.
Stop towing and inspect the hitch when:
- The hitch ball moves on the platform.
- The complete receiver moves on the vehicle.
- The hitch pin is bent.
- The retaining clip is missing.
- The pin holes are stretched or cracked.
- The ball mount moves heavily during braking.
- The coupler lifts from the ball.
- The ball size does not match the coupler.
- The receiver opening is visibly spread.
- Welds show cracking or separation.
- The mount cannot be inserted fully.
- Rust has significantly weakened the metal.
- The connection suddenly became much noisier.
- The ball mount or receiver has been overloaded.
- The mounting hardware repeatedly loosens.
Do not continue towing merely because the trailer remains attached. Some hitch problems worsen gradually before visible failure occurs.
When structural damage is suspected, have the vehicle and hitch inspected by a qualified professional.
How to Prevent Ball Mount Rattle From Returning
A few routine checks can keep ordinary clearance from becoming a larger problem. They also help you spot wear before the connection becomes unsafe.
- Inspect the ball mount before every towing trip.
- Check the hitch pin and retaining clip.
- Look for fresh metal marks around the pin holes.
- Keep the receiver reasonably clean.
- Remove loose rust and road debris.
- Recheck clamp nuts after initial installation.
- Follow the device manufacturer’s inspection schedule.
- Replace bent or deeply worn hitch pins.
- Confirm the ball nut remains secure.
- Keep unnecessary adapters out of the setup.
- Use a direct-fit ball mount when possible.
- Remove the ball mount when not in use.
- Protect exposed tightener threads from corrosion.
- Inspect the coupler and latch regularly.
- Confirm the ball and coupler sizes match.
- Never exceed the lowest towing rating.
Pay attention when the sound changes. A new clunk, squeak, or grinding noise deserves inspection before the next long trip.
Common Mistakes to Avoid
- Buying a tightener before locating the actual movement.
- Assuming every hitch noise comes from the receiver.
- Using an accessory-only anti-rattle pin for towing.
- Installing a clamp that blocks safety-chain access.
- Letting the clamp contact wiring or exhaust parts.
- Overtightening the clamp until its plate bends.
- Ignoring elongated receiver pin holes.
- Using the wrong hitch ball size.
- Guessing the hitch ball torque.
- Reusing visibly damaged nuts or washers.
- Stacking several loose receiver adapters.
- Using tape as a permanent repair.
- Welding onto a rated hitch component.
- Assuming reduced noise means the hitch is safe.
- Ignoring movement where the receiver meets the vehicle.
- Towing before the ball nut is properly secured.
The biggest mistake is treating every loose connection as a noise problem. Some movement is harmless clearance, while other movement signals damaged or incorrectly installed hardware.
When Should You Replace the Ball Mount or Receiver?
Anti-rattle devices control clearance between healthy components. They should never be used to disguise structural damage.
Replace the Ball Mount When
- The shank is visibly bent.
- The pin hole has become oval.
- Cracks appear near the pin hole.
- The platform is bent or distorted.
- The welds show cracking.
- Deep rust has reduced metal thickness.
- The shank no longer fits squarely.
- The capacity marking is missing.
- The hitch ball cannot be secured correctly.
- The mount was damaged during a collision.
- The mount was severely overloaded.
- The wrong shank size is being used.
Do not attempt to straighten a bent ball mount and return it to service. Bending and straightening can weaken the steel in ways you cannot easily see.
Have the Receiver Inspected When
- The receiver tube is visibly spread.
- The pin holes are elongated.
- Cracks appear around the tube or mounting points.
- Welds show separation.
- Mounting bolts repeatedly loosen.
- The receiver moves against the vehicle frame.
- Severe corrosion affects the structure.
- The opening is twisted or no longer square.
- A correct ball mount has excessive movement.
- The vehicle was involved in a rear collision.
- The hitch has carried more than its rating.
- A tightener cannot control the movement.
Receiver replacement may be more practical than attempting a questionable repair. The correct decision depends on the hitch design, damage location, and vehicle mounting structure.
Final Verdict
A properly sized hitch tightener is usually the simplest way to stop normal ball mount movement inside a receiver. It is affordable, widely compatible, and effective for controlling common vertical and side-to-side rattle.
A towing-rated threaded anti-rattle pin is another strong option. It works best when your ball mount and internal mechanism are fully compatible.
However, neither device repairs worn metal. A loose hitch ball, bent pin, elongated hole, cracked receiver, or moving receiver assembly requires proper repair or replacement.
Start by identifying the exact moving connection. Once you know where the looseness begins, the right solution becomes much easier to choose.
Related FAQs
Why Does My Ball Mount Rattle Without a Trailer Attached?
An unloaded ball mount can move because nothing presses it firmly against the receiver wall. A small rattle may be normal, but repeated banging or increasing movement should be inspected.
Should a Ball Mount Fit Tightly in the Receiver?
A ball mount should slide into the receiver without excessive force. A small amount of clearance is necessary, but it should not have severe movement or damaged pin holes.
Will Tongue Weight Stop Ball Mount Rattle?
Tongue weight may reduce vertical movement by pressing the mount downward. However, it does not repair worn holes, an incorrect fit, or damaged hardware.
Are Anti-Rattle Devices Safe for Towing?
They can be safe when specifically approved for trailer towing, correctly sized, properly installed, and used within their rated capacity. Accessory-only devices should not be assumed safe for towing.
Can I Use a Hitch Tightener With a Weight-Distribution Hitch?
Compatibility depends on the receiver, shank, brackets, and tightener design. The device must not interfere with the weight-distribution head, spring bars, chains, or adjustment hardware.
Can I Use Two Anti-Rattle Devices Together?
Using two devices is usually unnecessary. Only combine systems when both manufacturers permit it and the parts do not interfere with hitch movement or hardware.
Why Does My Hitch Still Clunk When I Brake?
The clunk may come from forward receiver play, a worn pin, loose coupler, adapter, surge-brake actuator, or hitch ball hardware. Inspect each connection separately.
How Often Should I Recheck a Hitch Tightener?
Check it before towing, after the first short trip, and at the intervals recommended by its manufacturer. Inspect it sooner after rough-road or off-road travel.
Can a Loose Ball Mount Damage the Hitch Pin?
Excessive movement can repeatedly strike the pin and increase wear. Over time, it may also contribute to elongated ball mount or receiver pin holes.
Does an Anti-Rattle Device Increase Towing Capacity?
No. An anti-rattle device only controls movement. It does not increase the rated capacity of the receiver, ball mount, ball, vehicle, or trailer.
Can I Leave a Hitch Tightener Installed All Year?
You can leave some models installed, but exposed hardware may corrode. Inspect the device regularly, protect the threads, and follow its manufacturer’s storage guidance.
Can a Reducer Sleeve Cause Ball Mount Rattle?
Yes. A reducer sleeve creates an additional connection, and both connections may have clearance. A direct-fit ball mount usually provides a quieter and simpler setup.
Why Does My Ball Mount Move Up and Down?
Vertical movement usually comes from normal clearance between the receiver and shank. A hitch tightener can control it if the receiver and ball mount remain undamaged.
How Do I Know Whether My Receiver Hole Is Elongated?
Compare the hole’s front-to-back and top-to-bottom shape. Oval edges, fresh impact marks, cracking, or excessive pin movement may indicate wear requiring professional inspection.
Should I Grease the Ball Mount Shank?
Grease may reduce corrosion but can collect dirt and become messy. Follow the receiver or ball mount manufacturer’s maintenance guidance before applying any lubricant.
Can I Drive With a Loose Hitch Ball Nut?
No. Disconnect the trailer and secure the hitch ball correctly before towing. A loose ball can move, damage the platform, or compromise the trailer connection.

Scott Miller shares real-world RV road trip insights built from years of traveling open highways and backroads. He covers route planning, campground choices, and travel gear with a practical mindset. His content is written for RVers who value reliability over trends.