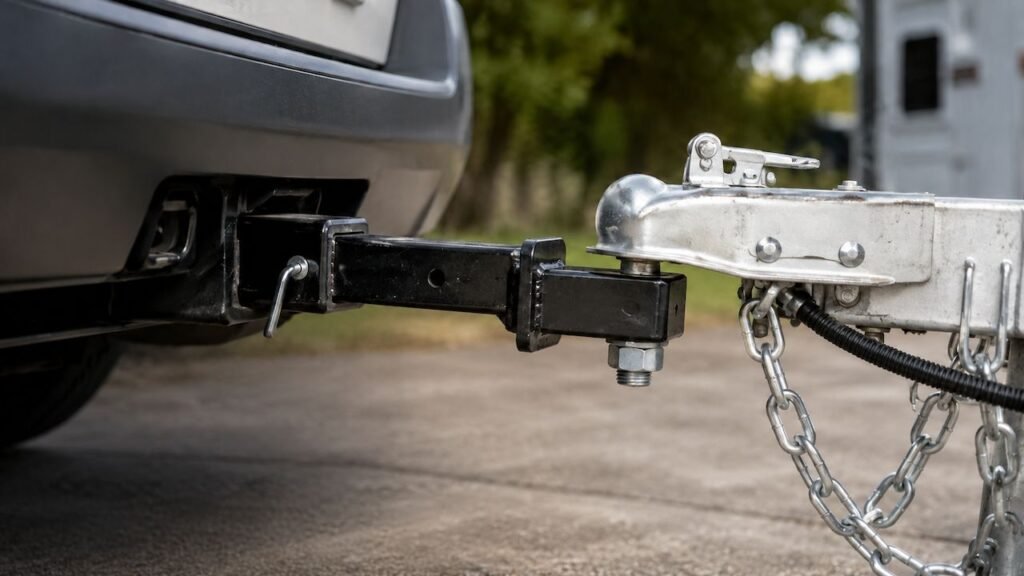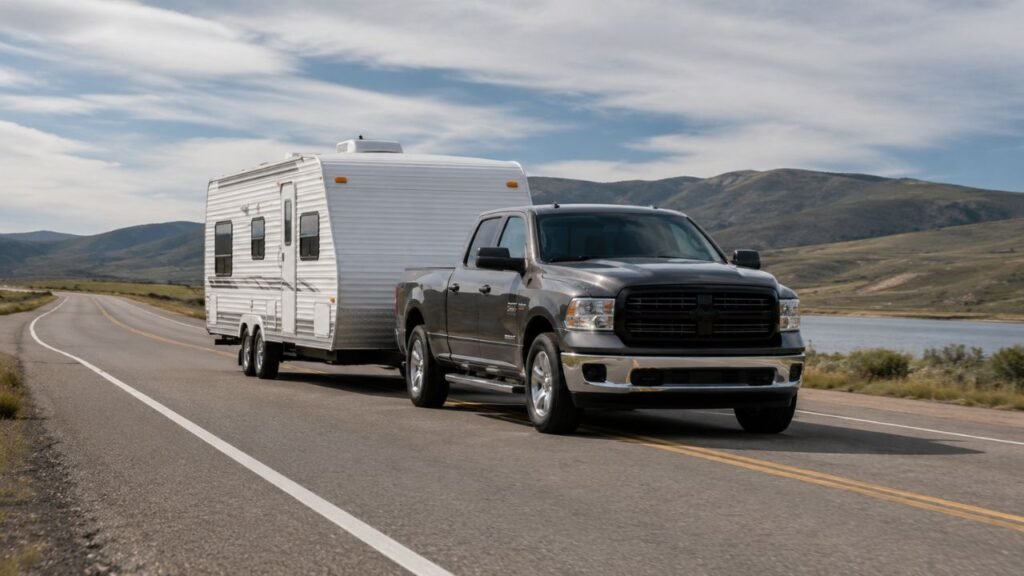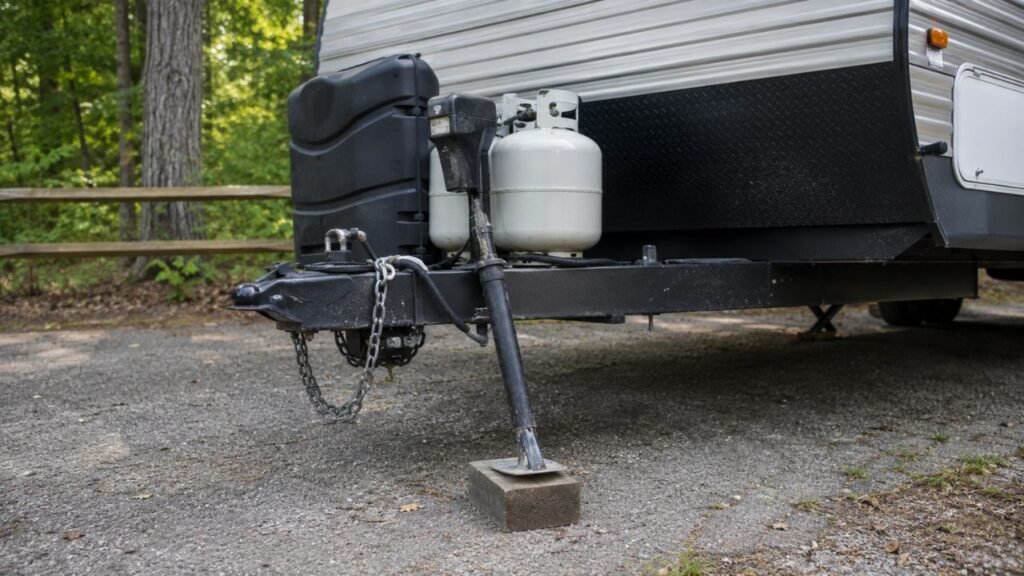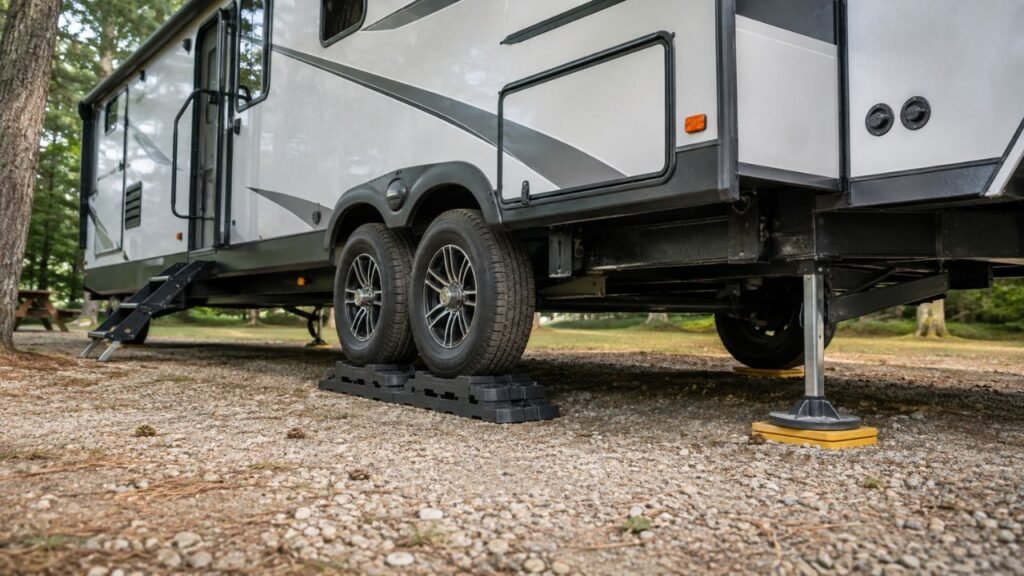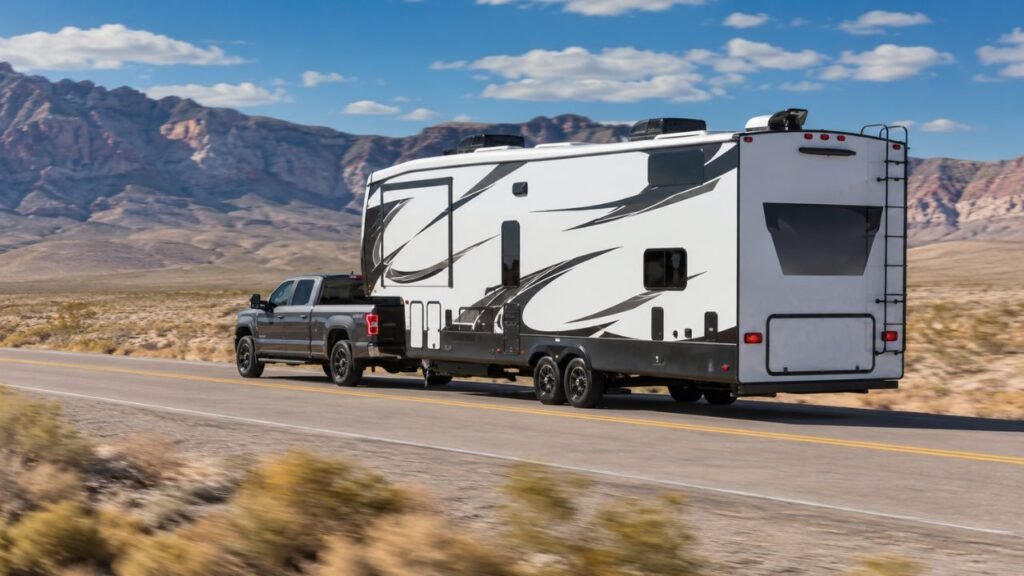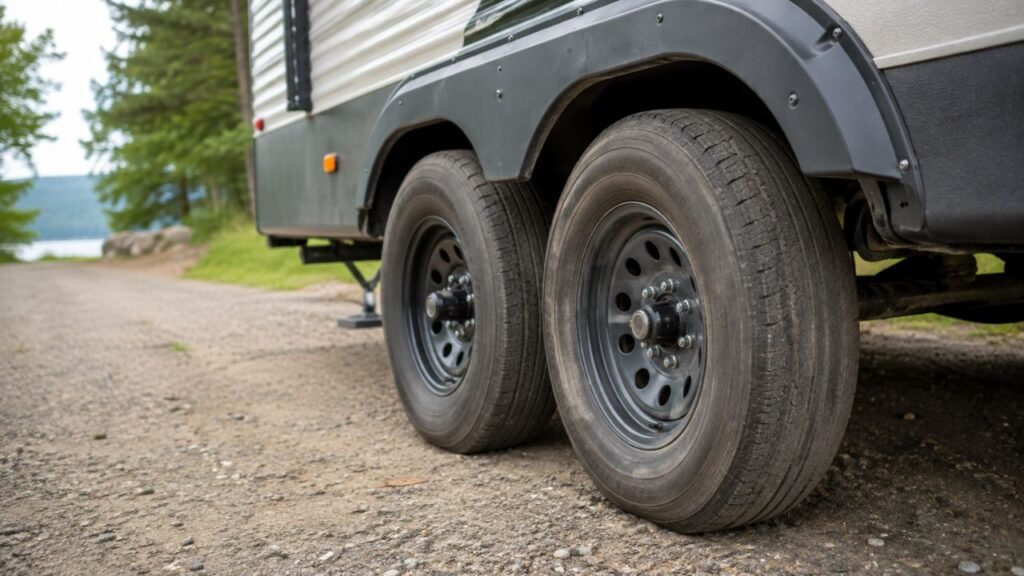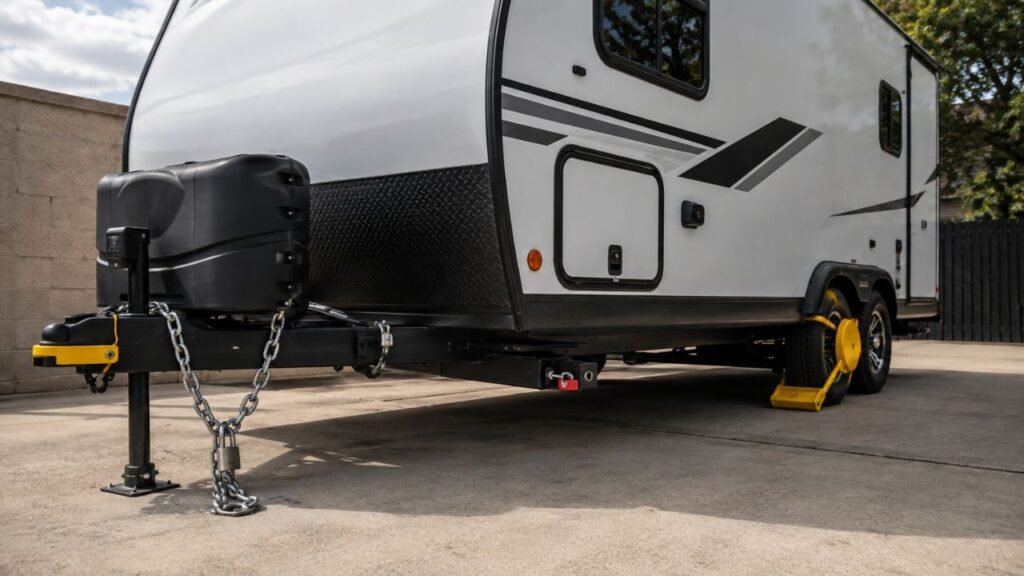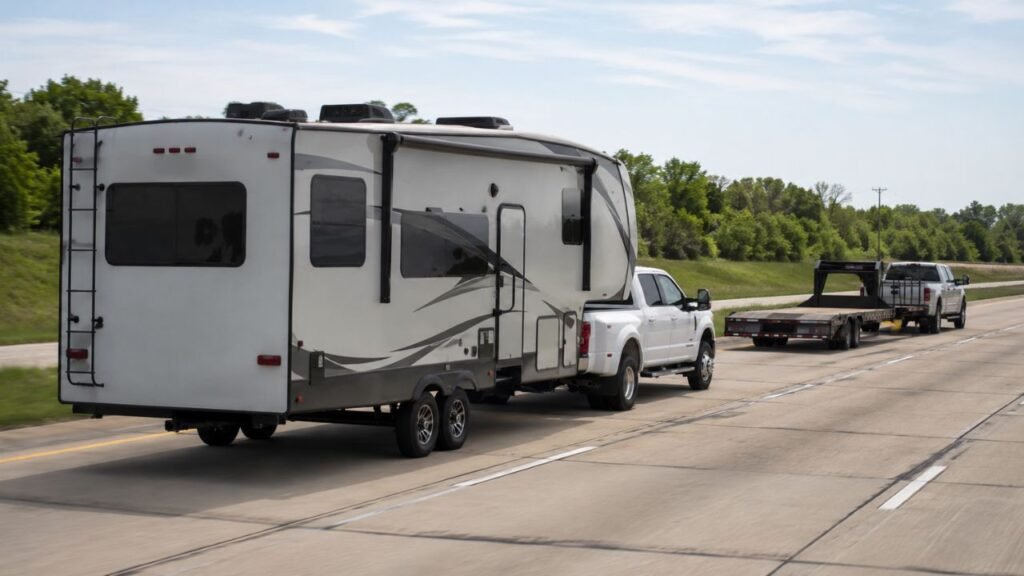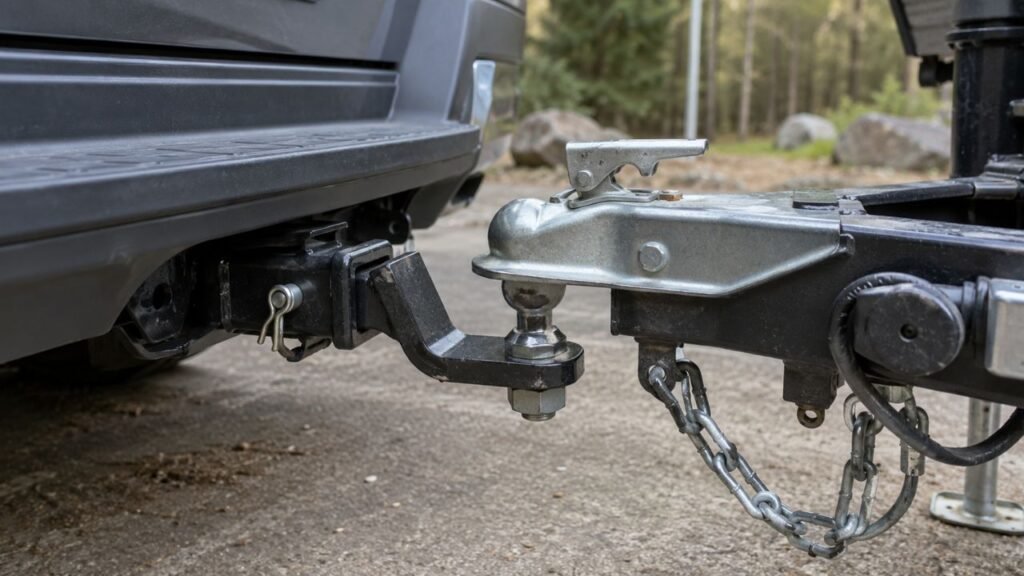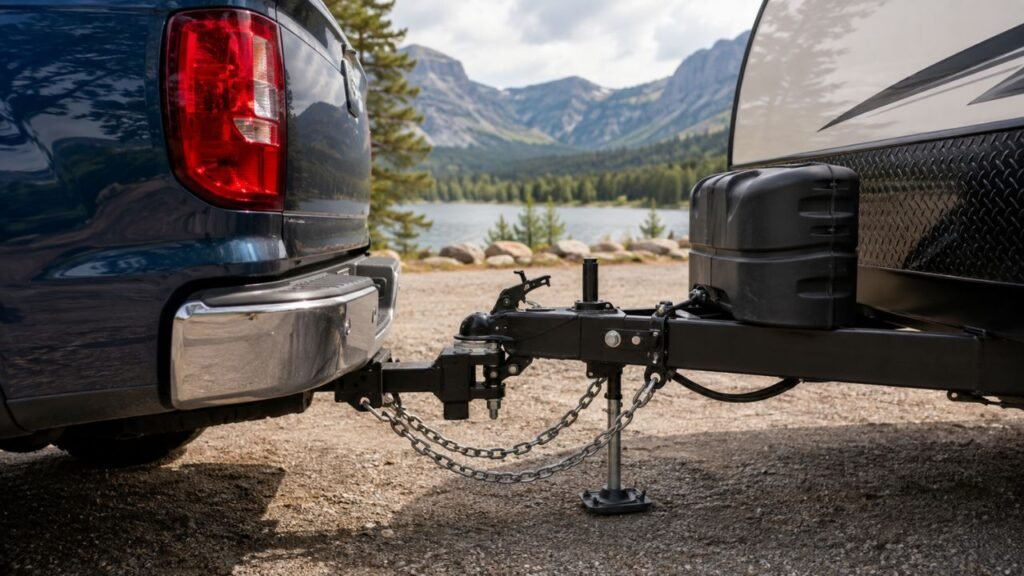
Your hitch usually clunks when stopping because braking pushes the trailer forward, taking up loose space between connected parts. The movement may come from the receiver, ball mount, hitch pin, coupler, hitch ball, weight-distribution hardware, or a sliding surge-brake actuator.
In this guide, I’ll help you locate the movement, identify the likely cause, and choose the correct fix. We’ll also cover warning signs that mean you should stop towing.
Key Takeaways
- Braking pushes the trailer forward against the tow vehicle.
- Loose hitch parts can shift suddenly and create a clunk.
- Receiver play is common but should not become excessive.
- A loose coupler or wrong hitch ball can be dangerous.
- Surge-brake actuators naturally move, but they should move smoothly.
- Hitch tighteners only correct movement inside the receiver.
- Lubrication may reduce squeaking but cannot eliminate excessive clearance.
- Stop towing if you find cracks, loose mounts, or coupling movement.
Why Does a Hitch Clunk When Braking?
A clunk usually happens because the trailer and tow vehicle are changing speed at slightly different moments.
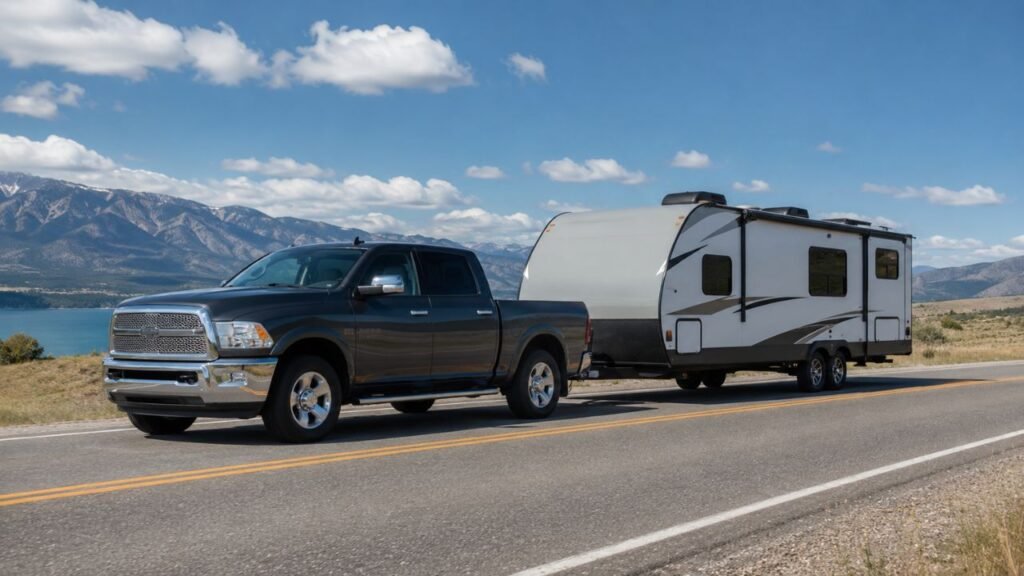
When you press the brake pedal, the tow vehicle begins slowing first. The trailer’s momentum continues pushing it forward for a brief moment.
That forward force passes through the coupler, hitch ball, ball mount, hitch pin, and receiver. Any free space between those parts is quickly taken up.
Once a loose component reaches the end of its movement, metal contacts metal. That sudden contact produces the clunk you hear and sometimes feel.
The same movement may happen in reverse when you accelerate. The trailer is then pulled backward, shifting the loose component toward the opposite side.
That is why many drivers hear one clunk while stopping and another while starting.
A light, occasional sound may come from normal receiver clearance. However, a heavy or worsening knock deserves a proper inspection.
Where Is the Clunk Actually Coming From?
Several parts sit close together around the towing connection. Noise can travel through the vehicle frame, making the source difficult to identify.
Receiver and Ball-Mount Connection
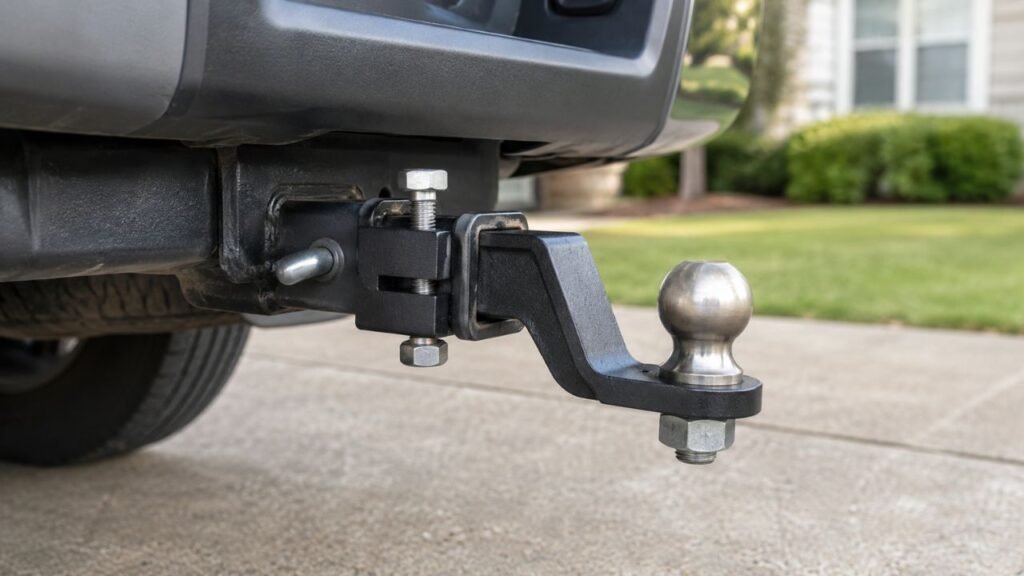
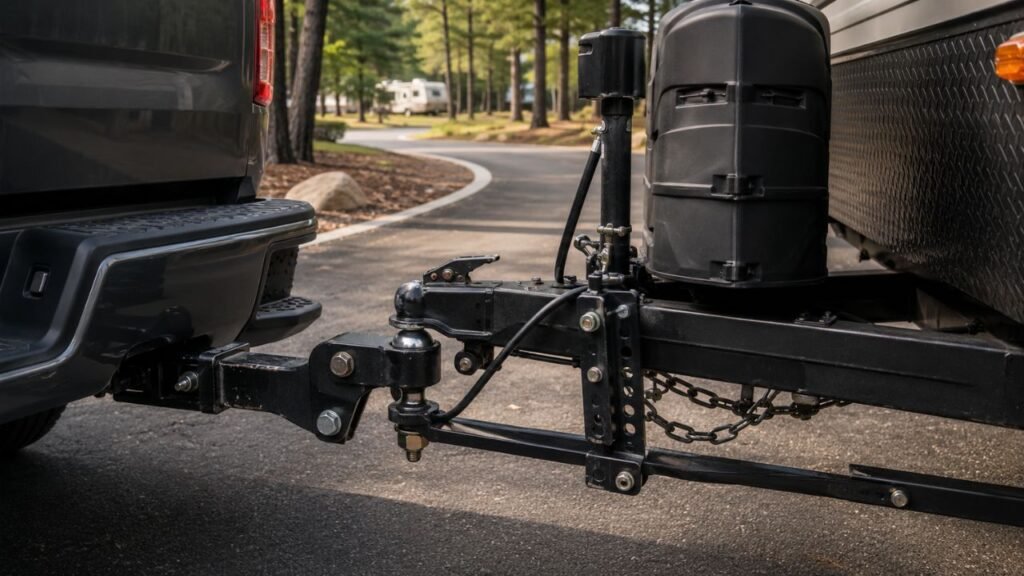
The ball mount slides inside the receiver tube on your tow vehicle. It cannot fit perfectly tightly because you must be able to remove it.
That small clearance allows the ball mount to move slightly. During braking, it can slide forward and contact the receiver wall.
When you accelerate, it may shift backward again. This movement often produces a clear metal clunk.
Some ball mounts fit more loosely than others. Wear, rust removal, receiver damage, and manufacturing tolerances can increase the gap.
Hitch Ball and Trailer Coupler
The trailer coupler closes around the hitch ball. It should hold the ball securely while still allowing smooth rotation.
A loose adjustment mechanism may let the coupler rock around the ball. The coupler can then move forward during braking and backward during acceleration.
The same problem can happen when the hitch ball is worn. A worn coupler socket can also create excess movement.
An incorrectly sized ball creates an even more serious problem. For example, a 2-inch coupler must not be used with a smaller ball.
Hitch Pin and Pin Holes
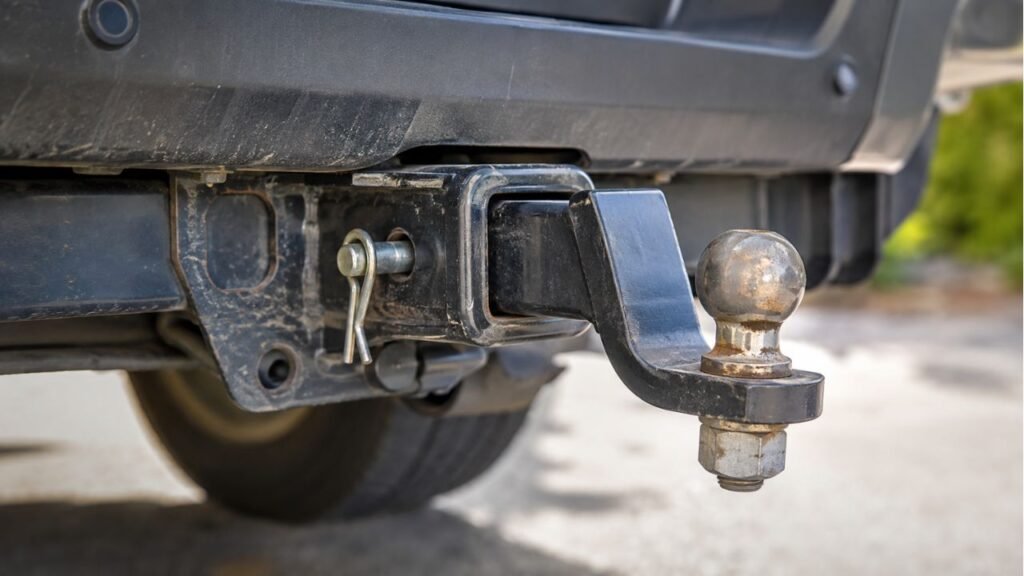
The hitch pin passes through the receiver and ball-mount shank. Its job is to stop the ball mount from sliding out.
A worn pin may move inside the holes during stopping. Elongated receiver holes can create even more movement.
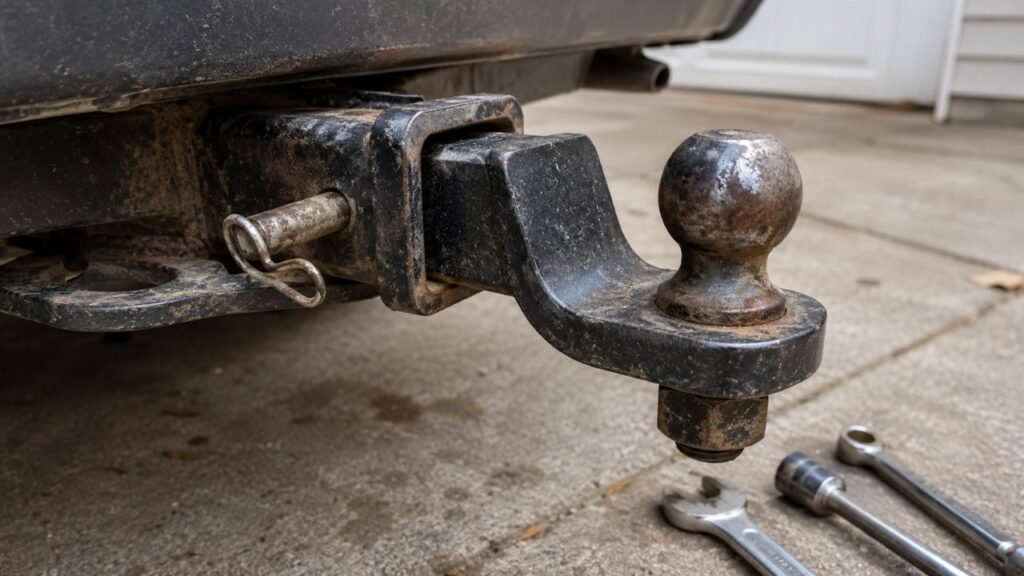
Look closely for shiny impact marks around the pin. Rust trails, bent pins, and oval-shaped holes also suggest repeated movement.
Replacing the pin may help when the pin itself is worn. However, a new pin will not repair damaged receiver holes.
Weight-Distribution Hitch Components
A weight-distribution hitch contains several loaded joints. These may include spring bars, sockets, chains, L-brackets, frame brackets, and retaining clips.
Some movement and noise can be normal, especially while turning. However, loose brackets or worn sockets may produce a strong clunk during braking.
Incorrect hitch setup can also increase movement. The bars may unload and reload suddenly as the trailer pushes forward.
Surge-Brake Actuator
A trailer with hydraulic surge brakes uses a sliding actuator. The trailer pushes the actuator inward when the tow vehicle slows.
This movement activates the hydraulic brakes. Therefore, some actuator travel is necessary.
A small sound may be normal when the actuator begins moving. A heavy slam may indicate worn bushings, excessive travel, or delayed brake engagement.
The actuator may also clunk when it returns after braking. Damaged dampers or sticking internal parts can make this movement abrupt.
Tow-Vehicle Receiver Mounting
Sometimes the removable ball mount is not causing the noise. The entire receiver may be moving against the vehicle frame.
Loose mounting bolts can produce a deep knock during braking. Cracked welds or damaged mounting points may cause similar symptoms.
This is a serious condition because the receiver carries the trailer’s pulling and braking forces.
Do not rely on an anti-rattle clamp when the entire receiver moves. The receiver mounting must be inspected and repaired correctly.
Trailer Tongue and Frame Hardware
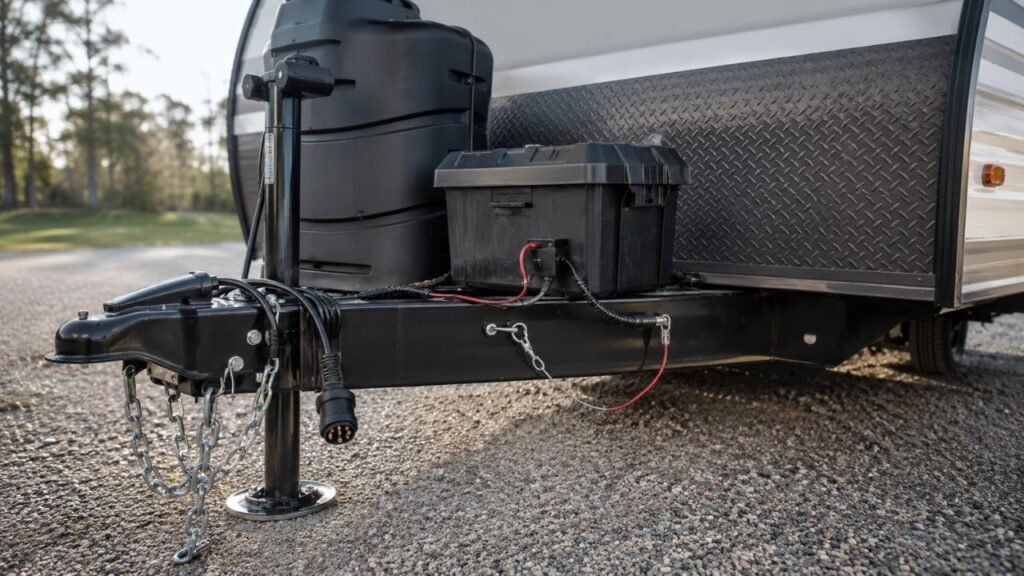
The sound may appear to come from the hitch even when another tongue-mounted part is loose.
Common examples include:
- Tongue jack mounting bolts
- Battery boxes
- Propane-cylinder trays
- Spare-tire carriers
- Safety chains
- Breakaway-battery mounts
- Toolboxes
- Weight-distribution brackets
- Sway-control components
Secure these items before assuming the hitch itself has failed.
Common Causes of a Hitch Clunk When You Stop
The timing and feel of the sound can help narrow your search. Use this table as a starting point rather than replacing a physical inspection.
| Possible cause | When the clunk usually happens | What you may notice | Likely correction |
| Receiver-to-shank play | Braking and acceleration | Ball mount moves inside receiver | Inspect fit and add a suitable hitch tightener |
| Loose coupler adjustment | Stopping, starting, or reversing | Coupler rocks on hitch ball | Adjust or repair the coupler |
| Incorrect hitch-ball size | Most speed changes | Excessive coupler movement | Install the exact required ball size |
| Worn hitch ball | Braking, turns, and bumps | Flattening, scoring, or looseness | Replace the worn hitch ball |
| Worn coupler socket | Stopping and accelerating | Movement remains after adjustment | Repair or replace the coupler |
| Loose hitch-ball nut | Braking and direction changes | Ball rotates on mounting platform | Inspect and torque correctly |
| Worn hitch pin | Braking and acceleration | Pin shifts inside receiver holes | Replace the pin and inspect holes |
| Elongated pin holes | Repeated heavy clunks | Visible oval-shaped holes | Repair or replace damaged parts |
| Surge-actuator movement | Mostly during braking | Sliding tongue movement | Inspect brakes, bushings, and actuator travel |
| Loose weight-distribution parts | Stops, turns, and bumps | Brackets or bars move suddenly | Correct setup and tighten approved hardware |
| Loose receiver mounting | Stops and sharp turns | Entire receiver moves | Stop towing and repair immediately |
| Loose tongue equipment | Braking and rough roads | Noise remains with tight hitch | Secure the loose accessory |
Is Some Hitch Clunking Normal?
A small amount of receiver clearance is common. The ball mount must slide into the receiver without becoming permanently stuck.
Because of that clearance, you may hear one light clunk during braking. You may hear another when accelerating from a stop.
However, common does not always mean harmless. Repeated heavy impacts can gradually damage the connection.
Pay attention to how the sound behaves.
A light sound without visible movement may only be receiver play. A heavy knock felt through the floor suggests greater movement.
Multiple clunks during one stop may point toward loose hardware. A sudden increase in noise can indicate new wear or damage.
The hitch should still feel controlled. The trailer should not push, jerk, sway, or change direction unexpectedly.
How to Diagnose the Clunk Safely
Start your inspection while parked on firm, level ground. Apply the parking brake and chock the trailer wheels before touching the connection.
Keep your fingers away from the coupler, ball mount, spring bars, and actuator. These areas can create powerful pinch points.
Confirm When the Noise Happens
Before replacing anything, identify the exact conditions that trigger the sound.
Note whether the clunk happens:
- Only while braking
- When releasing the brake pedal
- While accelerating from a stop
- When shifting into reverse
- When changing from reverse to drive
- During turns
- Over bumps
- With the trailer empty
- With the trailer fully loaded
- Without the trailer attached
A noise that only happens over bumps may come from suspension or cargo. A clunk during starts and stops usually points toward front-to-back hitch movement.
Check for Receiver Play
With the vehicle turned off and the trailer secured, hold the ball mount firmly. Try moving it forward, backward, upward, and sideways.
A little movement may be expected. A loud knock or obvious sliding suggests excessive clearance.
Ask a helper to watch the receiver while you move the ball mount. The observer may see movement that you cannot feel.
Check whether the shank matches the receiver size. Using a reducer sleeve can create another layer of clearance and noise.
Inspect the receiver tube for cracks, bent edges, or severe corrosion. Do not install a clamp over structural damage.
Inspect the Coupler on the Hitch Ball
Confirm that the coupler is sitting completely over the hitch ball. The ball should be inside the coupler socket, not trapped below its front edge.
Close the latch fully and install its safety pin or lock. Then use the tongue jack to raise the trailer tongue slightly.
A properly connected coupler should lift the rear of the tow vehicle slightly. It should not separate from the ball.
Lower the trailer again before continuing your inspection.
Try moving the coupler forward and backward by hand. Excessive rocking may indicate poor adjustment, incorrect ball size, or worn components.
Never perform this test with your fingers near the latch or socket.
Verify the Hitch-Ball Size
Do not judge the ball size by appearance. Similar sizes can look almost identical.
Confirm the following:
- Size stamped on the trailer coupler
- Size stamped on the hitch ball
- Weight rating of the hitch ball
- Diameter of the ball shank
- Rating of the ball mount
- Thickness of the mounting platform
- Security of the hitch-ball nut
The coupler and ball sizes must match exactly. A latch closing does not prove the ball is correct.
An undersized ball can let the coupler move excessively. In severe cases, the trailer could separate from the tow vehicle.
Inspect the Hitch Pin and Receiver Holes
Remove the hitch pin and clean it before inspection. Look for bends, grooves, flattening, or polished wear areas.
Inspect the pin holes from both sides. They should remain round and free from cracks.
A worn pin may be inexpensive to replace. Elongated receiver holes are a structural problem and require proper repair.
Also check the retaining clip or locking mechanism. The pin must remain fully installed throughout the trip.
Check Weight-Distribution Equipment
Weight-distribution systems place considerable force on their bars and brackets. Inspect them only after safely releasing their stored tension.
Check for:
- Loose frame brackets
- Missing retaining clips
- Bent spring bars
- Worn bar sockets
- Loose hitch-head bolts
- Damaged chains
- Cracked welds
- Shifted L-brackets
- Fresh impact marks
Follow the hitch manufacturer’s instructions when checking torque. Different systems require different settings.
Do not grease every contact point automatically. Some friction-based sway-control surfaces must remain dry.
Inspect a Surge-Brake Actuator
A surge actuator should slide smoothly and return without violent movement. Look for rust, binding, damaged pins, or excessive free travel.
Check the brake-fluid level according to the actuator instructions. Low fluid may suggest leakage or neglected service.
Delayed trailer braking allows the actuator to move farther before resistance develops. That extra movement can end with a strong clunk.
Air in the hydraulic system may also delay braking. Poorly adjusted drum brakes can create a similar effect.
If the actuator bottoms out or slams repeatedly, have the braking system inspected before continuing.
Check the Receiver Mounting Under the Vehicle
Use a flashlight to inspect where the receiver attaches to the vehicle frame. Do not crawl beneath an unsupported vehicle.
Look for:
- Loose or missing mounting bolts
- Cracked welds
- Bent mounting plates
- Rust spreading from joints
- Fresh shiny metal near bolts
- Enlarged mounting holes
- Movement between receiver and frame
- Damaged safety-chain attachment points
Have a helper move the ball mount while you observe from a safe position. The receiver itself should not shift against the vehicle.
Quick Stationary Test to Find Hitch Movement
This simple test may help you identify which connection moves first. Keep the rig secured and avoid every pinch point.
- Park the vehicle and trailer on firm, level ground.
- Place the transmission in park.
- Apply the vehicle’s parking brake.
- Chock the trailer wheels in both directions.
- Confirm that the coupler remains fully latched.
- Ask a helper to observe the hitch connection.
- Apply gentle forward and backward pressure to the trailer tongue.
- Watch the receiver, pin, ball mount, ball, and coupler.
- Listen for the clunk and identify the moving joint.
- Mark suspicious areas with chalk for closer inspection.
Do not use the tow vehicle to jerk the trailer during this test. Gentle stationary movement is enough to expose most clearance.
How to Fix a Hitch That Clunks When Stopping
The correct repair depends on where the movement begins. Quieting the noise without fixing the cause may hide a developing safety problem.
Install a Proper Hitch Tightener
A hitch tightener secures the ball-mount shank against one side of the receiver. This reduces movement between those two parts.
Common designs use a U-bolt, plate, wedge, threaded pin, or built-in tightening mechanism.
Choose a tightener designed for your receiver size and towing setup. Install it according to its load and positioning instructions.
A hitch tightener may work when:
- The ball mount fits correctly
- The receiver remains structurally sound
- The pin holes are not severely worn
- The receiver mounting is secure
- The movement occurs inside the receiver
It will not fix a loose coupler, worn hitch ball, damaged receiver, or faulty surge actuator.
Some anti-rattle devices may not suit every weight-distribution setup. Confirm compatibility before using one.
Adjust the Trailer Coupler
Many couplers have an adjustment nut beneath the locking mechanism. This controls how tightly the coupler grips the ball.
Adjustment procedures vary between couplers. Follow the coupler manufacturer’s method rather than guessing.
The coupler should close fully without excessive force. It should hold the ball securely while allowing normal turning movement.
Do not tighten the adjustment until the coupler binds. Over-tightening can prevent proper latching or damage the mechanism.
After adjustment, test the connection using the tongue jack. The coupler must remain attached while lifting the tow vehicle slightly.
If proper adjustment cannot remove the play, the coupler may be worn.
Match the Hitch Ball to the Coupler
Check the size stamped into the coupler and hitch ball. Both markings must match.
Common ball sizes include 1-7/8 inches, 2 inches, and 2-5/16 inches. Never assume the previously installed ball is correct.
Also confirm the ball’s towing rating. Its capacity must meet or exceed the loaded trailer requirements.
The ball shank must fit the ball-mount hole correctly. The mounting platform must also suit the shank length.
Replace any hitch ball with deep scoring, flattening, cracks, or severe corrosion.
Tighten or Replace Hitch Hardware
Loose hardware may shift every time towing force changes direction. Inspect all accessible fasteners around the connection.
These may include:
- Hitch-ball nut
- Coupler mounting bolts
- Receiver mounting bolts
- Hitch-head bolts
- Weight-distribution brackets
- Sway-control mounts
- Tongue-jack bolts
- Surge-actuator hardware
- Safety-chain attachment hardware
Use the specified torque values from the correct manufacturer. Do not depend only on how tight a fastener feels.
Torque requirements can vary greatly. Guessing may leave a bolt loose or damage the component.
Replace damaged locking nuts, washers, pins, and clips. Do not reuse hardware that is bent, cracked, or badly worn.
Replace Worn Components
Tightening cannot restore material that has worn away. Replacement or professional repair may be necessary when you find:
- Elongated hitch-pin holes
- Bent hitch pins
- Flattened hitch balls
- Worn coupler sockets
- Damaged coupler latches
- Cracked receiver tubing
- Broken welds
- Worn surge-actuator bushings
- Bent weight-distribution brackets
- Worn fifth-wheel jaws
- Damaged kingpin-locking parts
Replace components with properly rated parts. Capacity should match the trailer’s loaded weight and tongue weight.
Do not weld, drill, or modify a receiver without qualified guidance. Improper repairs can weaken the hitch structure.
Service the Surge-Brake Actuator
A surge actuator may need more than lubrication. The entire braking system affects how far and how quickly the actuator moves.
Service may involve:
- Checking brake fluid
- Repairing hydraulic leaks
- Bleeding air from brake lines
- Adjusting drum brakes
- Replacing worn bushings
- Replacing a damaged damper
- Cleaning sliding surfaces
- Repairing the master cylinder
- Replacing sticking brake parts
Use only approved lubricant at specified points. Petroleum products can damage certain seals and rubber components.
A properly serviced actuator should compress smoothly. The trailer brakes should engage before the actuator slams through its travel.
Hitch Tightener vs. Coupler Adjustment
These two fixes address movement in different locations. Choosing the wrong one may leave the real problem untouched.
| Situation | Hitch tightener | Coupler adjustment |
| Ball mount moves inside receiver | Suitable | Not suitable |
| Coupler rocks on hitch ball | Not suitable | May be suitable |
| Hitch ball is undersized | Not suitable | Not suitable |
| Hitch pin holes are elongated | Not suitable | Not suitable |
| Surge actuator moves excessively | Usually unsuitable | Not suitable |
| Weight-distribution bracket is loose | Not suitable | Not suitable |
| Entire receiver moves on vehicle | Not suitable | Not suitable |
| Coupler latch is worn | Not suitable | Usually not enough |
| Hitch ball is badly worn | Not suitable | Not suitable |
Use a hitch tightener for healthy receiver-to-shank clearance. Adjust the coupler only when its design allows adjustment.
Incorrect sizes, structural damage, and worn parts require correction or replacement.
Why Does the Hitch Clunk When Stopping and Starting?
A clunk during both stopping and starting strongly suggests front-to-back movement.
When braking, the trailer pushes forward. The loose connection shifts toward the front of its available space.
When accelerating, the tow vehicle pulls the trailer backward. The same connection then moves in the opposite direction.
This pattern commonly appears with receiver play, a loose hitch pin, coupler movement, or surge-actuator travel.
Watch which part moves before each clunk. Locating that movement is more useful than judging the sound alone.
Why Does My Hitch Clunk When Shifting Into Reverse?
Changing from forward movement to reverse changes the direction of force through the hitch.
Any clearance that was loaded toward the rear may suddenly shift forward. This creates a single clunk as the gap changes sides.
A light clunk may come from normal receiver movement. A strong impact can suggest excessive play.
Check the ball mount, hitch pin, coupler, and receiver mounting. Also inspect weight-distribution parts before reversing with them connected.
Some weight-distribution systems require special steps before reversing sharply. Follow the instructions for your specific hitch.
Why Does a Weight-Distribution Hitch Clunk?
Weight-distribution hitches contain several contact points carrying heavy loads. Some sounds are expected, but loose or worn parts require attention.
Spring-Bar Socket Movement
Spring bars rotate inside sockets or rest against loaded brackets. Changes in braking force can make them shift.
A small sound may occur as the bars settle. Heavy movement may indicate worn sockets, incorrect setup, or loose hardware.
Inspect the bar ends for wear and deformation. Confirm that every retaining clip remains installed.
L-Bracket or Chain Movement
L-bracket systems place the spring bars directly on frame-mounted brackets. The bars may slide slightly during turns or braking.
Chain-style systems can also shift as chain tension changes. Loose frame brackets may amplify the movement.
Check that every bracket remains in its original position. Look for scraped paint or fresh metal showing recent movement.
Incorrect Setup or Insufficient Tension
Incorrect hitch-head angle or spring-bar tension can reduce stability. It may also allow the hitch components to unload suddenly.
The setup should distribute weight without exceeding axle or hitch ratings. It should also follow the hitch manufacturer’s measurements.
Do not increase spring-bar tension only to stop a noise. Excessive tension can create other handling and loading problems.
Dry or Worn Contact Points
Some weight-distribution systems require lubrication at the hitch-head sockets. Others depend on dry friction for sway control.
Lubricate only the locations approved by the manufacturer. Greasing friction surfaces can reduce sway-control performance.
If lubrication does not remove excessive movement, inspect for worn parts.
Why Does a Surge-Brake Hitch Clunk?
A surge-brake actuator must slide because that movement activates the trailer brakes. The important question is whether it moves smoothly or slams.
Normal Actuator Compression
When the tow vehicle slows, the trailer pushes the actuator inward. Hydraulic pressure then applies the trailer brakes.
You may feel a small movement as the actuator begins compressing. This can be normal, especially during firmer stops.
The movement should remain controlled. It should not feel like the trailer is striking the tow vehicle.
Excessive Actuator Free Play
Worn bushings, pins, rollers, or sliding surfaces may increase actuator clearance.
The actuator can travel through that loose space before activating the brakes. It then reaches the end of its movement with a clunk.
Look for sideways movement as well as forward travel. Excessive sideways play may indicate worn structural parts.
Brakes Engaging Too Late
Trailer brakes that engage late allow the actuator to compress farther than necessary.
Possible causes include:
- Air inside hydraulic lines
- Poorly adjusted drum brakes
- Low brake fluid
- Hydraulic leaks
- Sticking brake components
- Worn master-cylinder parts
- Contaminated fluid
Delayed braking may make the trailer push the tow vehicle. Have the system serviced before further towing.
Actuator Bottoming Out
An actuator that reaches the end of its travel may create a severe impact.
This may happen because the trailer brakes are ineffective. It can also occur when the actuator is damaged or improperly rated.
Repeated bottoming can damage the actuator and worsen stopping performance. Treat this as a stop-towing warning.
Can Lubrication Stop Hitch Clunking?
Lubrication can reduce friction, squeaking, and wear. It cannot remove a gap between loose or incorrectly fitted components.
Grease on an approved hitch ball may help the coupler rotate smoothly. It may also reduce scraping noises while turning.
However, grease will not correct:
- An undersized hitch ball
- A worn coupler
- Receiver-to-shank clearance
- Elongated pin holes
- Loose mounting bolts
- Damaged surge-actuator bushings
- Cracked hitch components
Follow the manufacturer’s lubrication instructions. Avoid applying grease to friction-based sway-control surfaces that must remain dry.
Clean old grease before applying fresh lubricant. Dirty grease can hold grit and accelerate wear.
When a Hitch Clunk Means You Should Stop Towing
Noise becomes a safety concern when it appears with visible movement, structural damage, braking problems, or trailer instability.
Stop towing when:
- The coupler lifts from the hitch ball
- The coupler latch will not close completely
- The hitch ball size does not match
- The hitch ball rotates on its platform
- A hitch pin is bent or partly missing
- Pin holes are badly elongated
- The receiver moves against the vehicle frame
- A receiver mounting bolt is missing
- Cracks appear around the receiver
- Welds show separation
- The surge actuator slams through its travel
- Trailer brakes respond late or weakly
- The trailer pushes the tow vehicle heavily
- The trailer begins swaying during stops
- Safety-chain mounting points are damaged
- The clunk becomes suddenly louder
Move the rig only when doing so is necessary for immediate safety. Arrange professional inspection when structural or braking damage is suspected.
Common Mistakes That Make Hitch Clunking Worse
Quick fixes can sometimes quiet the sound without correcting the movement. Avoid these mistakes while diagnosing your hitch.
Tightening the Coupler Too Much
A coupler should hold the ball securely without binding. Over-tightening can prevent the latch from closing correctly.
It may also make turning difficult and accelerate wear. Use the correct adjustment procedure for the coupler.
Using an Anti-Rattle Clamp on Damaged Parts
An anti-rattle clamp is not a structural repair. It should never hold cracked, bent, or severely worn components together.
Inspect the receiver and ball mount before installing a clamp. Replace or repair damaged parts first.
Guessing the Hitch-Ball Size
Do not rely on memory or appearance. Read the size markings on both components.
A smaller ball may allow the coupler latch to close. That does not make the connection safe.
Lubricating Every Contact Surface
Grease is useful only where the manufacturer approves it. Some sway-control systems rely on dry friction.
Applying lubricant there can reduce their ability to control sway. Check the instructions before greasing unfamiliar parts.
Ignoring the Tow-Vehicle Receiver
Many owners focus only on the removable ball mount. However, the receiver itself may be loose.
Check its bolts, welds, frame attachments, and safety-chain loops. A moving receiver requires immediate attention.
Replacing Parts Before Finding the Movement
Avoid replacing several parts based only on the noise. First identify which joint shifts before the clunk occurs.
A simple stationary inspection can prevent unnecessary spending. It also reduces the chance of overlooking the true problem.
How to Prevent Hitch Clunking From Returning
Regular inspections help you catch movement before it creates severe wear. These checks take little time before a towing trip.
- Match the hitch ball and coupler sizes exactly.
- Confirm the coupler latch closes fully.
- Install the coupler’s safety pin or lock.
- Inspect the hitch pin for bends and grooves.
- Check receiver holes for wear.
- Keep the hitch-ball nut properly secured.
- Inspect receiver mounting bolts regularly.
- Check weight-distribution brackets after rough roads.
- Service surge brakes at recommended intervals.
- Lubricate only approved contact points.
- Replace worn parts instead of repeatedly tightening them.
- Keep the receiver clean enough to reveal cracks.
- Secure tongue-mounted accessories.
- Test trailer brakes before entering traffic.
- Recheck the connection after the first few miles.
You can also mark critical fasteners using a paint marker. A broken alignment mark makes movement easier to notice.
Final Verdict
A hitch usually clunks when stopping because trailer momentum takes up free space somewhere in the towing connection. The movement may occur inside the receiver, around the hitch pin, at the coupler, or inside a surge-brake actuator.
A hitch tightener may reduce normal receiver-to-shank movement. It cannot repair a loose coupler, incorrect ball size, worn hardware, or structural damage.
Treat a new or worsening clunk as an inspection signal. Finding the movement early can protect your hitch, trailer, and tow vehicle.
Related FAQs
These quick answers cover several common questions drivers ask about hitch clunking.
Is It Normal for a Trailer Hitch to Clunk?
A light single clunk can come from normal receiver clearance. Heavy, repeated, or worsening clunks should be inspected for loose or worn parts.
How Do I Stop My Receiver Hitch From Clunking?
A compatible hitch tightener may secure the ball-mount shank inside the receiver. Inspect both parts for damage before installing one.
Can a Loose Coupler Cause Clunking When Braking?
Yes. A loose coupler can move around the hitch ball whenever braking or acceleration changes the direction of force.
How Tight Should a Trailer Coupler Be on the Ball?
The coupler should latch completely with minimal excess movement. It must still rotate smoothly without binding during turns.
Can the Wrong Hitch-Ball Size Cause a Clunk?
Yes. An undersized ball creates excessive movement and possible separation. Install the exact ball size stamped on the coupler.
Why Does My Hitch Clunk When I Accelerate?
Acceleration pulls the trailer connection backward. Any loose component can shift toward the opposite side and create another clunk.
Will Greasing the Hitch Ball Stop the Clunk?
Grease may reduce friction and squeaking, but it cannot correct excessive clearance, worn parts, or an incorrect ball size.
Do Weight-Distribution Hitches Normally Make Noise?
Some movement and noise are common during turns. Heavy clunks may indicate loose brackets, worn sockets, or incorrect adjustment.
Is a Surge-Brake Actuator Supposed to Move?
Yes. The actuator must slide to activate the brakes. However, excessive free travel, bottoming, or violent movement is not normal.
Can a Worn Hitch Pin Cause Clunking?
A worn or bent pin may shift during braking. Enlarged receiver holes can create similar movement even with a new pin.
Can Hitch Clunking Damage the Receiver?
Repeated impacts can enlarge pin holes, wear the shank, loosen hardware, and place additional stress on the receiver assembly.
Should I Tow With a Clunking Hitch?
Do not continue towing when the noise is heavy, worsening, or accompanied by visible movement, structural damage, instability, or weak braking.

Scott Miller shares real-world RV road trip insights built from years of traveling open highways and backroads. He covers route planning, campground choices, and travel gear with a practical mindset. His content is written for RVers who value reliability over trends.